Use Solibri to check models for both clashes and for quality issues.
Solibri is used for Model Checking and the resulting issues are shared with the project team members through Aconex. It also checks models for qualitative issues such as:
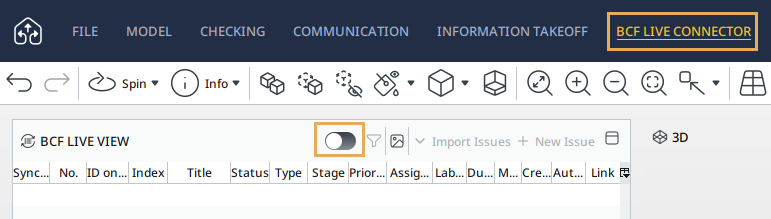


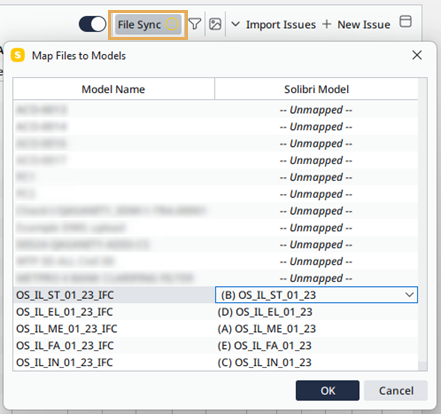
Use the File Sync feature in the BCF Live View panel to map the models that are open in Solibri to the models in Aconex.
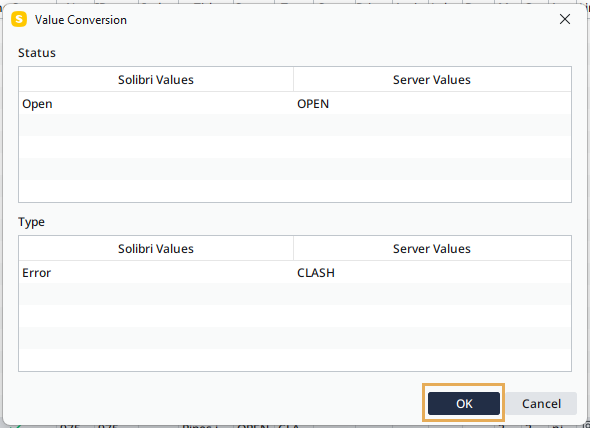
Before syncing an issue, Solibri may prompt you to convert field values to Aconex values (server values). Review and adjust these conversions as necessary, then click OK to continue.