- プロジェクトに正常に接続されると、リボンメニューボタンが利用可能になります。
役立つ情報・アドバイス
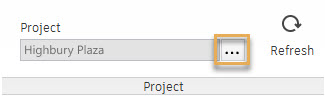
Refresh(再読み込み)ボタンをクリックして、Aconexから最新のデータを取り込みます。
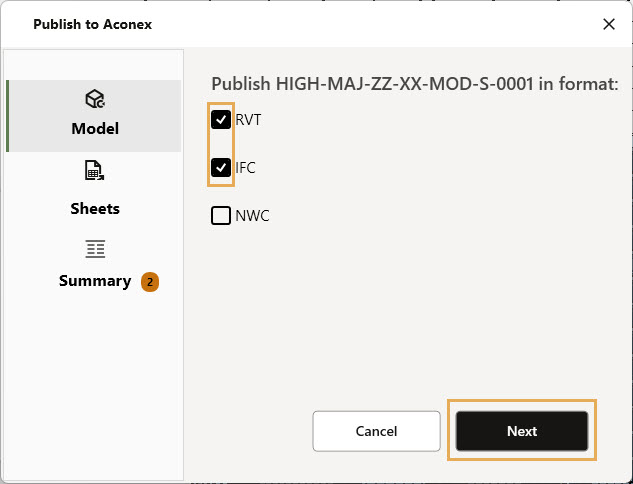
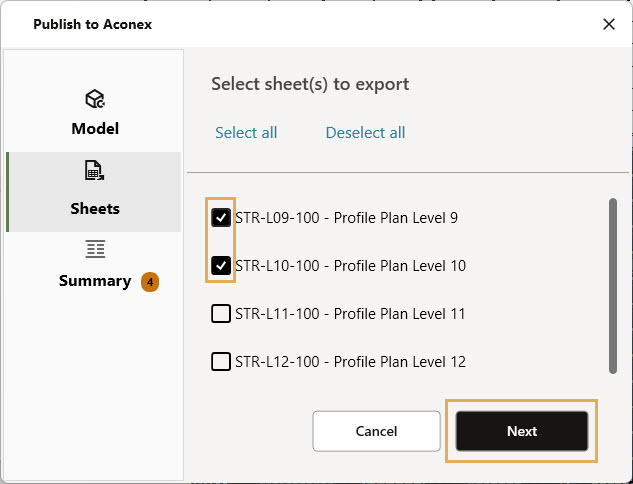
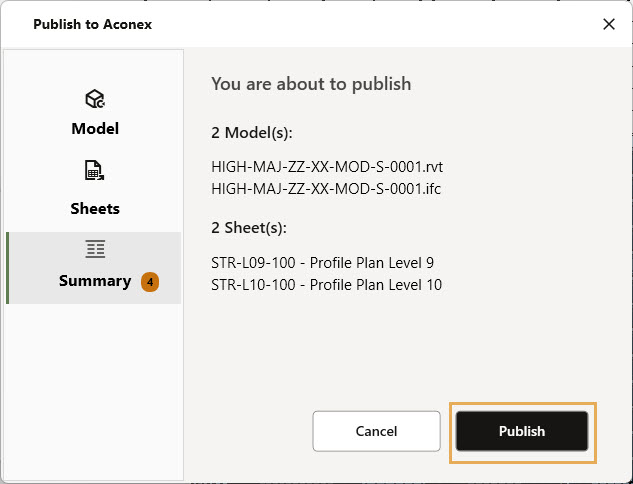
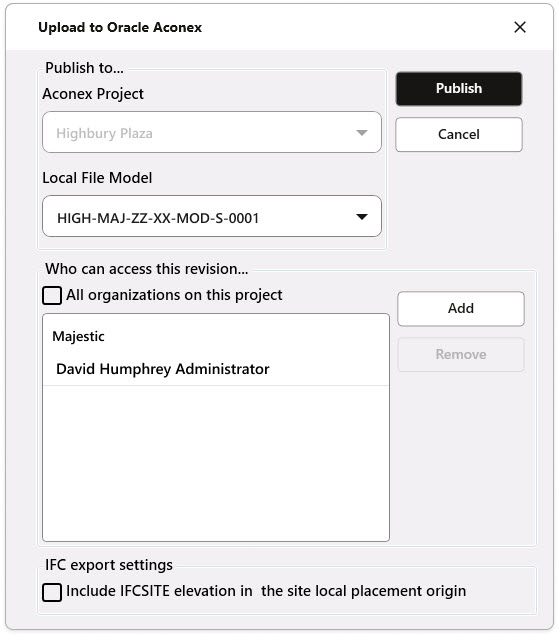
- Aconexにパブリッシュするモデル形式を選択して、次へをクリックします。
役立つ情報・アドバイス
NWC にパブリッシュするには、Revit用のNavisworks エクスポート プラグインをインストールする必要があります。
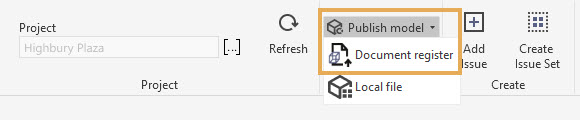
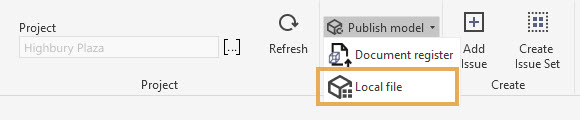
- 目的のローカルファイルを選択します。モデルを選択すると、そのリビジョンにアクセスできるユーザーのリストがデフォルトで表示されます。
役立つ情報・アドバイス
デフォルトでは、新規バージョンも、すでに選択されているユーザー(アクセスを許可されているユーザー)のみに公開されます。
設計課題を作成
- 設計課題を最も効果的に表示できるようにモデルを準備をして、Add Issue(課題追加)をクリックします。
役立つ情報・アドバイス
モデルのパース表示(透視投影)とオース表示(平行投影)が選べます。Aconexでも選択した表示モードが適用されます。
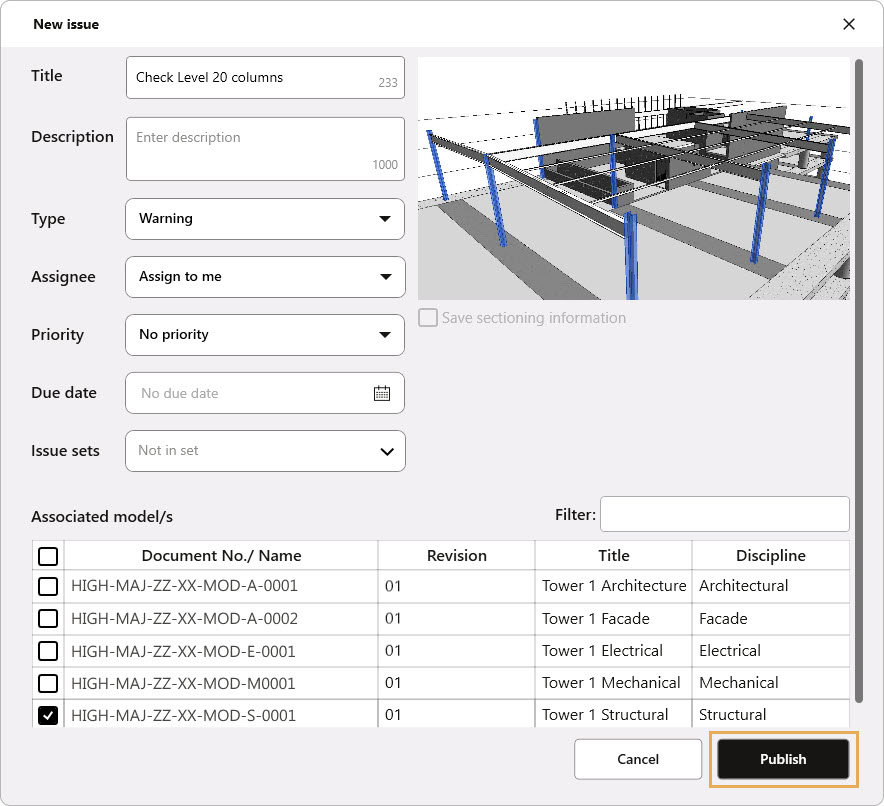
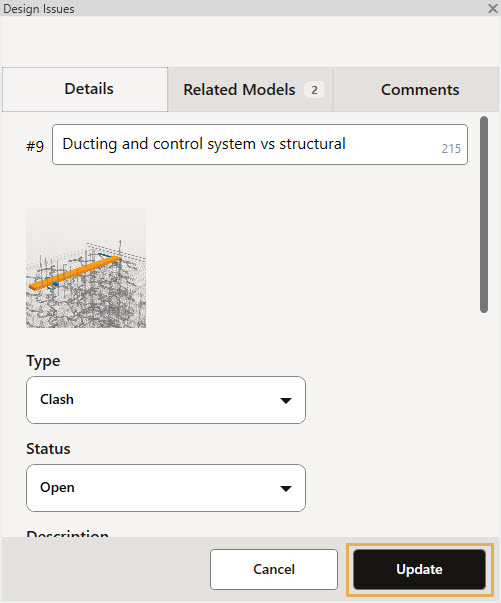
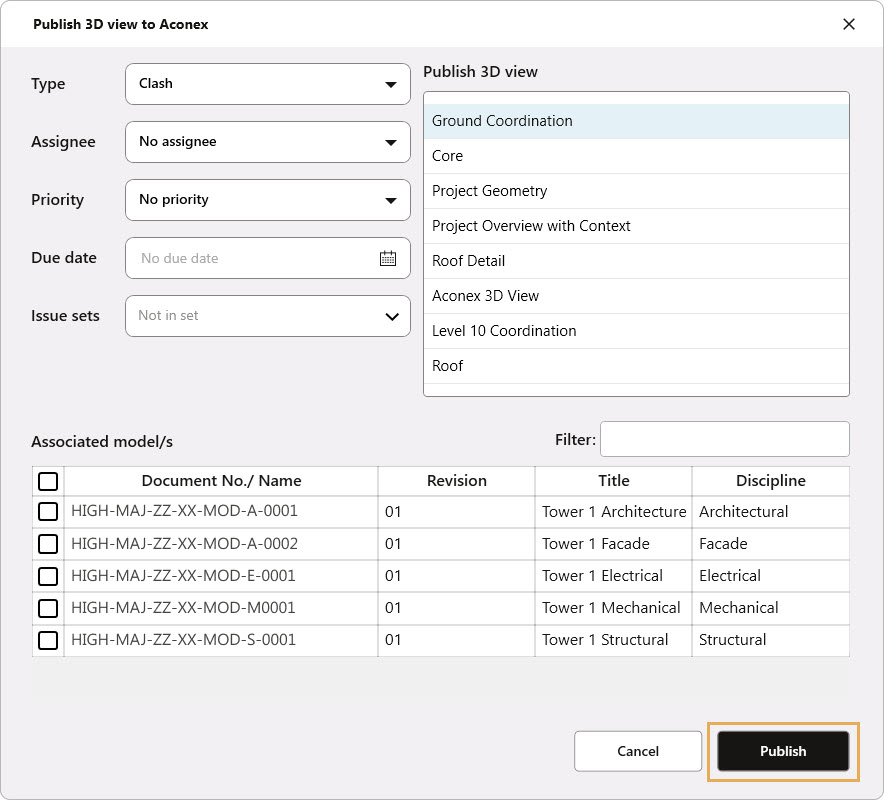
- ポップアップ画面で、タイトルなど必須項目を含む設計課題の詳細を入力します。
- モデルのビューポイントをAconexで表示するには、関連するモデルスタックを選択します。関連モデルを選択しないと、モデルのビューポイントはAconexで自動的に読み込まれません。
役立つ情報・アドバイス
Revitで課題のビューポイントを作成すると、共有座標、オブジェクトの選択状態、および表示設定などの情報が記録され、Aconexでの表示に反映されます。
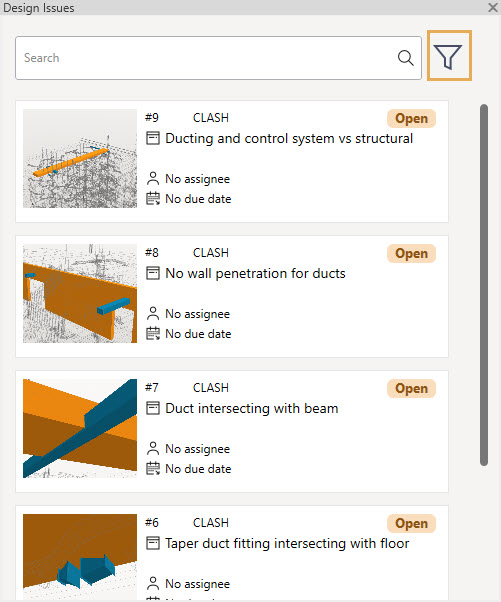
- リスト上の課題をクリックしてモデルのビューポイントを開きます。
役立つ情報・アドバイス
課題一覧に戻るには、パネル左上の上向き矢印を使用します。課題間をすばやく移動するには、右上部の左向/右向矢印を使用します。
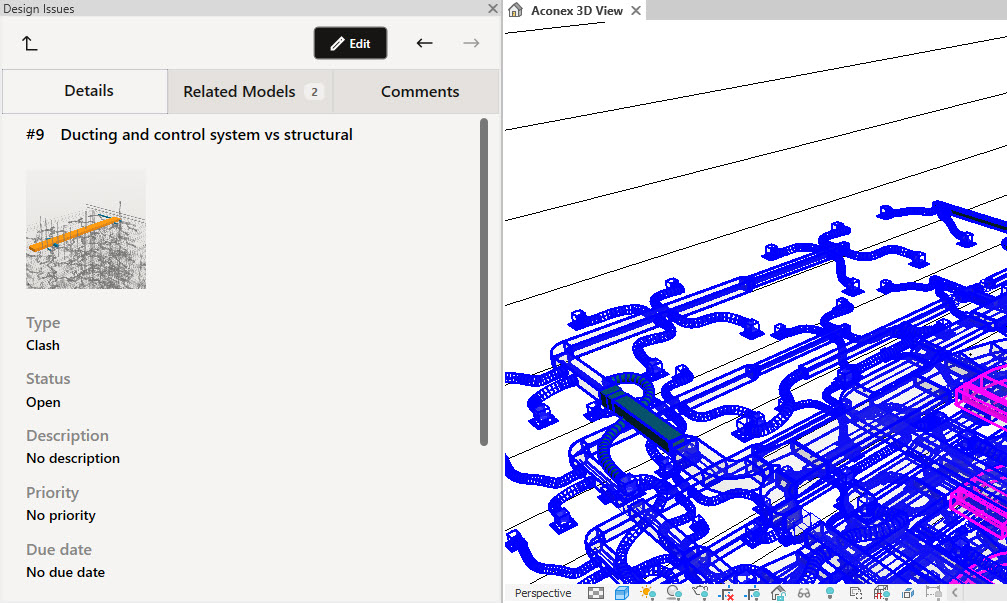
- ビューポイントを選択してモデルの視点をシーンに読み込みます。
役立つ情報・アドバイス
Revitでのセクションボックスと位置を合わせた状態で、Aconex上でもモデルの切断面を表示できます。
- サムネイルにカーソルを合わせるとPreviewの文字が表示されるので、クリックして課題のビューポイントスナップショットを開きます。
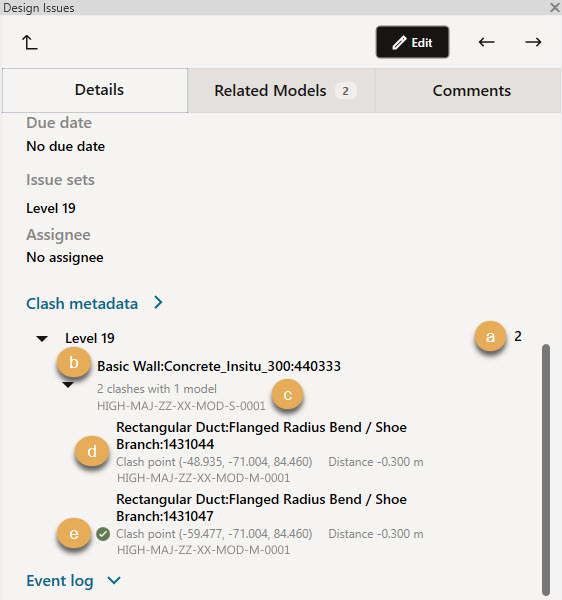
- クラウドで干渉検出:Clash in the Cloud機能から作成された課題には、「Clash metadata(干渉メタデータ)」の見出しの下に詳細情報が表示されます。下の画像を参照して、干渉メタデータセクションの詳細情報を確認してください。
a) Clash count(干渉件数)
b) Group of clash results (干渉検証結果のグループ)
c) Primary model(優先モデル)
d) 干渉箇所、干渉距離、干渉対象モデルを含む干渉結果が表示されます。
e) 解決済みアイコン:干渉が解決されると、その項目の横に緑色のチェックマークが表示されます。
役立つ情報・アドバイス
プラグインでは、干渉を解決済にすることはできません。モデルの作成者が干渉箇所を修正し、そのモデルの新しいリビジョンをAconexにアップロードする必要があります。
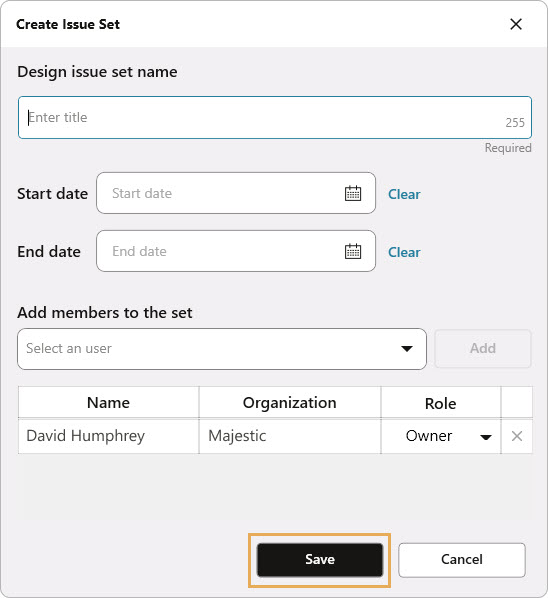
- セット名(必須)を入力します。
- セットの開始日・終了日を設定します。
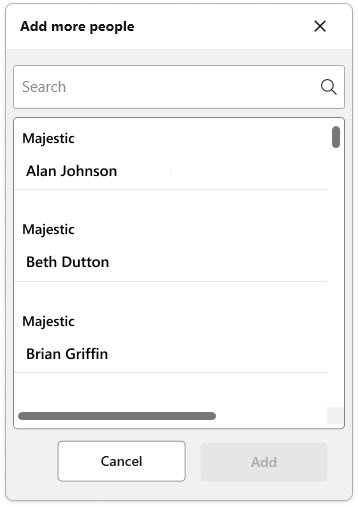
- メンバーを追加し、セット内の課題へのアクセス権を付与します。
- 設定が終わったら保存をクリックします。
役立つ情報・アドバイス
デフォルトでは、課題セット作成者がそのセットの所有元になり、そのセットにあるすべての課題を編集できます。追加されたユーザーは、そのセットの閲覧者となり、課題の閲覧のみ可能です。ユーザーを「Contributors(協働者)」に設定すると、そのセット内に課題を作成できるようになります。Aconexで「モデル調整管理者」の権限が付与されているユーザーは、そのプロジェクトで自社に関連のあるすべての課題を編集できます。