Central de Asistencia
Descubra más opciones en los informes personalizados.
Opciones de informes personalizados
Las opciones que ve para cada informe se basan en el tipo de informe y en sus permisos de acceso. Es posible que no vea todas las opciones en todos los informes.
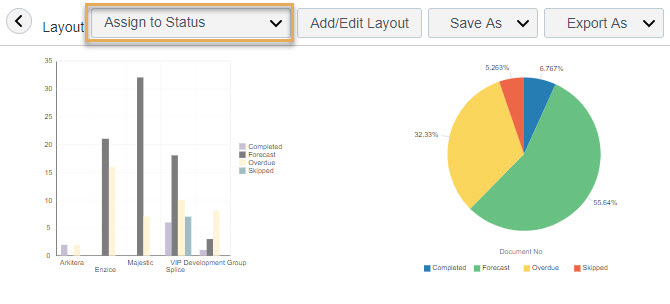
Ver un informe personalizado
Haga clic en el nombre del informe o seleccione Prefiltrar y ver informe en el menú de puntos suspensivos. El informe se cargará y podrá seleccionar el diseño que desee en el Selector de diseño. Si seleccionó Preguntar al ejecutar al definir los filtros, también podrá ajustarlos aquí desde el panel izquierdo.
Los informes grandes pueden tardar algún tiempo en cargarse. Después de 30 segundos, se le dará la opción de esperar o volver a la página de lista de informes mientras su informe se genera en segundo plano. Una vez que el informe esté listo, podrá verlo en el panel de Historial de ejecución de informes.
Editar propiedades (y compartir)
Modifique el nombre y la descripción del informe y compártalo con otros usuarios del proyecto.
Nota: Solo el modelo de datos y los diseños se pueden compartir con otras organizaciones. Los datos reales que ven dependen de la información a la que se les haya dado acceso en el proyecto. Consulte ¿Quién puede ver mi correo y mis documentos?
¿Desea editar o compartir un informe estándar, o un informe que otros usuarios han compartido con usted? No hay problema. Abra el informe y haga clic en Guardar como para guardar una copia del informe. A continuación, puede editar y compartir la copia con otras personas (en función de sus permisos de acceso).Want to edit or share a standard report, or a report shared with you by other users? No problem. Open the report and click Save As to save a copy of the report. You can then edit and share the copy with others (based on your access permissions).
Guardar una copia de un informe
Guarde una copia de un informe que pueda editar más adelante. Esto le permite crear diseños de informe ligeramente diferentes para mostrar sus datos de distintas maneras.

Exportar un informe personalizado

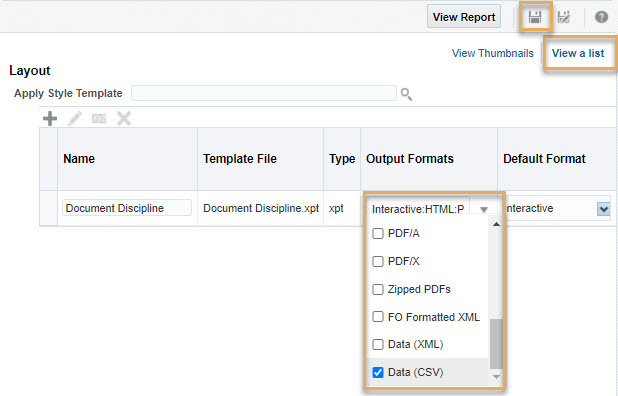
Exportar como CSV
Siga estos pasos para habilitar la exportación CSV para un diseño de informe.
Esto permitirá la exportación CSV solo para el diseño seleccionado. Deberá repetir estos pasos para cualquier otro diseño que desee exportar a CSV.
Evite cambiar cualquier otra opción aquí, ya que hacerlo podría provocar errores en su informe.
Si no tiene permiso para editar el diseño, deberá pedirle al creador del informe que habilite esta opción.
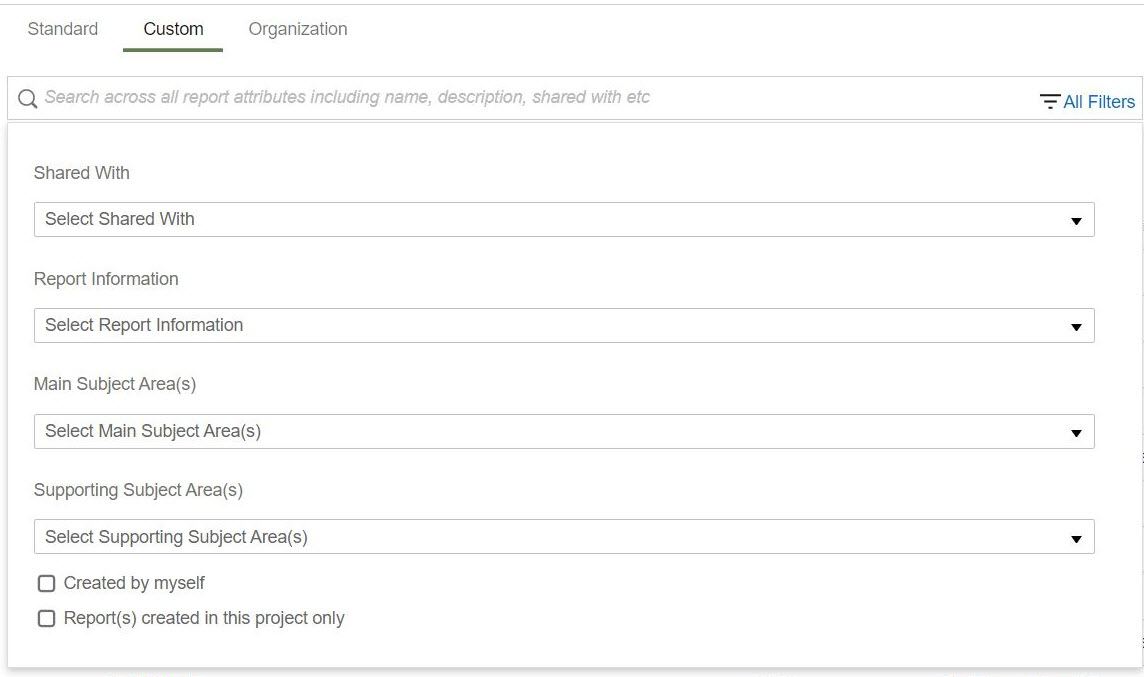
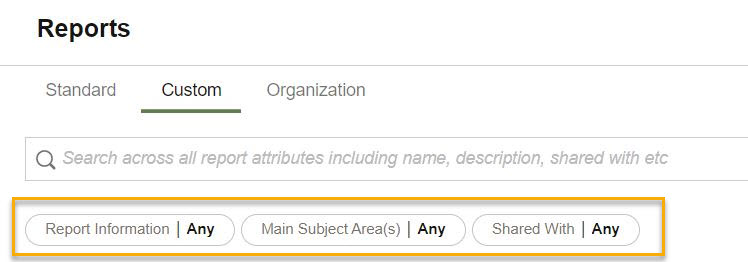
Busque y filtre informes personalizados según el nombre del informe y los metadatos del informe, tales como:
Puede filtrar los informes creados por usted mismo o solo los informes creados en el proyecto actual. Haga clic en los filtros para filtrar por Información del informe, Área temática principal y Compartido.