Create an auto-numbering system for your mail

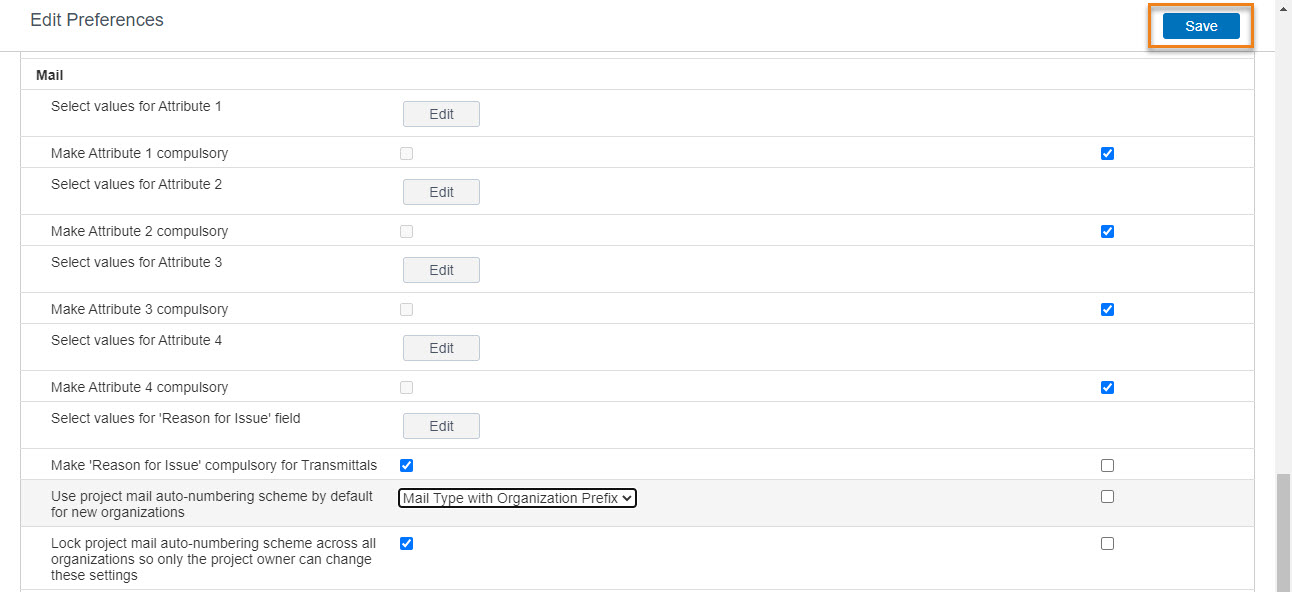
Keep track of all your correspondence and improve ease of reporting using an auto-numbering system.

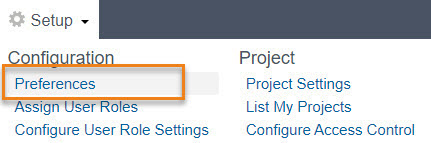
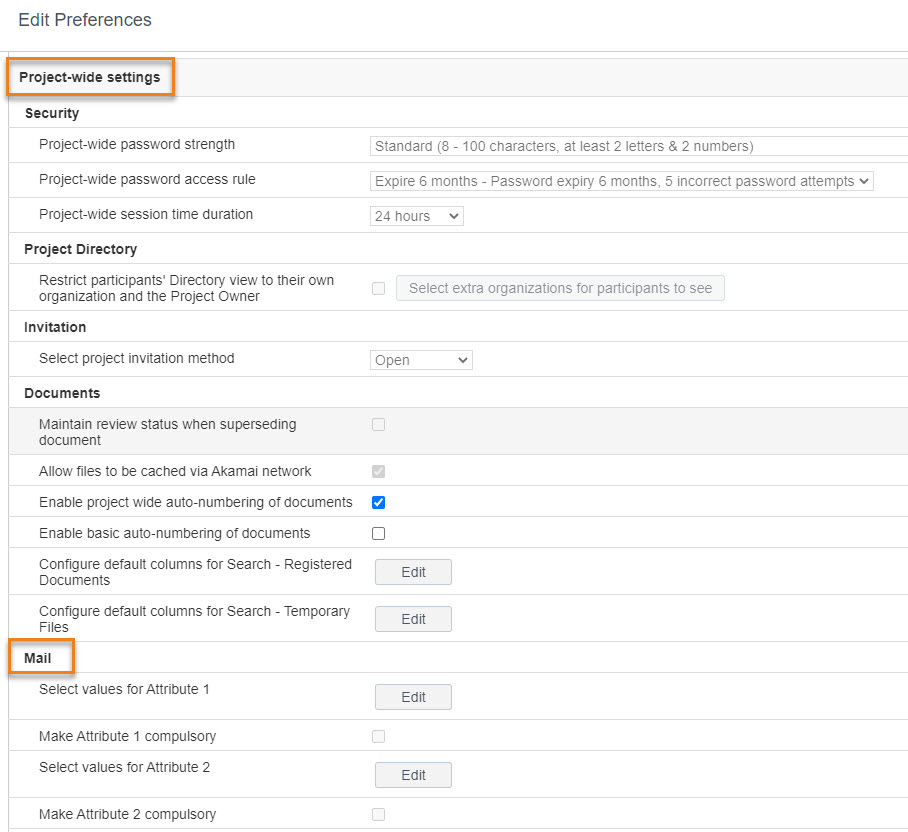
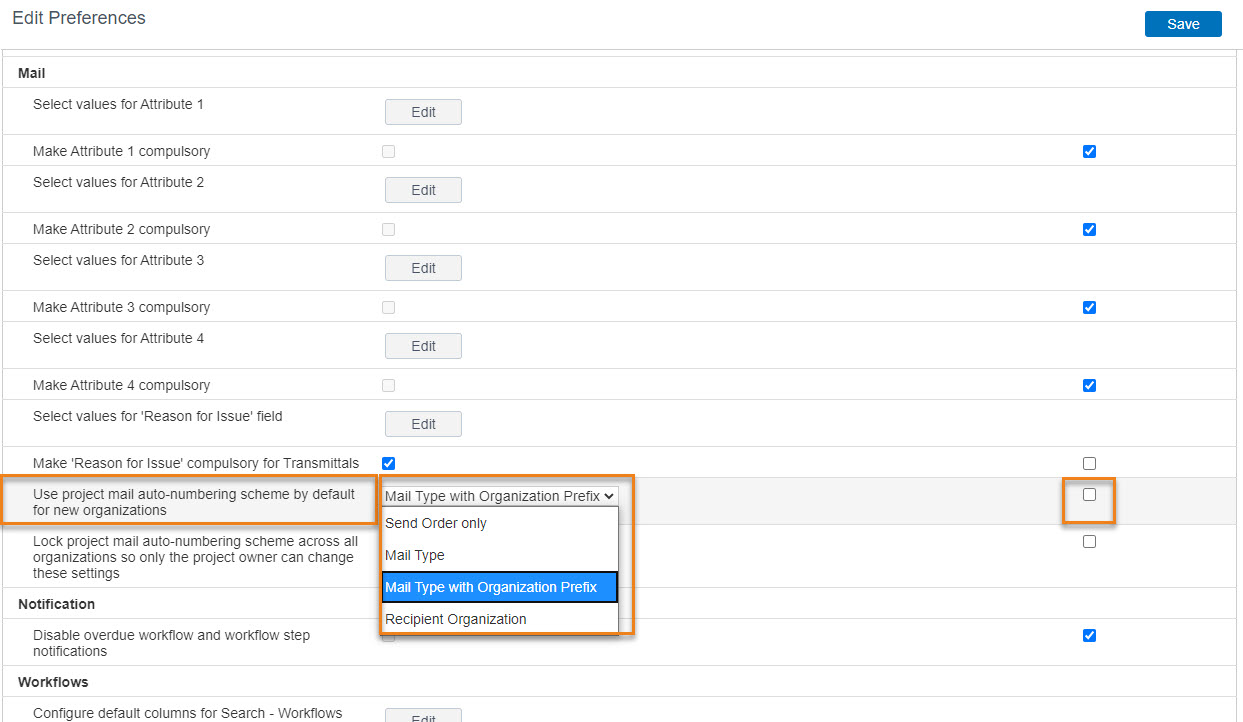
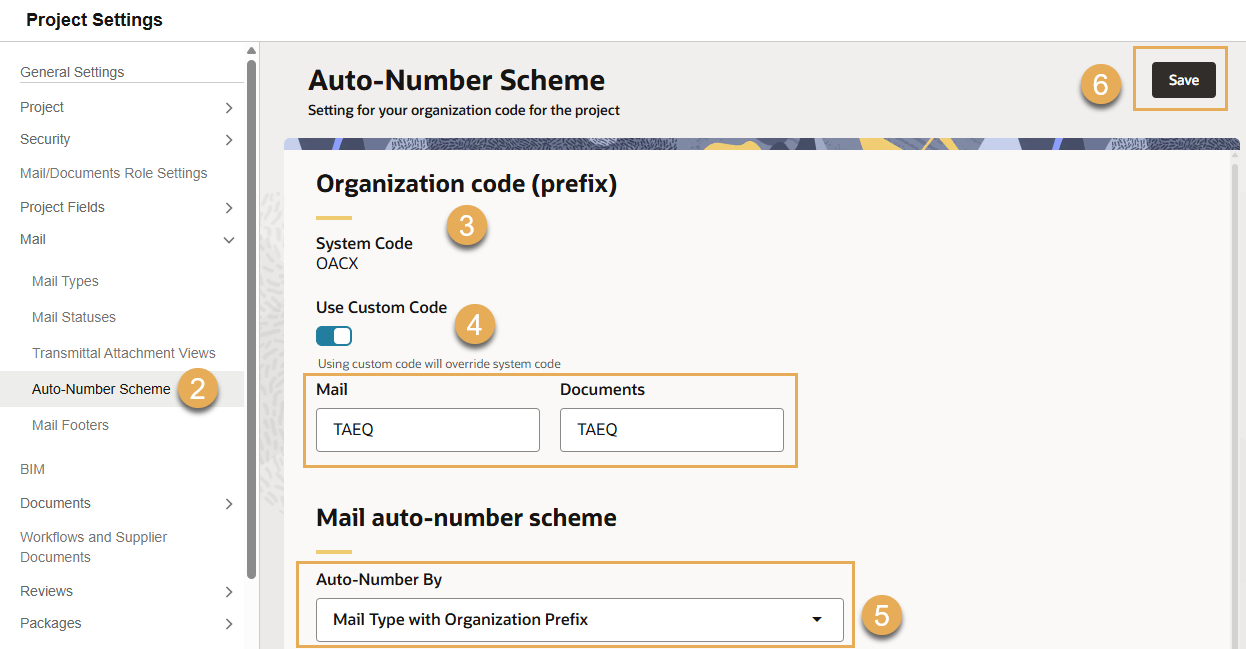
There are two ways to create auto numbering systems: at the Project Level and at the Organizational Level

Project Level

  1. From the main navigation menu, click Setup and select Preferences.
  1. On the Edit Preferences page navigate to Project.
  1. Scroll down, under the Project-wide settings go to the Mail subheading.
  1. Go to Use project mail auto-numbering scheme by default for new organizations.
  2. Be sure to uncheck the box under Use Default Setting.
  3. In the drop-down menu, choose from one of four numbering systems:
    1. Mail type with Org prefix (e.g MAJ-RFI-00154)
    2. Send order only (e.g. 00154)
    3. Mail type (RFI)
    4. Recipient Org (ARK - 00154)
  1. Select Save to set your preference

Organization Level

  1. From the main navigation menu, click Setup and select Project Settings.
  1. Click Mail, then select Auto-Number Scheme.
  2. Under Organization code (prefix), you can choose to use the System Code or the Custom Code.
  3. Enable Use Custom Code, to enter your own codes for Mail and Documents. Note this will override the system code.
  • On most projects the Mail organization code is usually the first three letters of your organization’s name.
  • You can also enter the same code for the Documents organization code.
  1. Choose how you want your mail auto-number scheme to work. You can select from:
  • Mail Type with Organization Prefix (for example, MAJ-RFI-00154)
  • Mail Type (for example, RFI-00154)
  • Recipient Organization (for example, ARK - 00154)
  • Send Order only (for example, 00154)
  1. Once complete, click Save.

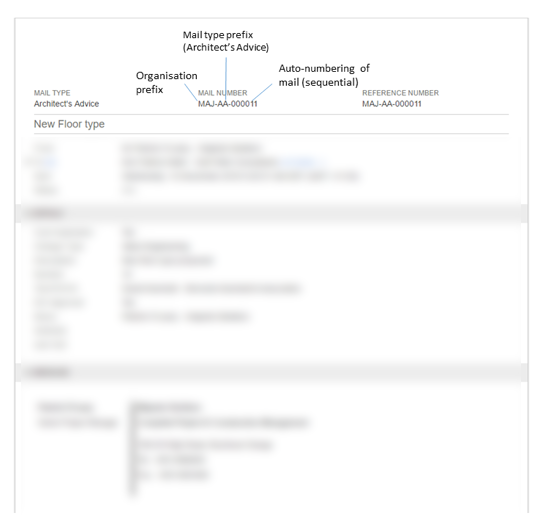
Here’s an example of what auto-numbering looks like on a mail.