Support Central
Suivez ces étapes pour configurer IDCS dans le cadre de la configuration SSO pour votre organisation.
Il existe deux façons de procéder à cette configuration. Cela dépend de l'apparence de votre écran lorsque vous démarrez le processus. La plupart d'entre vous utiliseront un Domaine d'identite (Identity Domain) dans Oracle Cloud, tandis que d'autres utiliseront IDCS (cet article)..

La configuration du SSO nécessite une connaissance des concepts SAML et un accès au fournisseur d'identité (IdP) de votre entreprise pour ajouter des configurations. Il s'agit généralement d'un membre de l'équipe informatique ou de gestion des identités de votre entreprise.
Votre IdP sera généralement un système tel que Microsoft Azure Active Directory. Vous aurez besoin d'un compte d'entreprise Oracle Identity Cloud Service (IDCS).
Une licence Foundation pour IDCS est fournie avec nos produits Cloud SaaS tels qu'Aconex. Si votre entreprise dispose déjà d'un compte IDCS (souvent parce qu'elle utilise d'autres produits Oracle), il est généralement préférable d'utiliser ce même compte pour accéder à Aconex. Si aucun compte n'est actuellement disponible, vous pouvez en créer un.
Les détails de cette étape dépendent de votre application IdP et de votre fournisseur (Microsoft Azure Active Directory, Microsoft ADFS, Okta), mais le processus est similaire pour toutes les intégrations IdP basées sur SAML.
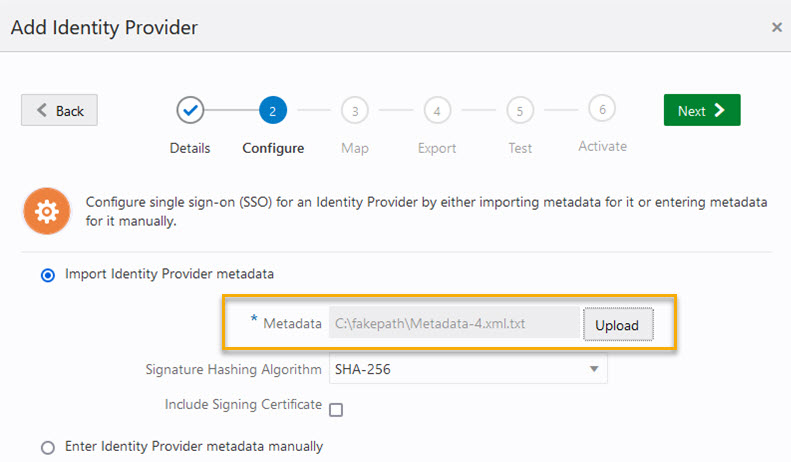
Suivre les instructions de votre application pour créer une nouvelle intégration basée sur SAML. Cela impliquera le téléchargement d'un fichier XML de métadonnées de fédération que vous importerez ultérieurement dans IDCS. Une fois la configuration d'IDCS terminée, vous pouvez revenir à l'écran de configuration SAML de votre IdP (il est préférable de l'ouvrir dans une autre fenêtre) et terminer le processus.
Une fois que vous disposez du fichier XML de métadonnées de la fédération, la première étape de la configuration de votre IdP est terminée. Vous reviendrez plus tard pour la terminer. Vous pouvez maintenant poursuivre la configuration de votre IDCS.
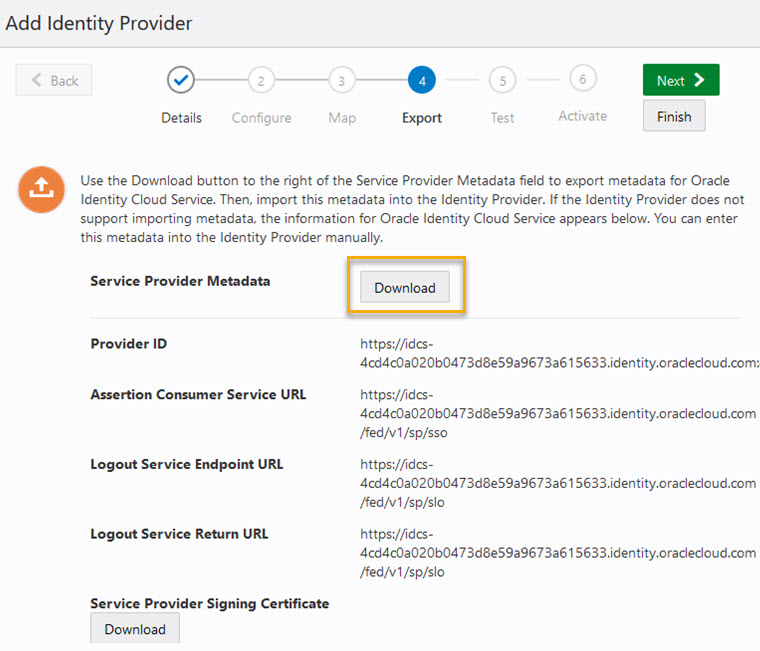
Note: pour certains IdP, il est nécessaire de renseigner l'ID d'entité (Entity ID) et l'URL de réponse (Reply URL) d'un homologue SAML (par exemple, IDCS dans ce cas). L'ID d'entité et l'URL de réponse peuvent être formés à partir de l'URL IDCS comme suit :
Entity ID: https://idcs-.identity.oraclecloud.com:443/fed Reply URL: https://idcs- .identity.oraclecloud.com/fed/v1/sp/sso
Une fois que vous avez obtenu le fichier XML de métadonnées fédérées auprès de votre IdP, passez à IDCS.
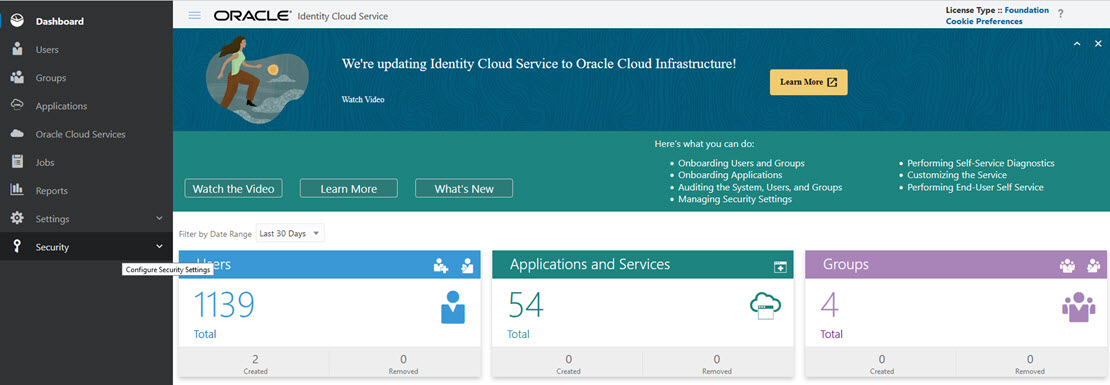
Si l'apparence de votre tableau de bord diffère, cela signifie que vous avez peut-être été mis à niveau vers un domaine d'identité sur Oracle Cloud Infrastructure.

Vous pouvez maintenant revenir à la configuration de votre service IdP.
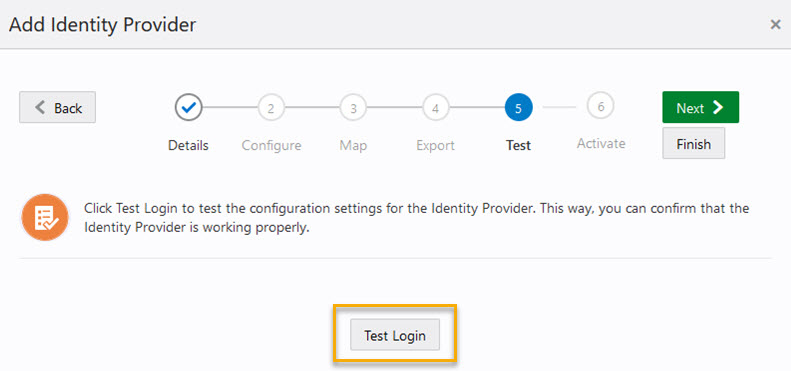
Your connection is successful.
You may close this window and go back to the admin console.

(Votre connexion est établie.
Vous pouvez fermer cette fenêtre et revenir à la console d'administration.)
Si la connexion test a échoué, vous verrez un écran similaire à celui ci-dessous. Veuillez lire la description de l'erreur afin de modifier la configuration ou de créer les données manquantes :
Connection failed. Configuration may need to be modified.
No user was returned during the SAML assertion to user mapping via the NameID attribute for partner Azure AD: NamedID poleary@majestic.com, user attribute name userNamed, message: ***See below***.
Show Assertion Details
You may close this window and go back to the admin console.


(Échec de la connexion. La configuration doit peut-être être modifiée.
Aucun utilisateur n'a été renvoyé lors de l'assertion SAML vers le mappage utilisateur via l'attribut NameID pour le partenaire Azure AD : NamedID poleary@majestic.com, nom d'attribut utilisateur userNamed, message : ***Voir ci-dessous***.
Afficher les détails de l'assertion
Vous pouvez fermer cette fenêtre et revenir à la console d'administration.)
Après avoir configuré IDCS, vous devez fournir à Oracle l'identifiant de votre compte IDCS.
Le moyen le plus simple pour cela est de coller l'URL de votre console IDCS dans le ticket. L'URL ressemblera à ceci : https://idcs-
Vous ne pourrez pas créer un protocole de fournisseur d'identité dans IDCS tant qu'Oracle n'aura pas confirmé que le Lobby est configuré pour utiliser votre compte IDCS.
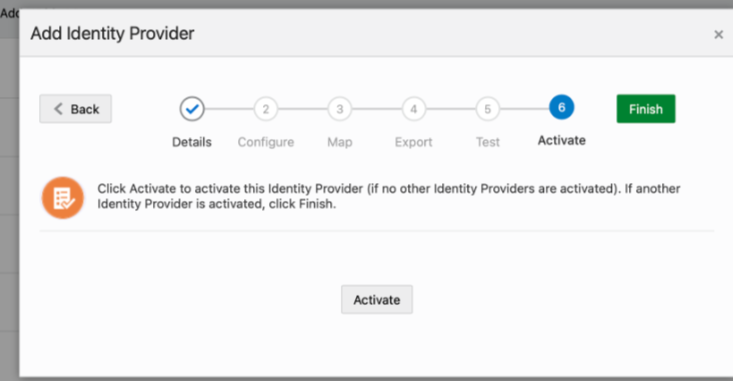
Vous avez configuré IDCS avec succès.
Ensuite, vous devez créer un protocole de fournisseur d'identité dans IDCS. Note: Oracle doit avoir confirmé que le Lobby est configuré pour utiliser votre compte IDCS avant que vous ne passiez aux étapes suivantes.Oracle needs to have confirmed the Lobby is configured to use your IDCS account before you complete these next steps.


