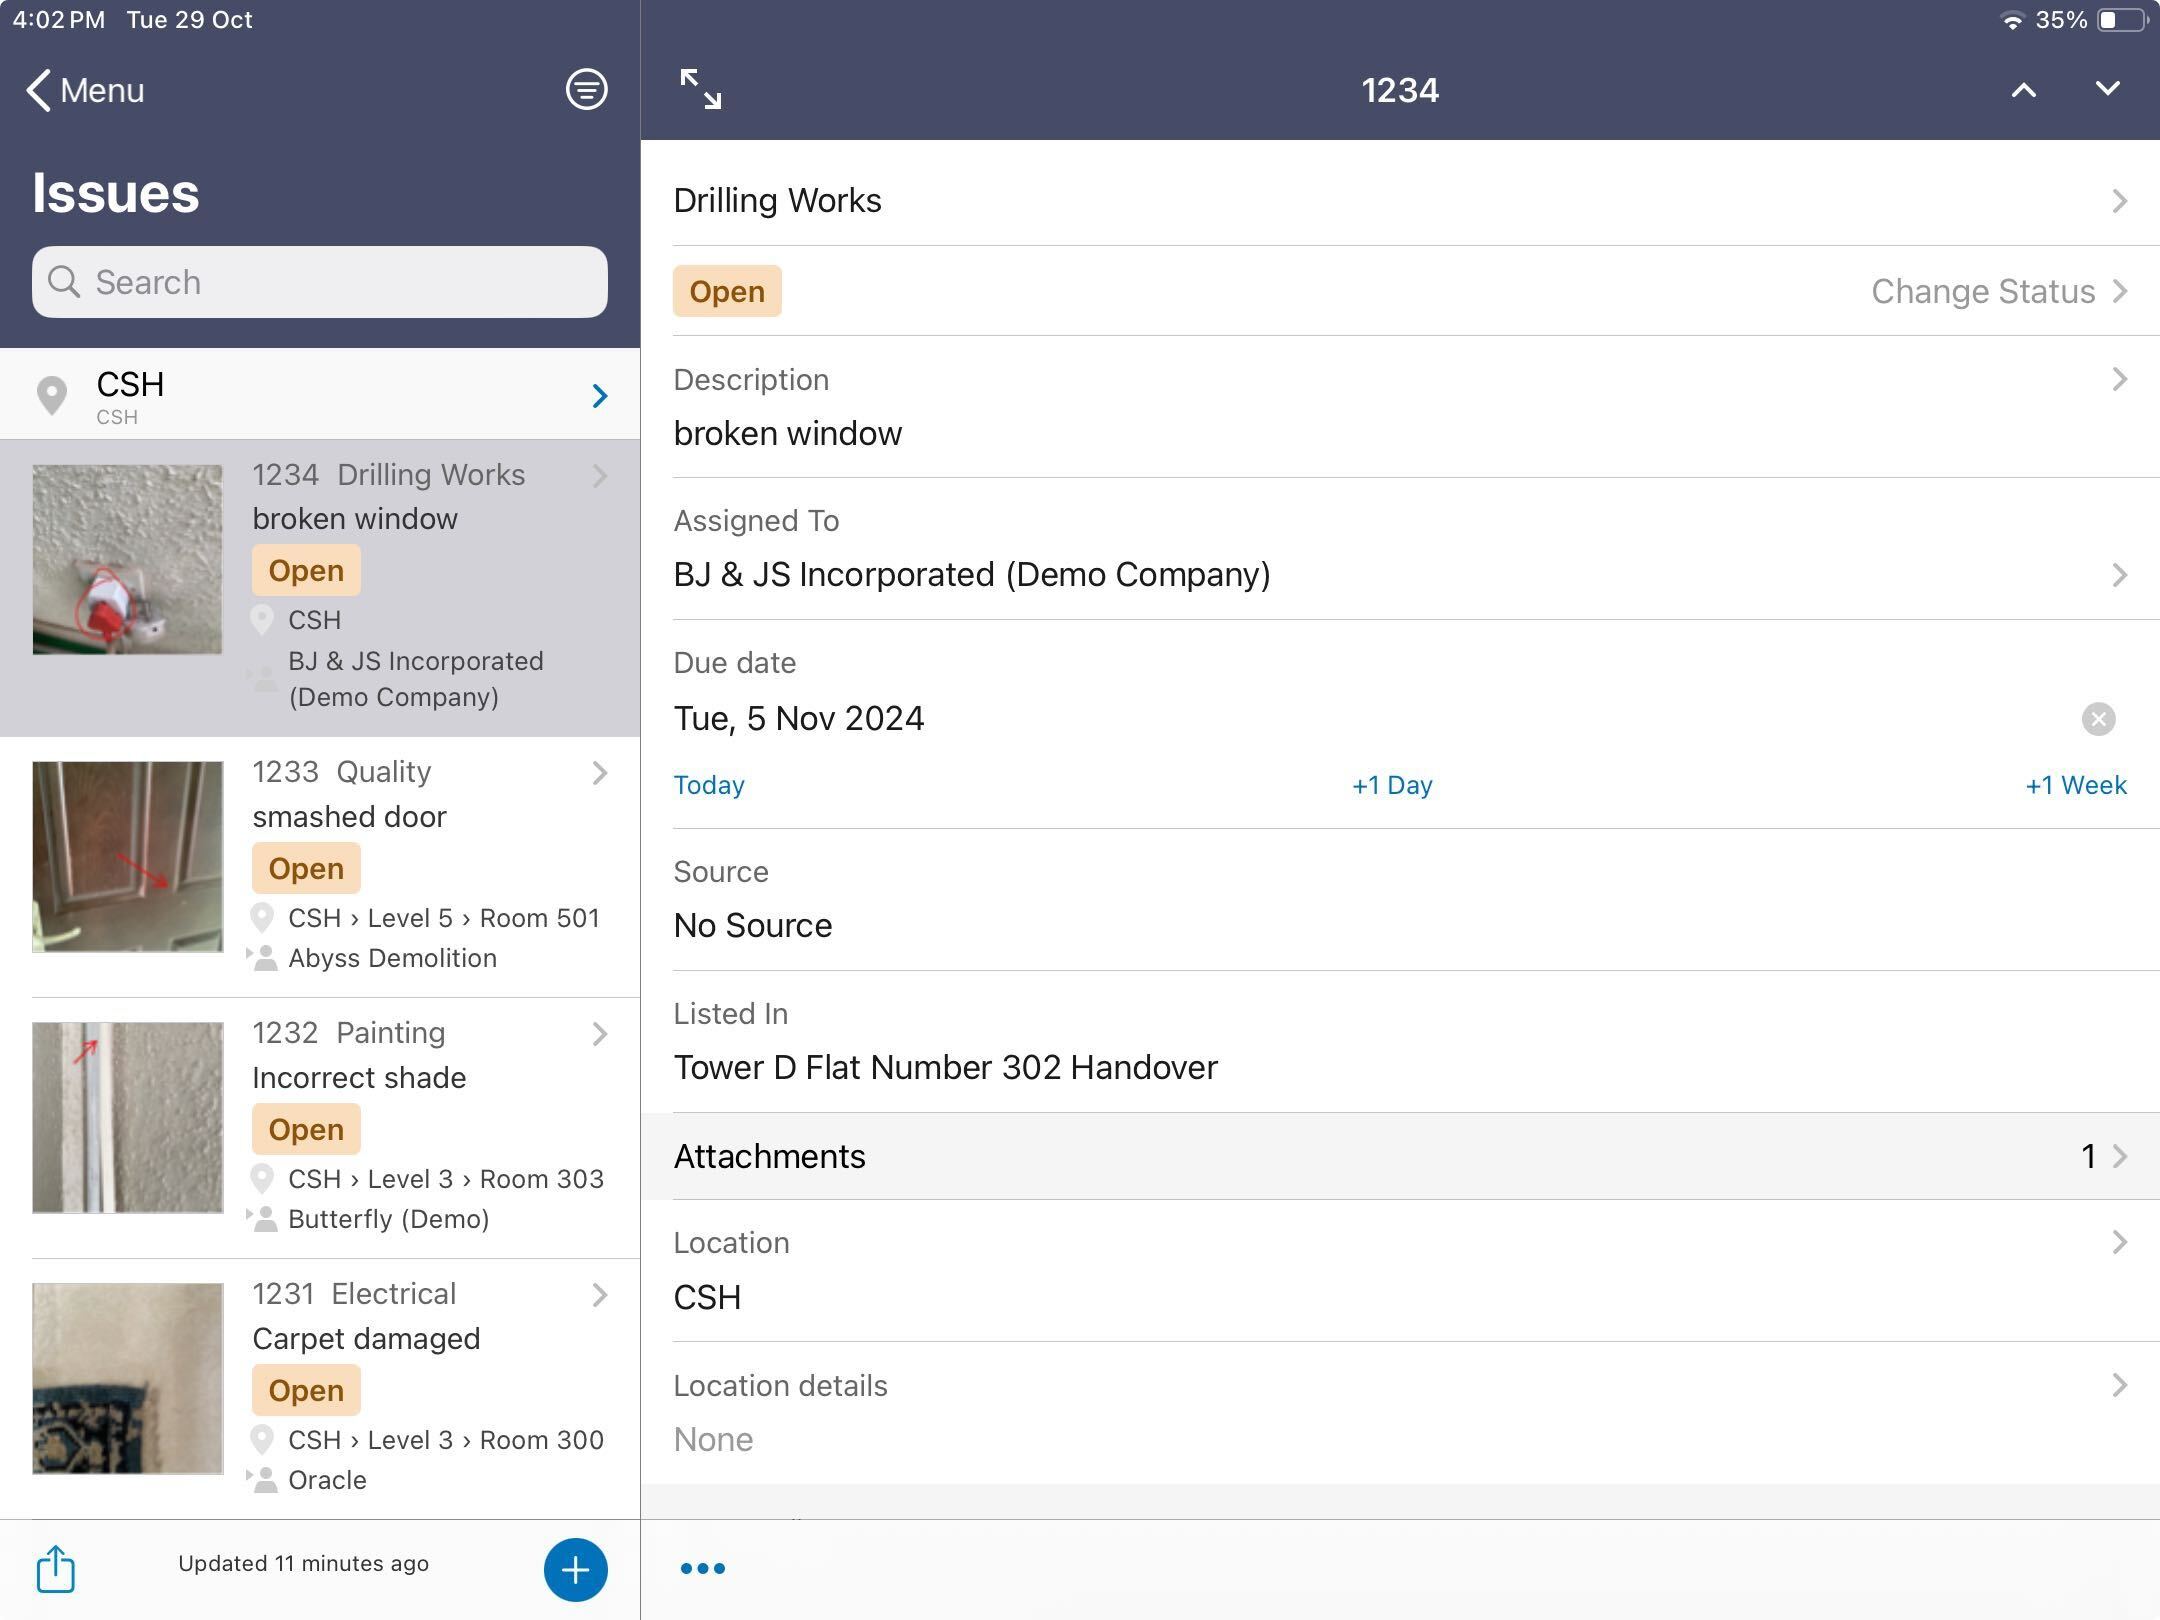
Tap a field to change its details. You can update the following fields:
Issue type.
Status.
As an assignee, changing the status to 'Work done' will display the issue as 'Ready to inspect' for the organization that created the issue.
You must provide a reason for changing the status to 'In Dispute'.
You can only close an issue that your organization created.
You can optionally add photos as evidence of completed work.
Description up to 255 characters.
Assignee.
Due date.
Tap Attachments to view the attachments already added to the issue and to add more photos, documents, or other relevant files from your device, so it's clear what the problem is.
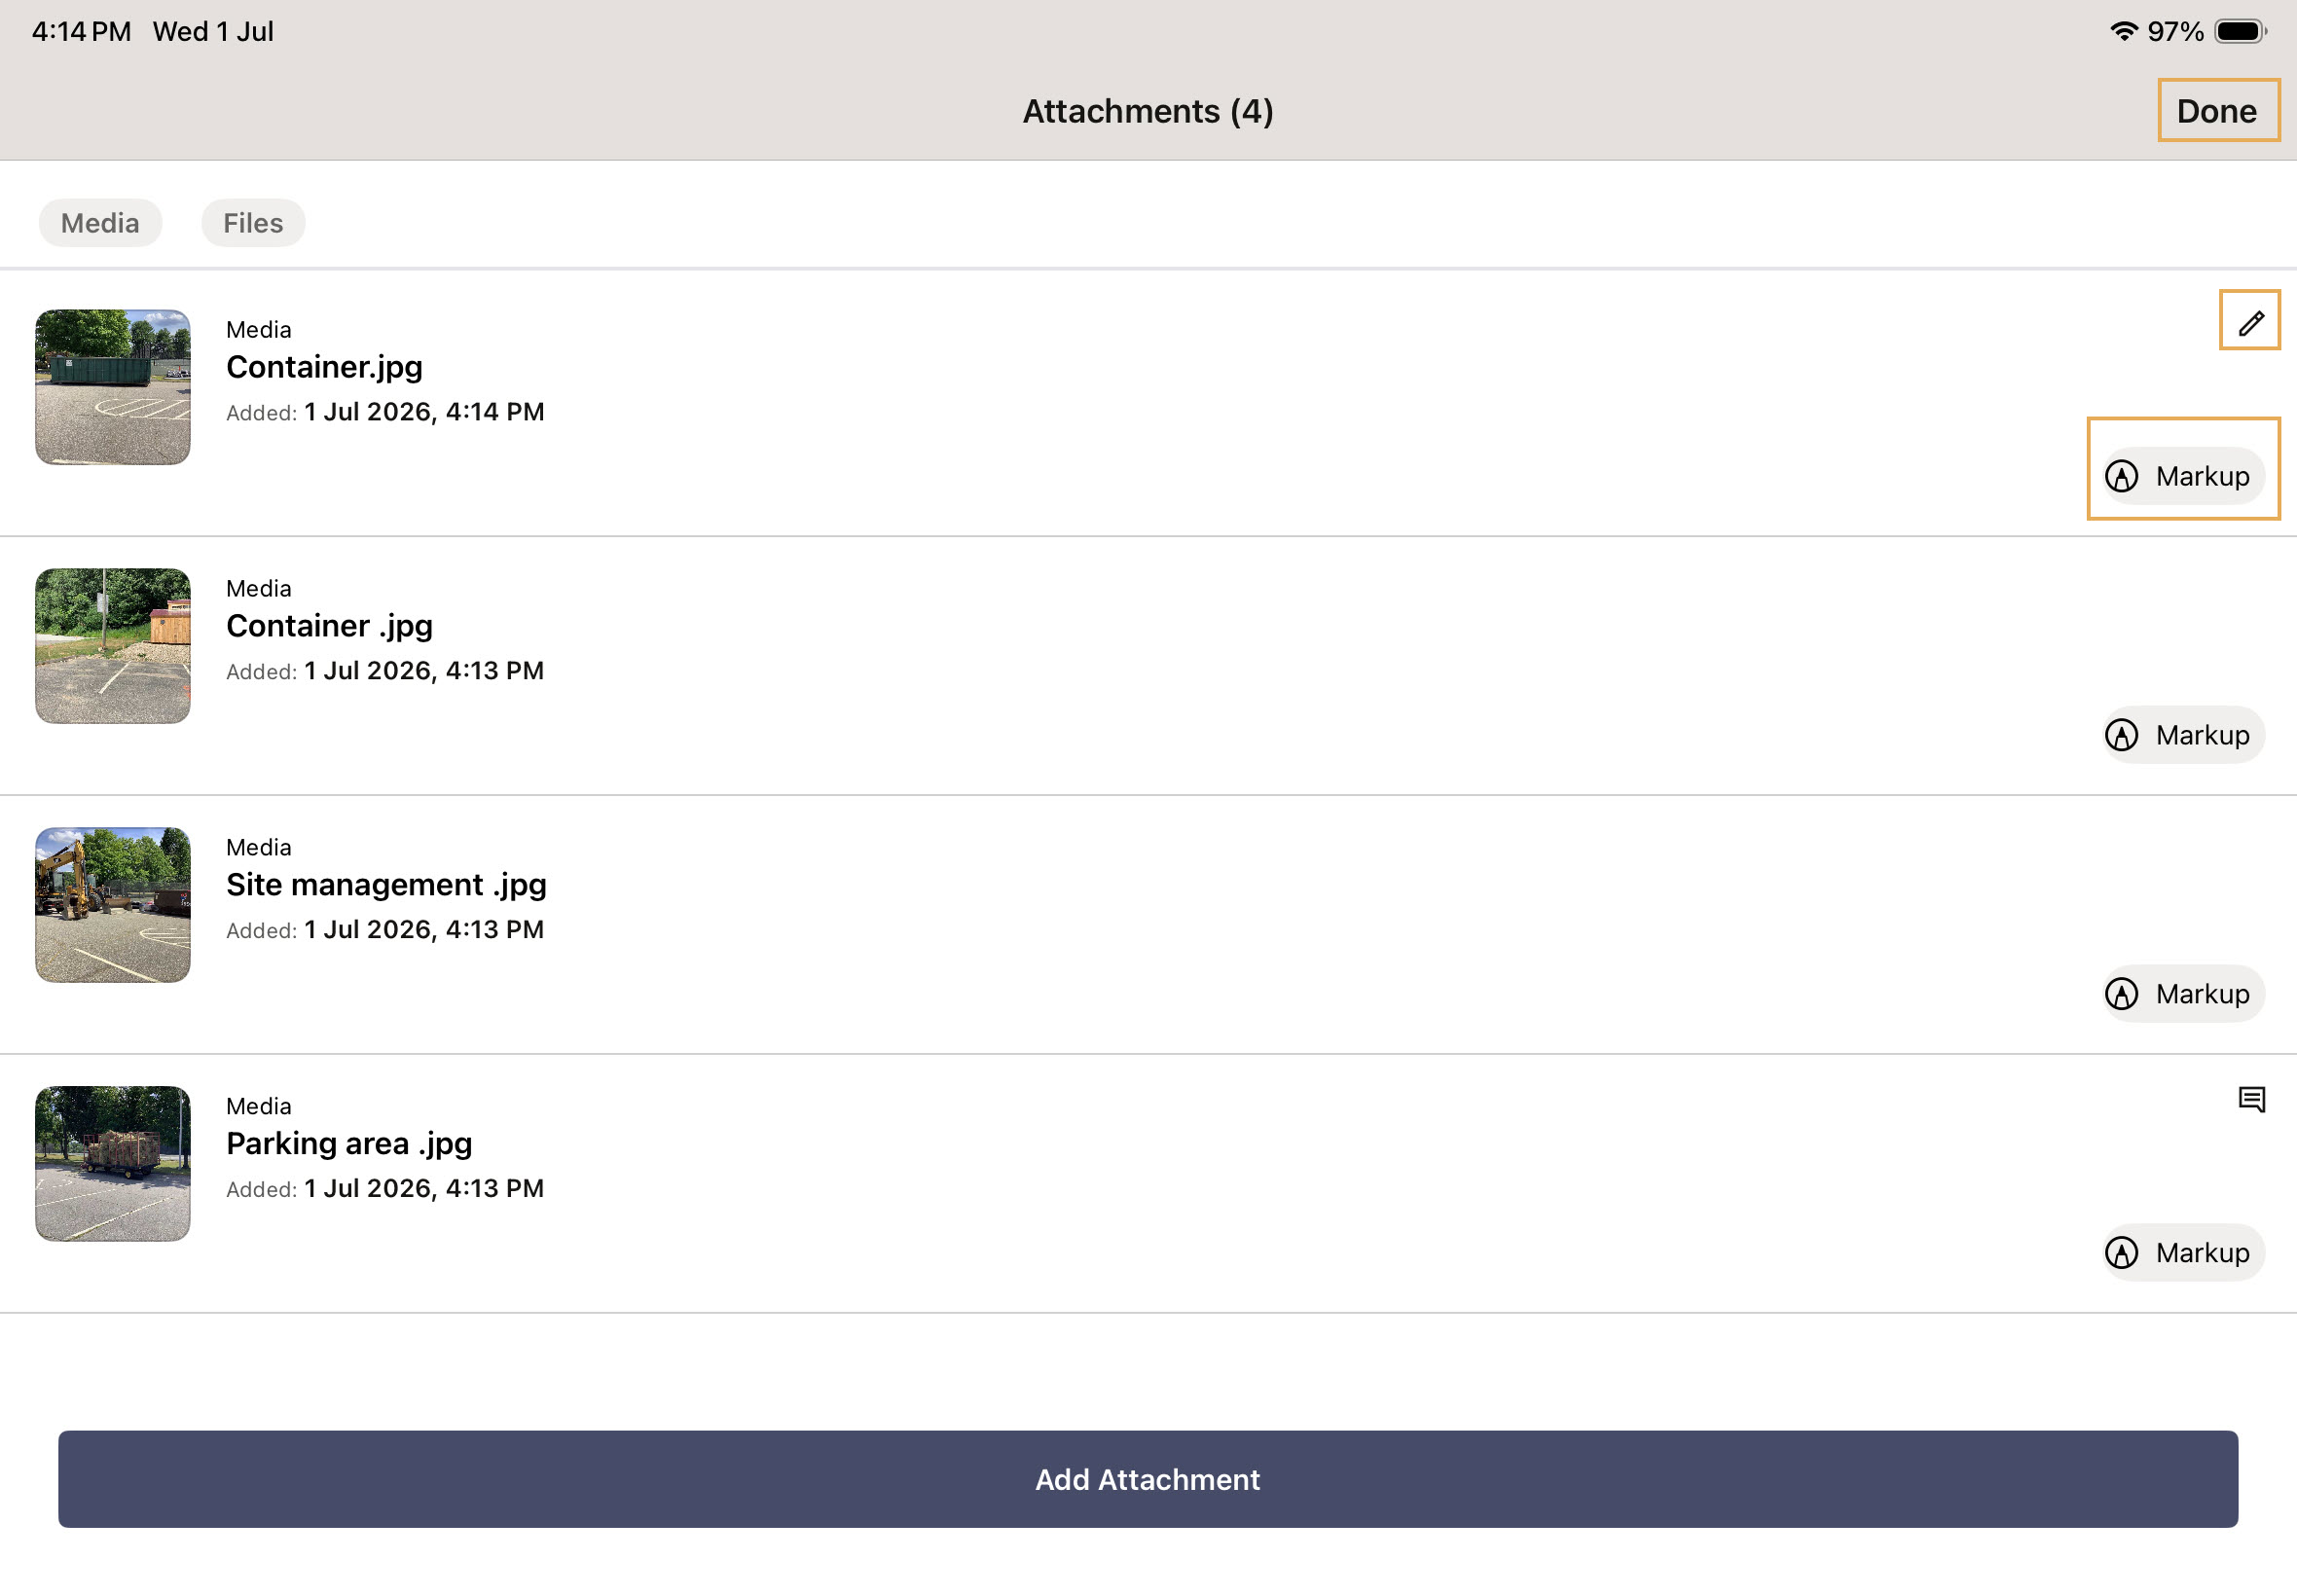
Added attachments are displayed on the Attachments screen.
Tap the Markup icon next to a photo or PDF attachment to annotate it.
After adding your markup, tap Done to return to the Attachments screen.
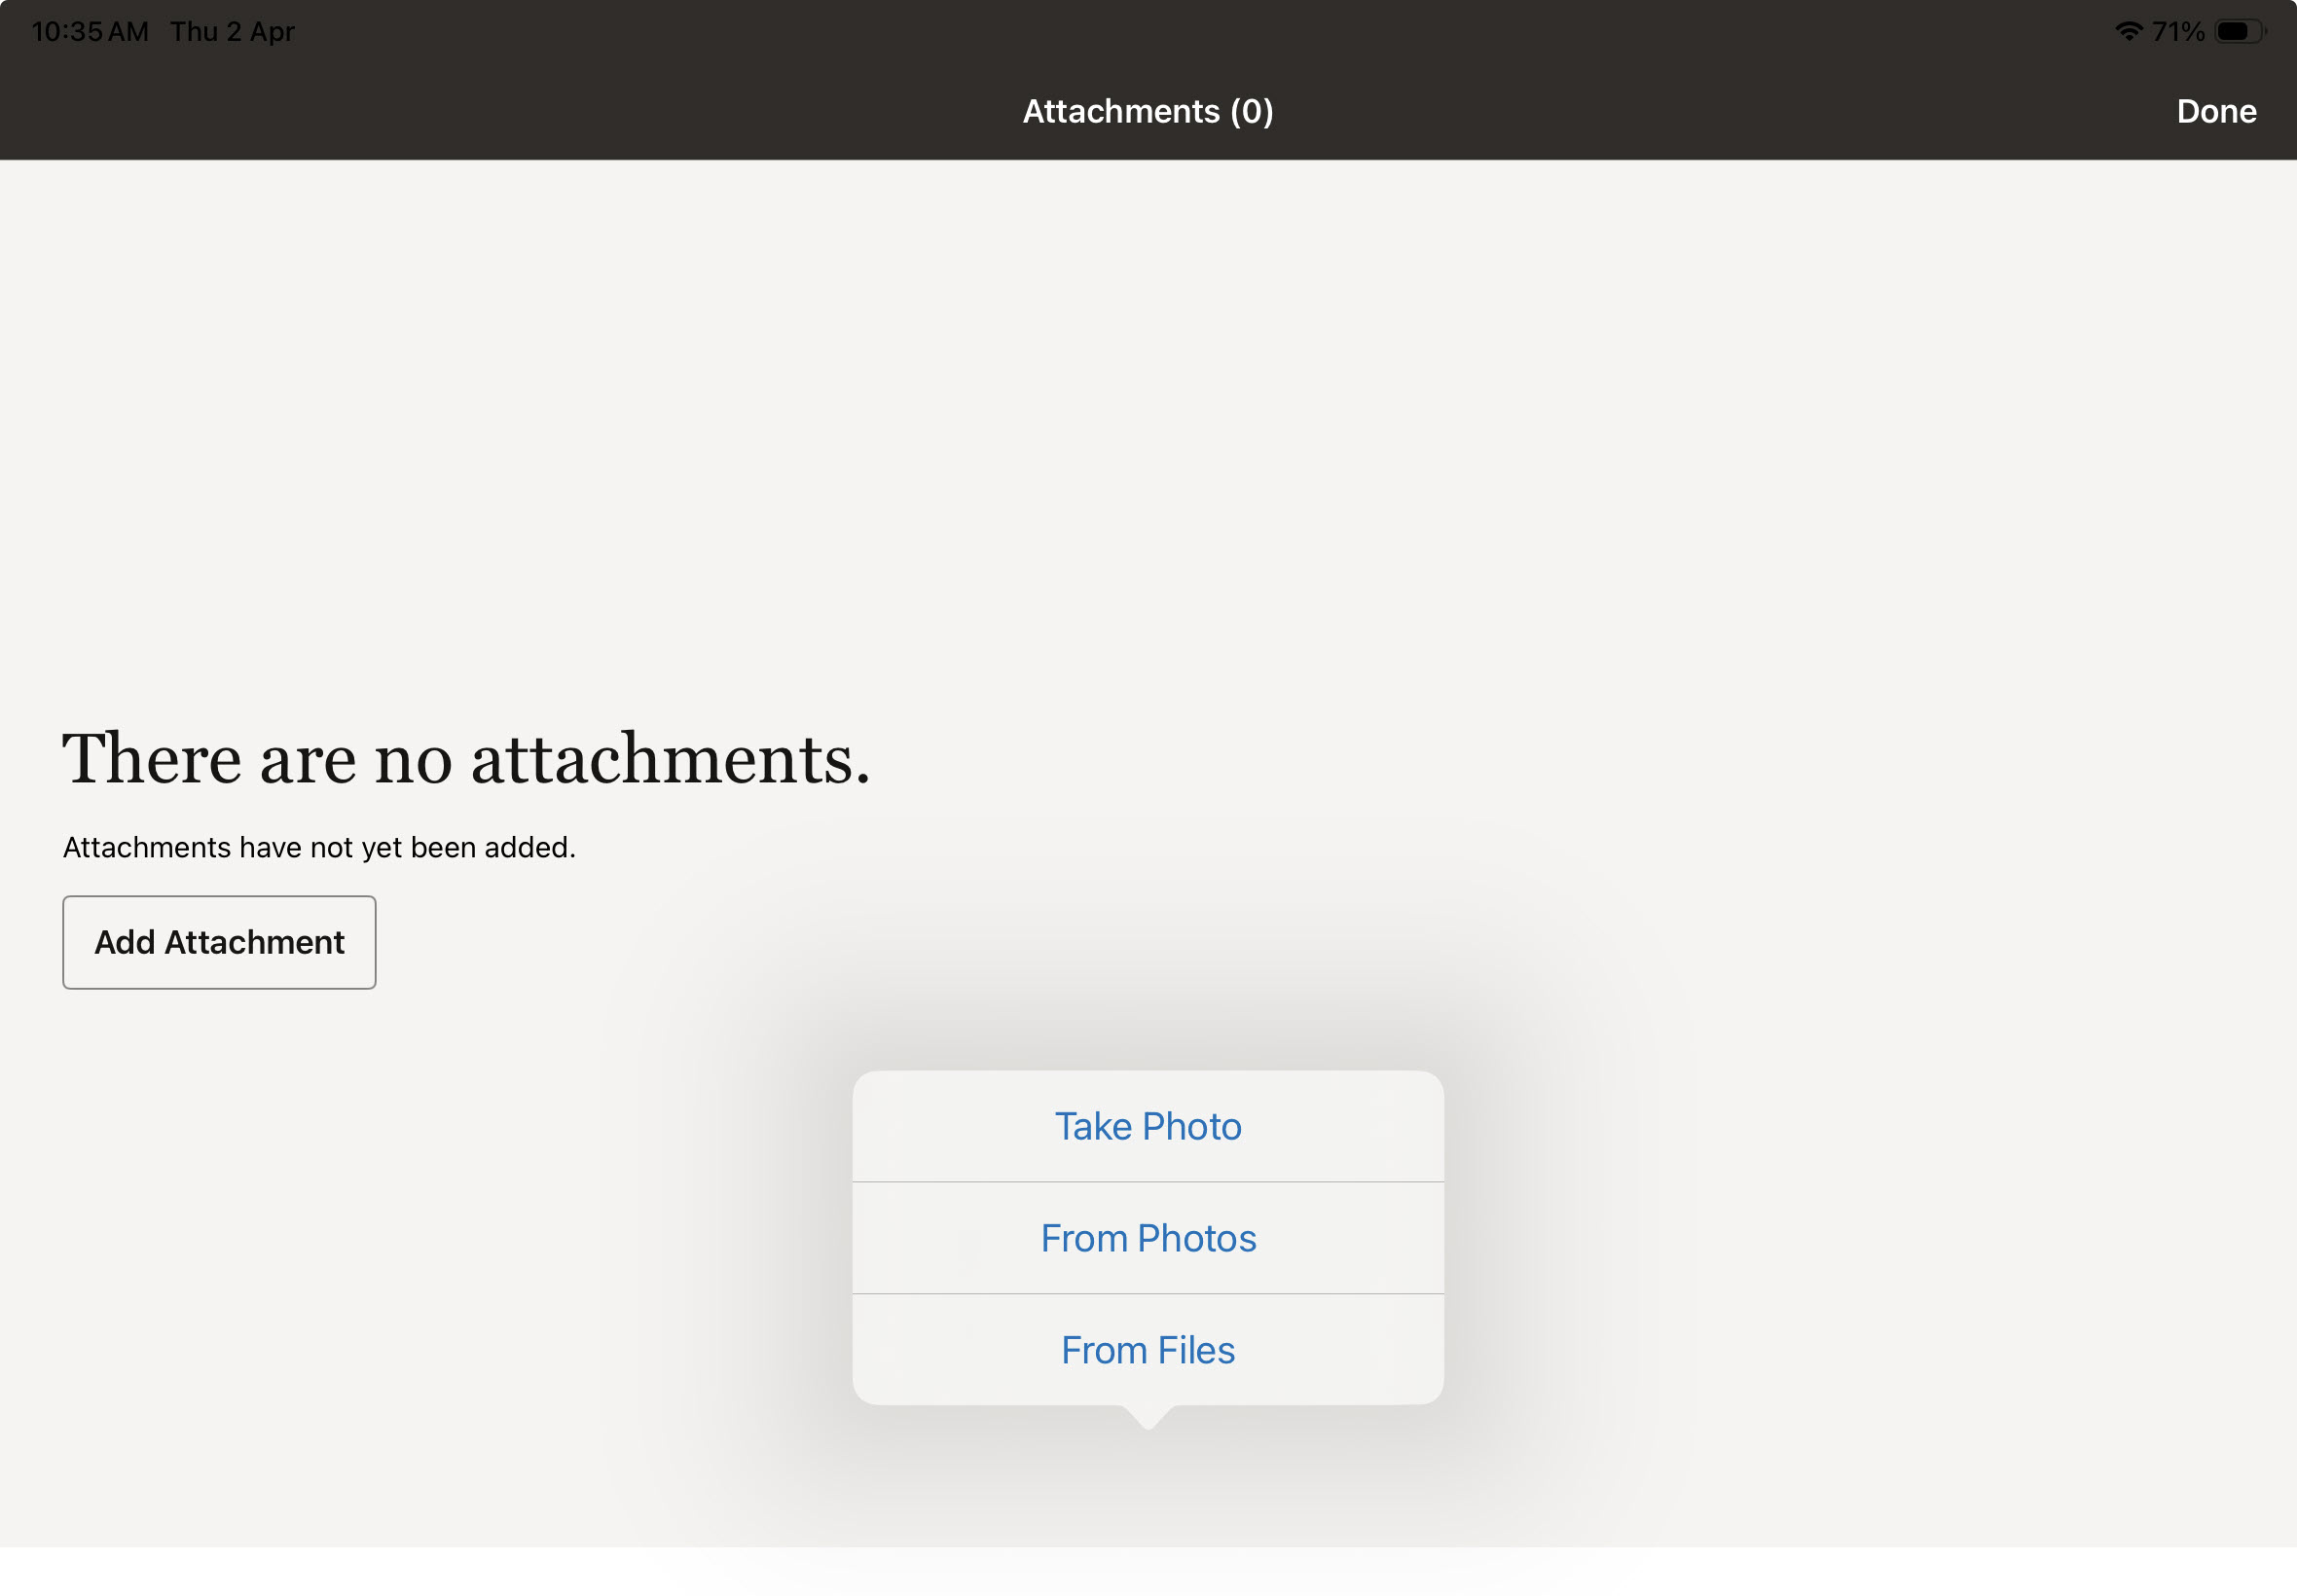
Tap Take Photo to capture a new image using your device's camera.
Tap From Photos to select existing images from your device (up to 15 at a time).
Tap From Files to attach other file types.
Any attachments you add while editing are displayed on the Attachments screen alongside the existing attachments.
Tap the Edit (pen) icon to rename the attachment or add an optional description of up to 255 characters.
Tap the Markup icon next to a photo or PDF attachment to annotate it. The number of attachments is displayed in brackets.
After adding your markup, tap Done to return to the Edit screen.
Tap the Delete icon to remove an attachment before saving the issue.
Attachments are saved when you save the issue.
After the issue has been saved:
Attachments with a description display a Note icon.
Photo attachments continue to display the Markup icon so you can add or update markups after the issue has synced.
The Markup icon is not displayed for other attachment types after the issue has synced because additional markups are not supported.
Tap a thumbnail to preview it in full screen. The filename and description are shown.
Status when added is displayed for image attachments only.
Tap the Properties icon to view attachment details. For media files, geo-location information is shown, including coordinates and a map view.
Tap the Share icon to share attachments using external apps.
After saving the issue, you can’t delete attachments or edit their descriptions.
You can attach files up to 100 MB in size.
For security reasons, .jar and .exe files can’t be attached.
Enter the issue’s location details to make it easier to find.
If project fields are configured, complete the required information under Extra details.
Tap Save to make the changes.
Tap the back arrow to return to the issues list.
Note
Need to close multiple issues? In the issues list swipe left to right on an issue you want to close.