Support Central
The Add/Remove Columns feature lets you see the search results the way you want to.
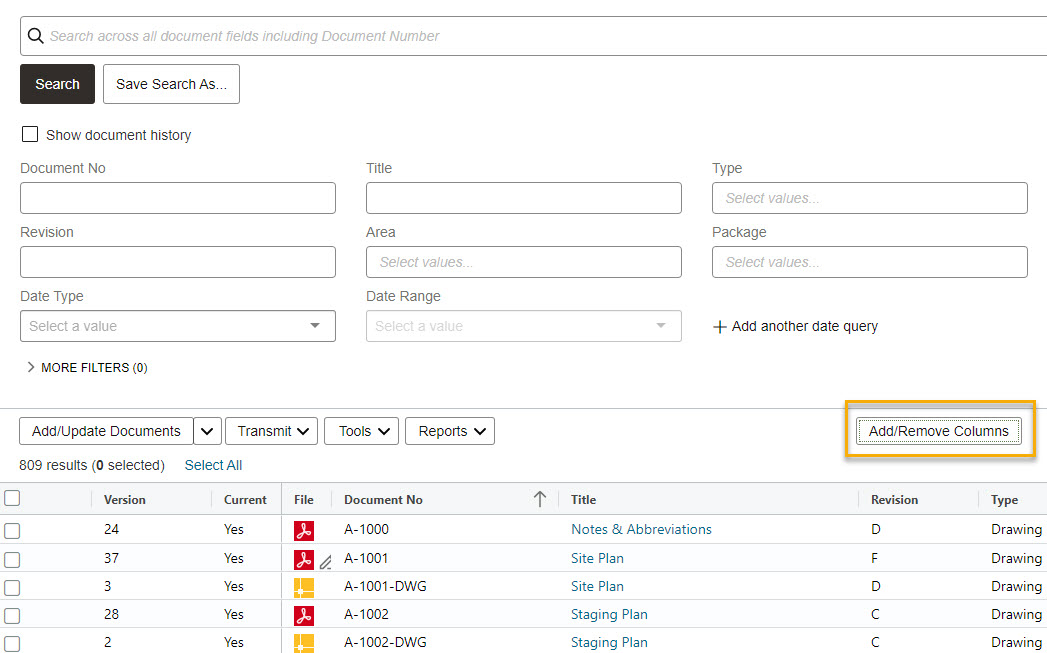
When you search for mail or documents, the results page shows a range of information about each result in the list. But maybe there’s other information that’s more important to you.
You can change the information you see in the results pages by clicking Add/Remove Columns.
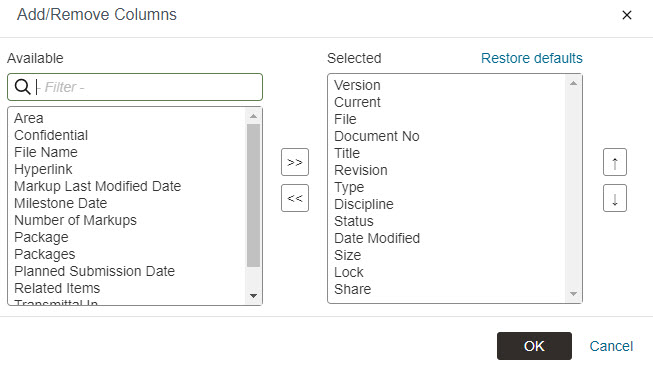
On the left, you’ll see a list of the Available Columns you have to choose from. These will vary depending on your project, but likely columns include:
On the right, you’ll see the names of the Selected Columns that are currently in your view.
To add columns to your view, click on the column under Available Columns, then click the right-pointing arrow button.
To remove columns from your view, click on the column under Selected Columns, then click the left-pointing arrow button.
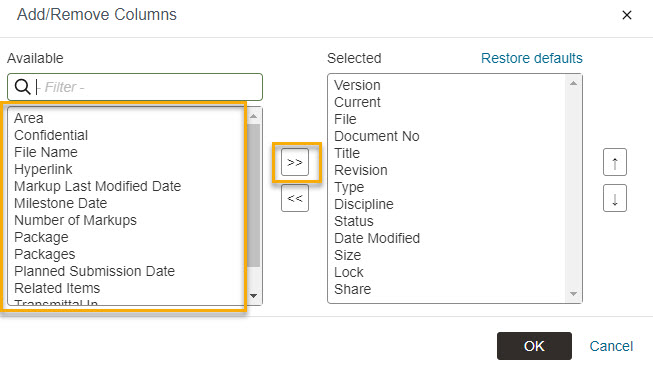
You can also double click to make a selection.
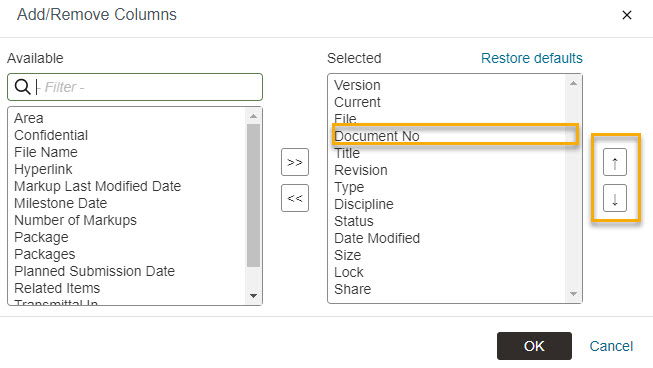
To change the order of columns in your view, use the up and down arrows on the right-hand side of the dialog.
If you make changes, then decide you don’t like them, click Restore defaults to return to the original column selections.
Follow the process provided for Documents above, but select Mail from the top menu in step 1, rather than Documents.
Mail-specific fields you might consider adding include:
By configuring the relevant columns in Mail, you can get a rolling picture of responses to RFIs, as well as variation and change request processes, and site instructions. This can help with your organization's internal RFI reporting.


