Support Central
Send mail or documents to the same group of people on a regular basis.
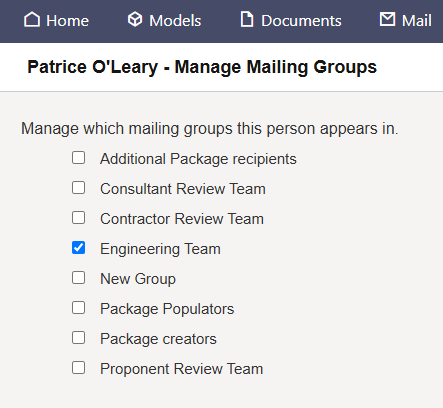
Mailing groups are also known as distribution groups. By default, a mailing group is only visible to your organization. If you have permission, you can share a mailing group with all users on the project.
You need to create separate mailing groups for To and CC recipients.
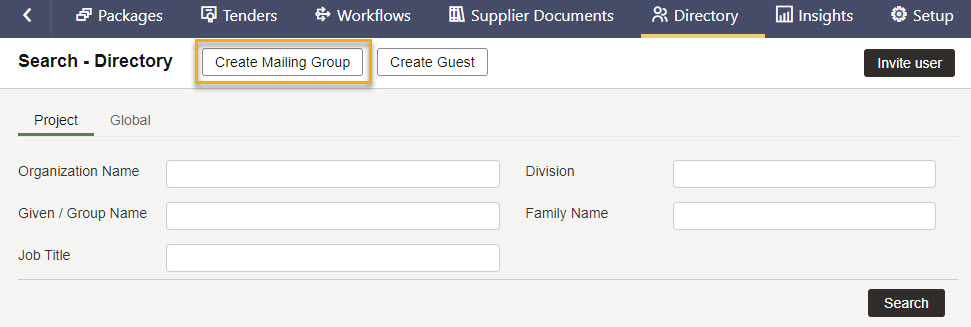
You need to create separate mailing groups for To and CC recipients.
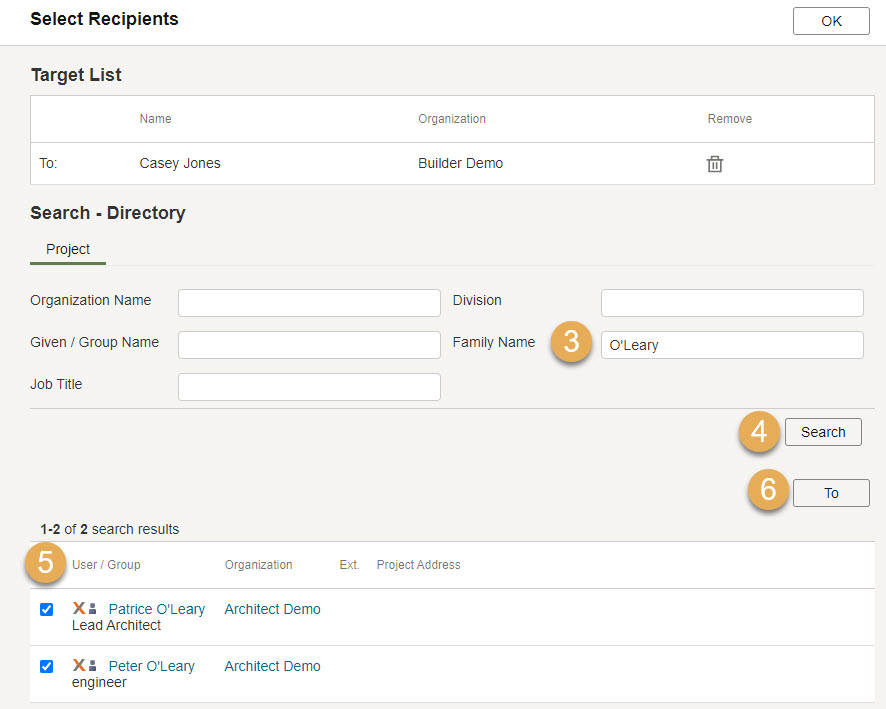
To copy a mailing group, create a new group and click Edit Users. Select the existing group and click To. The users from the existing group will be added into your new group.