How to install your Project Archive
Follow these guidelines when installing a Project Archive for the first time.
Tip!
Important: Do not run archives from cloud synced services (such as OneDrive, Google Drive, Dropbox) or drives/folders mapped directly to those cloud services. These services can create multiple versions or copies of files during synchronization, causing data corruption or loss. For backup or sharing purposes you can store your archives using these services but avoid actively using or opening it.
Two ways to download your archive
Depending on the size of your project, there are two different methods to download and install the archive. You will have received instructions detailing which method to use.
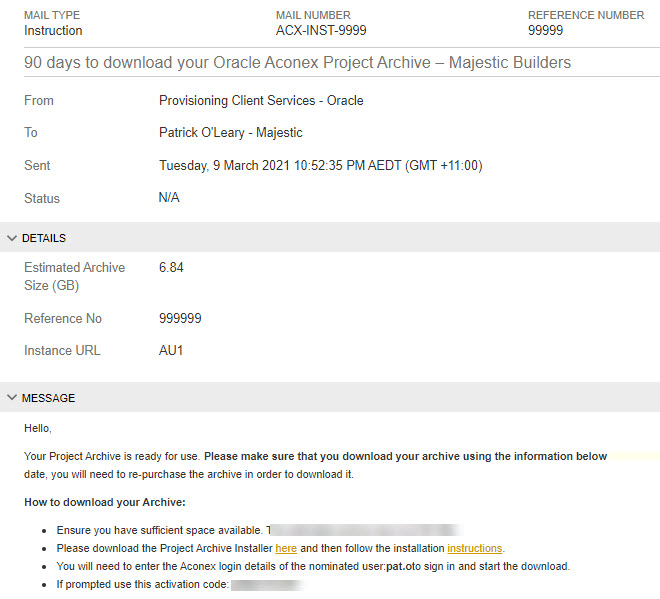
If your instructions contain separate download links, as in the example below, please follow the instructions to download your multi-part project archive.
Run the .exe installer to download your archive
-
Download and run the .exe installer available here.
-
The wizard opens. Click the Next button.
-
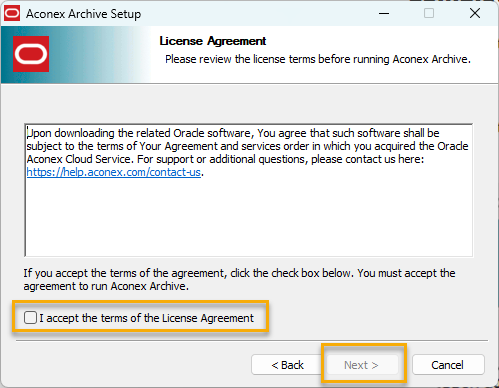
Read the license agreement, and, if you accept the terms, click the I Accept checkbox. Click the Next button.
-
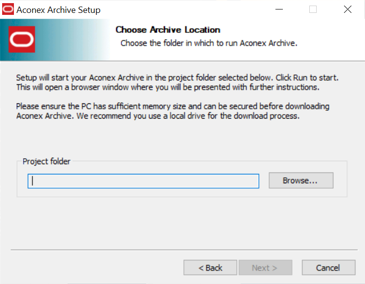
Choose where you want to install the Project Archive Viewer. You can:
-
Click the Browse button.
-
Select the location where you want to install the Project Archive files.
-
Click the Select button.
-
Click Run.
Tip!
Make sure the destination folder does not include special characters (letters and numbers only).
-
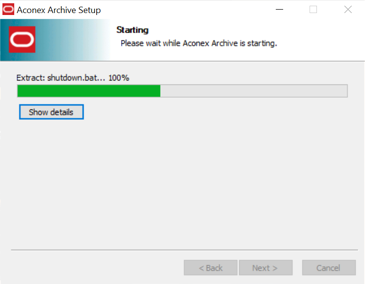
A window opens showing you progress of the installer.
-
Once this has installed the following window will open.
-
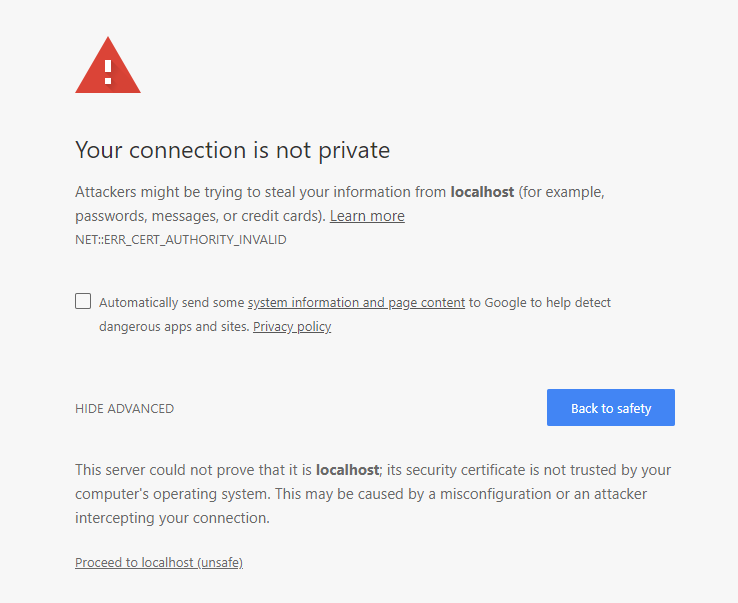
Your Default internet browser will then open. You may first see a Your connection is not private screen. If you do, press Advanced and the select Proceed to localhost to be directed to the application.
Tip!
This is an example of Google’s Chrome browser, other browsers may differ slightly.
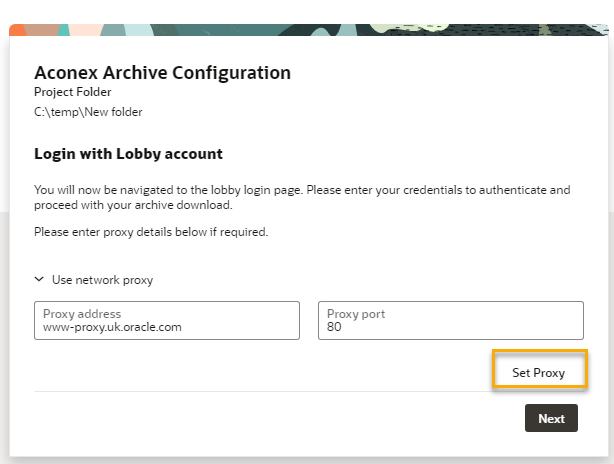
Tip!
Some organizations use a proxy to access the internet. You may need to enter the proxy details to successfully download your archive. Your IT team can provide the proxy details to you. Click use network proxy and enter your proxy details. Make sure you exclude the protocol (ie: 'https://') from the proxy server address.
- Enter your Lobby login details and click Sign in to continue.
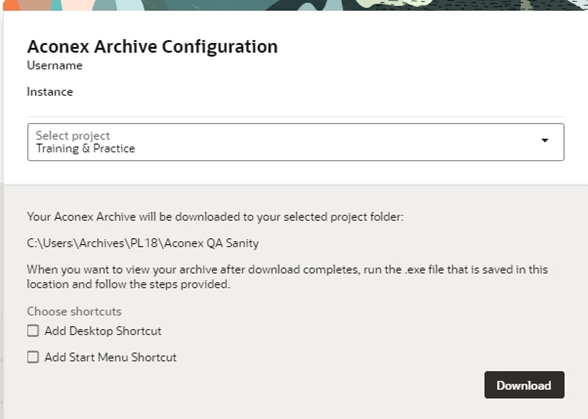
- This opens a window where you can select your project to archive, and also an option to create shortcuts. Click Download.
- Your archive will start to download. The amount of time this takes depends on the size of your project.
- Once the download is complete, click Next.
Your Aconex project data has now downloaded into your archive and you can now use it as required.