Migrate your Local Copy to Scheduled Archive

Follow these instructions to move your Local Copy data to a Schedule Archive

Before you begin:

  • All projects located under View Jobs must have the status Completed/In Progress
  • Identify the size of each project and make sure you have enough disk space on your computer
  • Download the Local Copy Migration Tool

  1. Extract/unzip the zip file into a folder on your computer. This will be the location where your scheduled archives will be stored.

    You’ll see the following folders/files after the file has been extracted:
  • Migration
  • MigrationTool.log
  • migration.bat
  • Migration-0.0.1-SNAPSHOT.jar

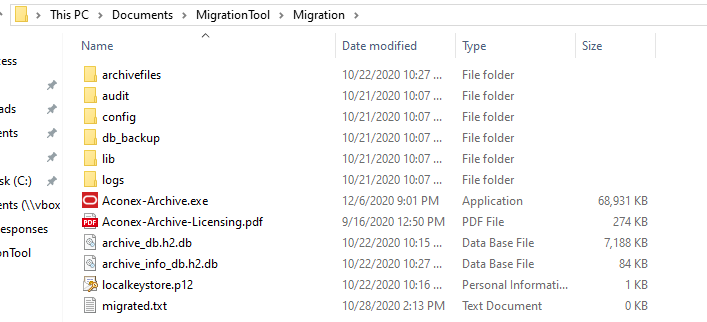
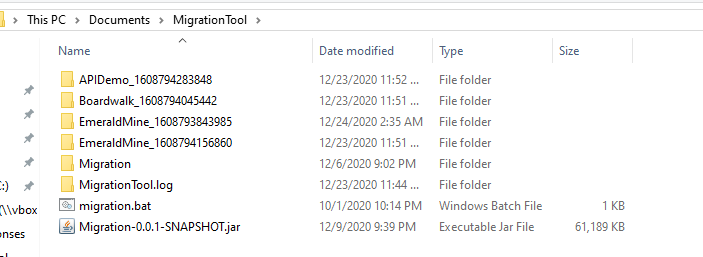
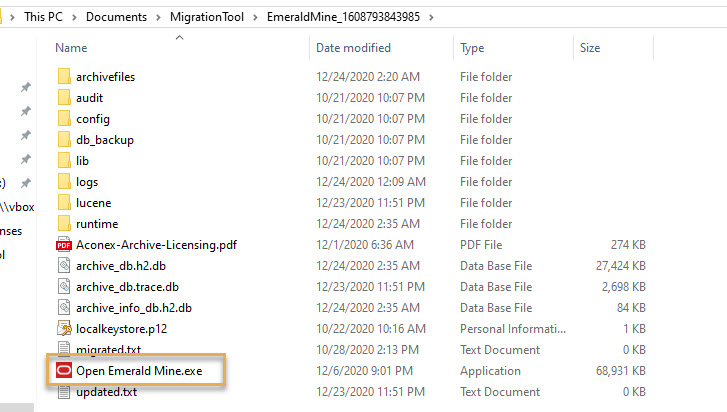
Within the Migration folder you see the following files and folders required for running Scheduled Archive projects.

  1. Open command prompt (run cmd from your computer) in administration mode and enter the following commands:


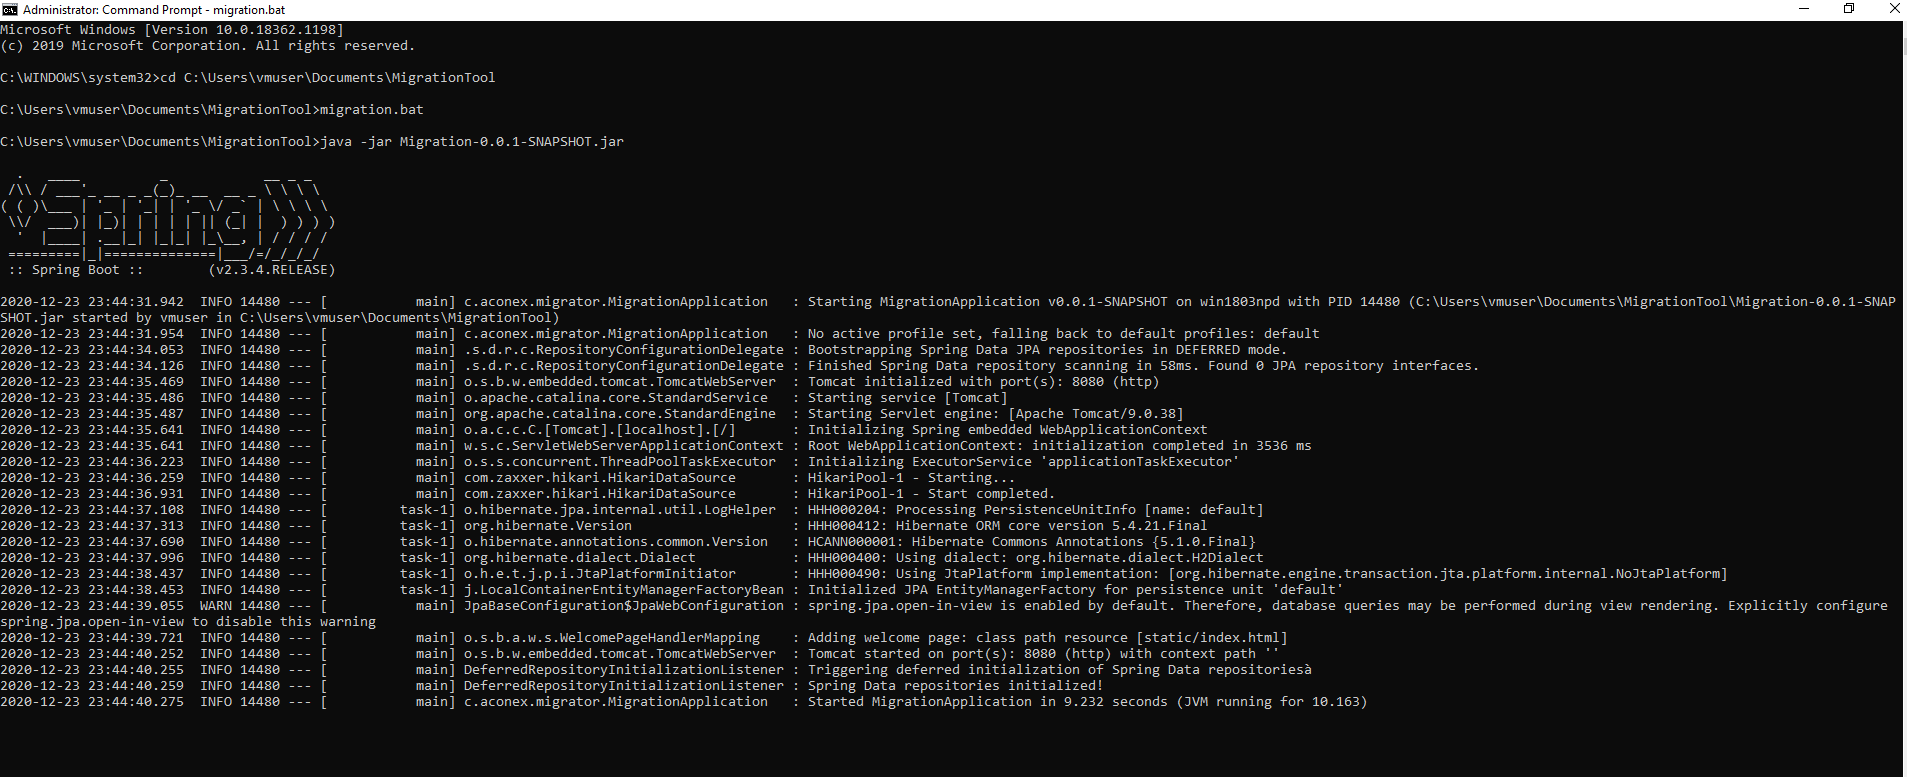
    cd c:\MigrationTool  (substitute c:\MigrationTool for the folder where you extracted the zip file)

    migration.bat

  1. Open your web browser and enter http://localhost:8080. You'll see the follwing page displaying your archives from the Local Copy View Jobs section.
  1. Select the projects you wish to migrate. Then click Migrate Data.
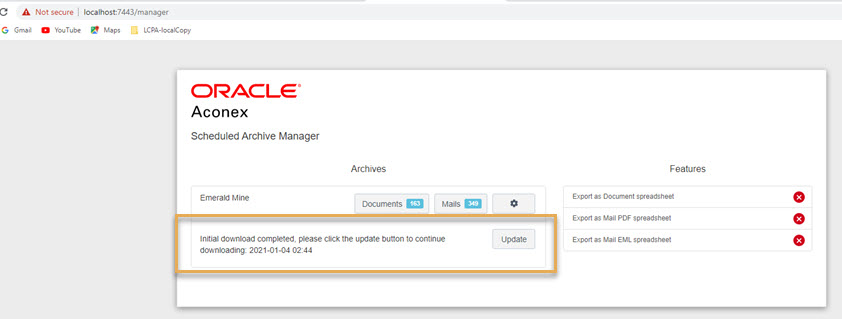
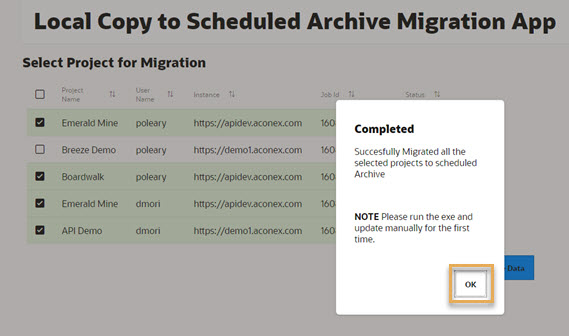
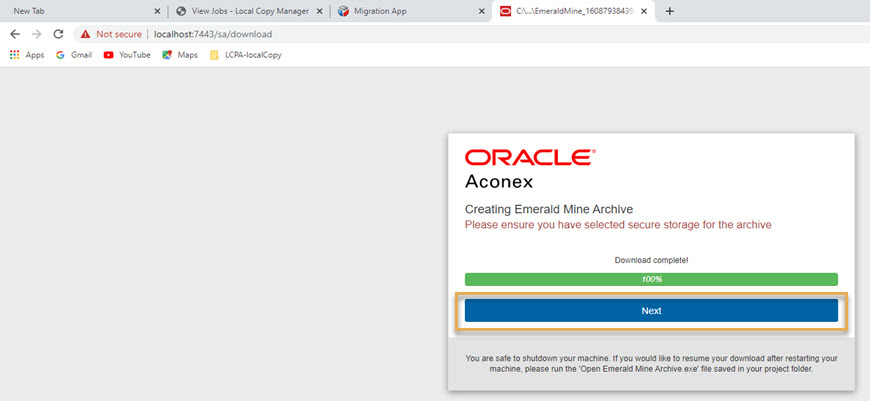
  1. You’ll receive a message when the migration is completed. Click OK and refresh the page to check the status of the migration.

  1. Open to the location of the Migration folder, and you’ll see the project folders are created for the selected projects.


Tip!

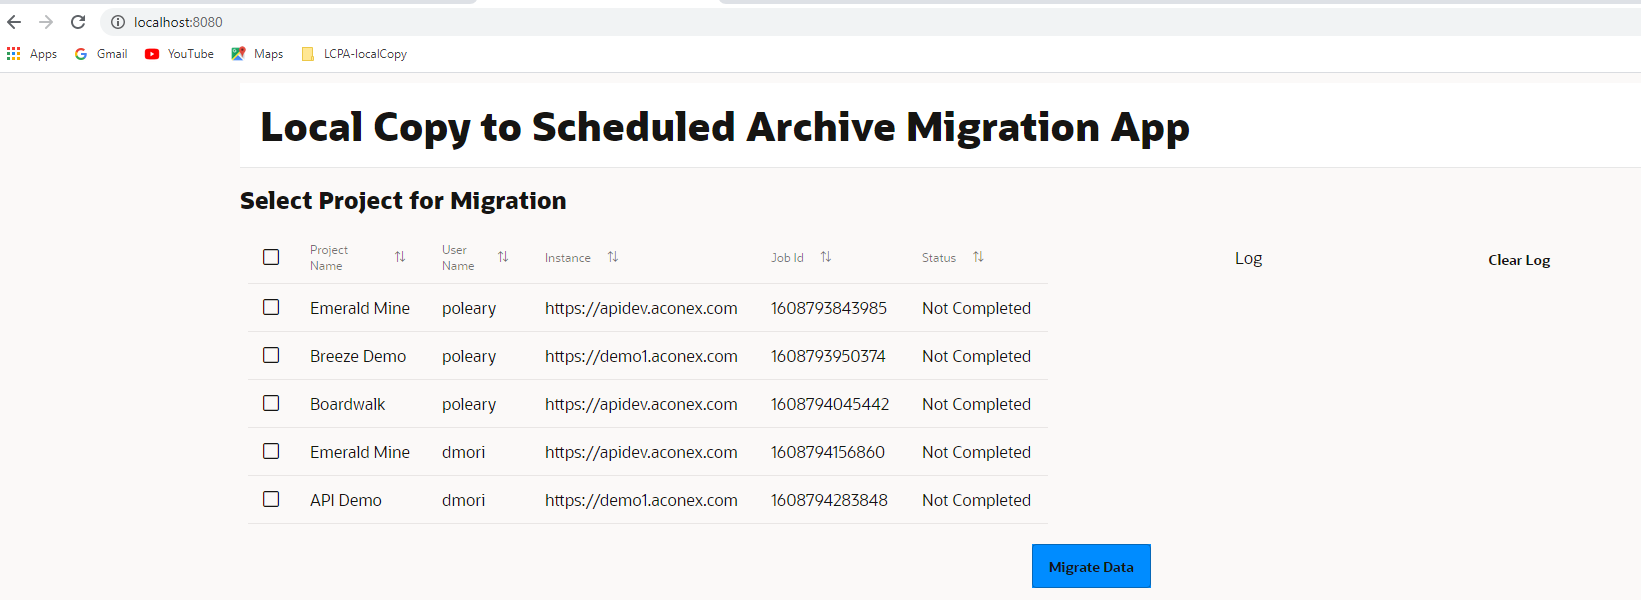
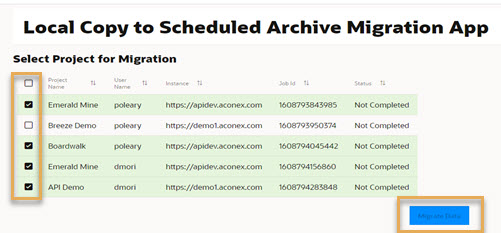
The Project name is the name in Local Copy followed by the project id.

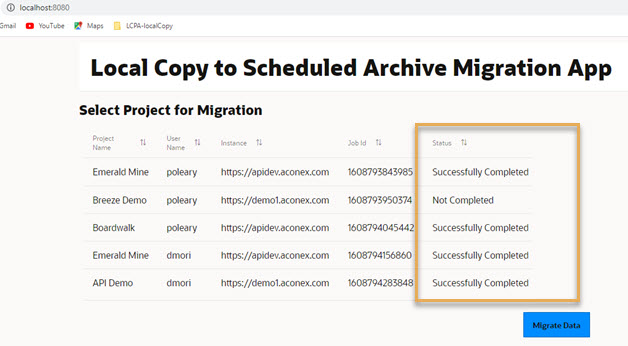
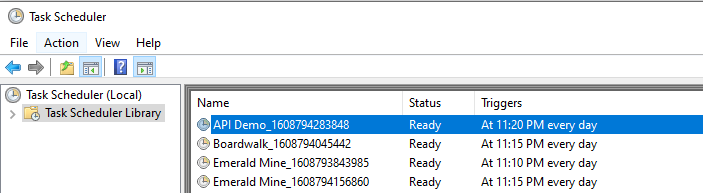
You should also check the Task scheduler (Windows->Task scheduler) and make sure all projects are listed there. 

  1. Open a project folder and click on the exe to open the archive.
  1. The first time you open the archive you’ll need to authenticate by clicking Update. This will also download any new documents and mail from Aconex.


Tip!

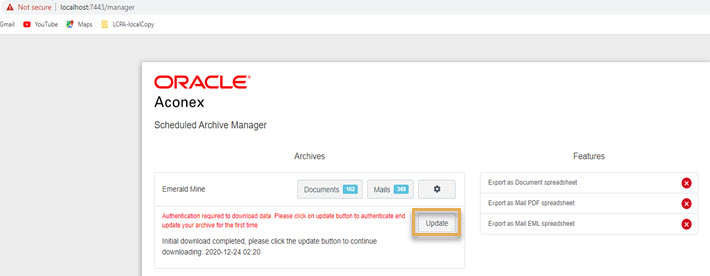
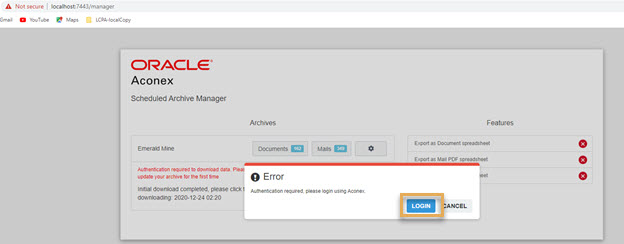
Subsequent updates can be done using either task scheduler or by update button.

  1. Click Login to Authenticate to Aconex. Enter your Aconex login name and password when you see the Aconex login screen.
  1. Click Next when the update completes.

You will be taken back to the Archive manager page where you can see the Archive has been updated.