Support Central
Your Local Copy jobs (or archives) can be transferred to new machines as required – just follow the steps below.
Maybe you have a new computer, maybe you want to share an job with a colleague – you can easily create a transferable archive of your job using Local Copy's export and import functions.
There are three steps in the process.
Get an overview in this article and then start the process by following the links to detailed instructions for each step.
The version of Local Copy you use (eg Local Copy 2.0) to import an archive must be the same version that was used to export the archive.
The first thing you'll need to do is export the job or jobs you want to transfer.
You can transfer your archived job (which is created as a .job file) via a shared network folder or with a portable device or USB stick.
Click here to get detailed instructions on exporting a Local Copy job.
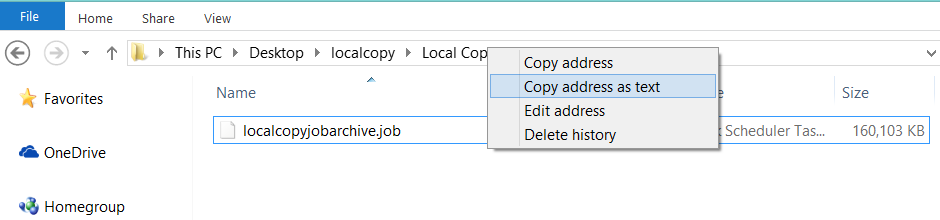
Importing a job is as simple as locating the archive you created when you exported the job.
To do this, use Windows Explorer to navigate to the directory containing the job. Then copy the path to that folder – you'll need it to direct Local Copy to import the job.
Click here to run through the steps for importing jobs.
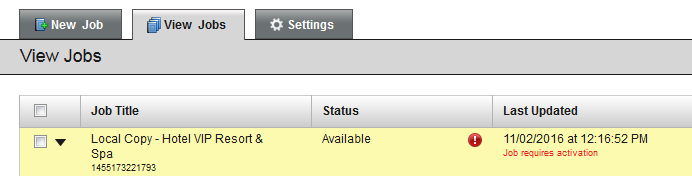
Once you've imported a job, you'll see be able to see the job listed in the View Jobs tab.
You'll see a notification that the job requires activation before you can access it.
Read the article on activating an archive here.