Support Central
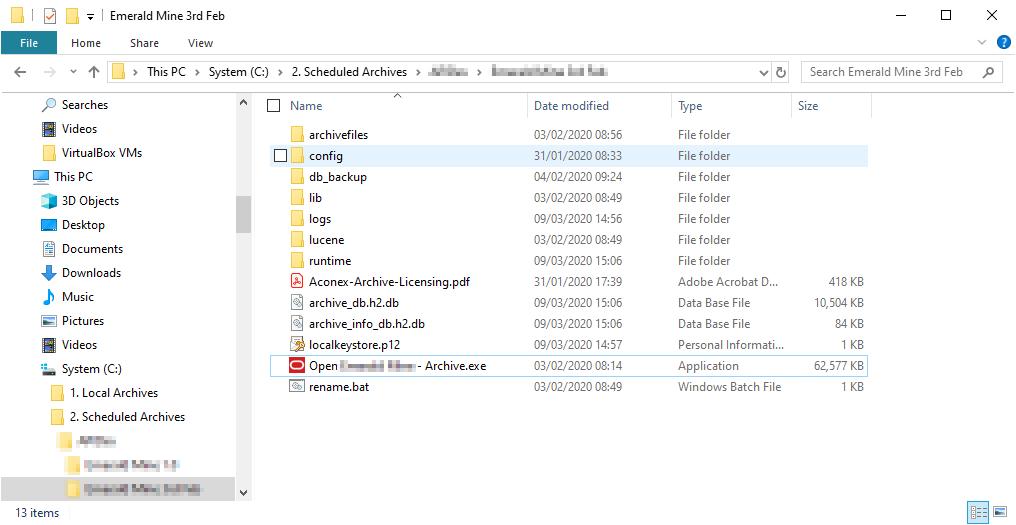
Open your Scheduled Archive from your PC or via a network.
Navigate to the installation folder and click the .exe file to run the application. The .exe filename should include the Project name.
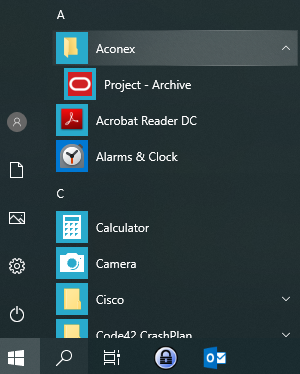
If you chose to create desktop and start menu shortcuts during the installation process, you can also launch your Scheduled Archive by clicking these shortcuts:

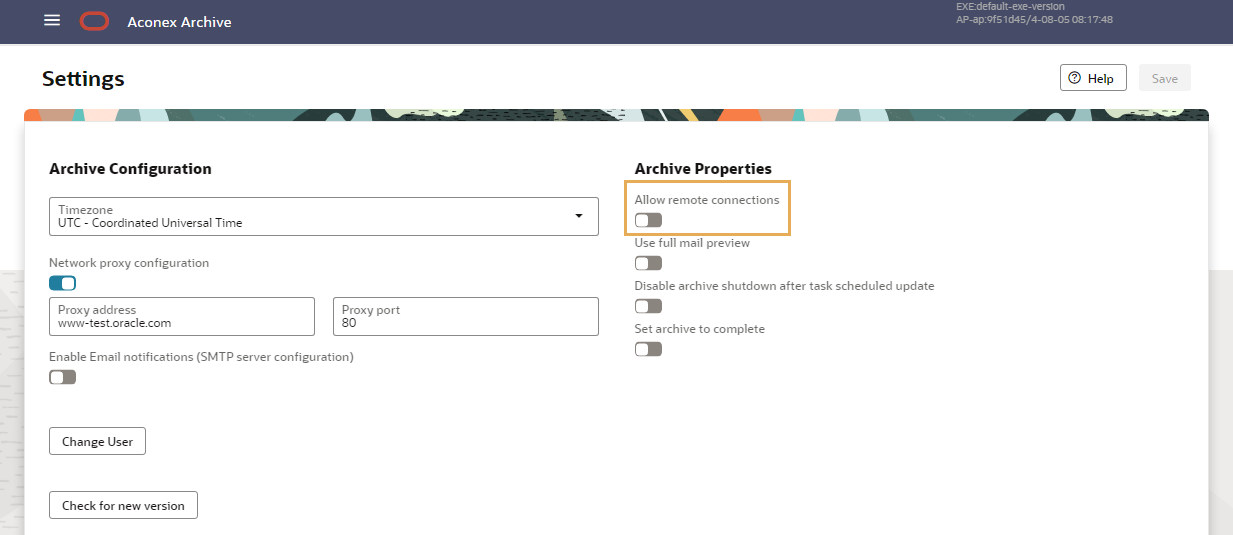
Allow remote connections must be enabled in the Archive settings for this to work correctly.
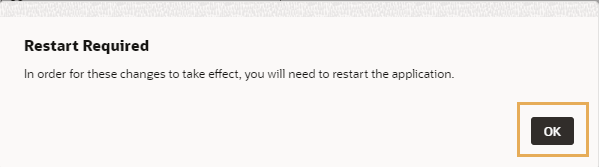
When requested, click OK, shutdown and restart the archive.
To access the Scheduled Archive you’ll need to know either the IP address or DNS name of the PC where the Scheduled Archive has been installed.
Once you have this, you can access the Scheduled Archive by entering the following address in your web browser (replacing the IP address or DNS name accordingly).
IP address example: http://192.168.0.12:7443/#/dashboard (in this example the installation PC’s IP address is 192.168.0.12).
DNS name example: http://OfficeServer:7443/#/dashboard (in this example the installation PC’s DNS name is OfficeServer).


