Support Central
Adding the resources required to complete your project and assign them to the appropriate control account.
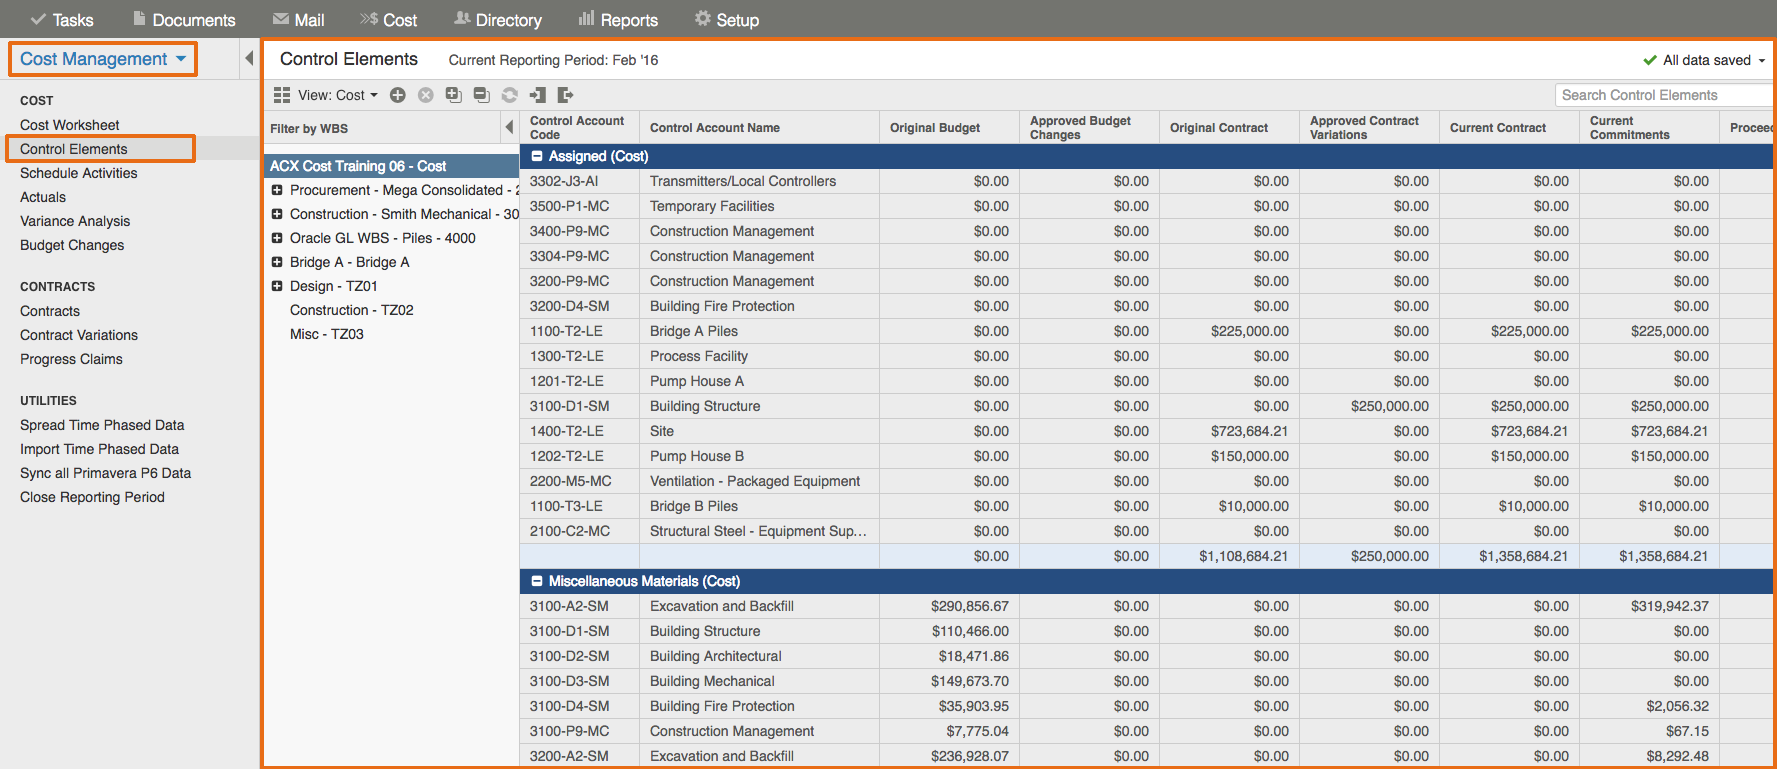
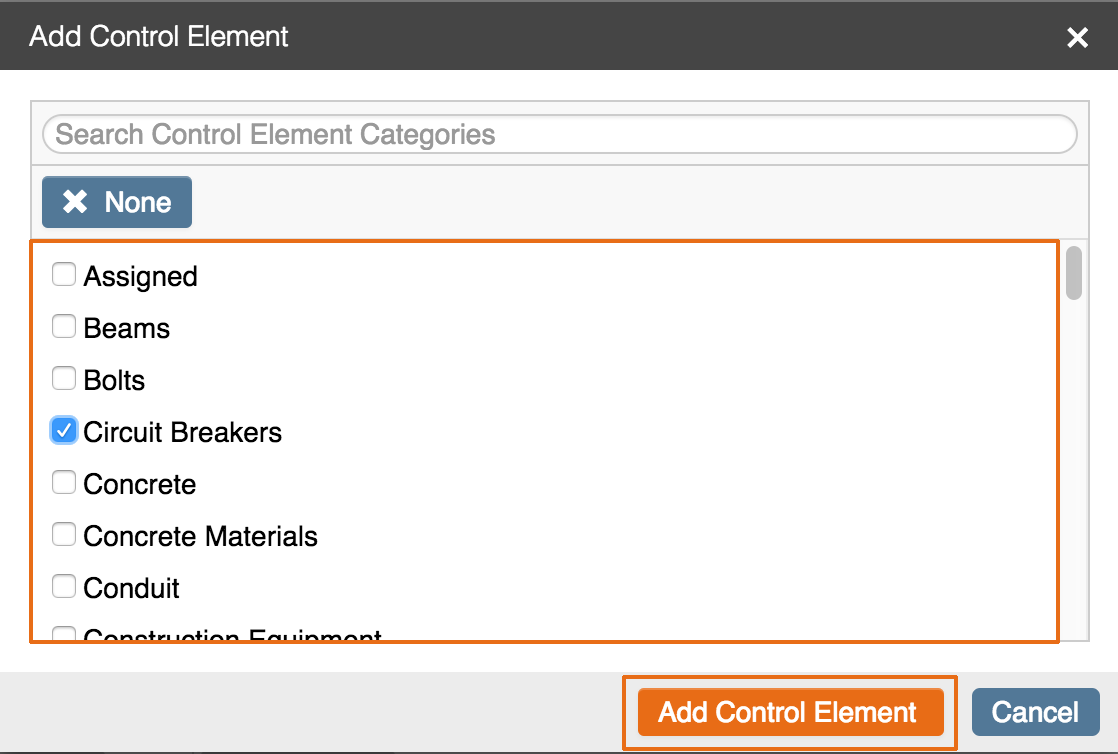
Control elements can be added on the cost worksheet against each control account, or in bulk on the control elements page. Once control elements have been added, budget information can be entered either directly, or using a project change request, depending on the project settings.
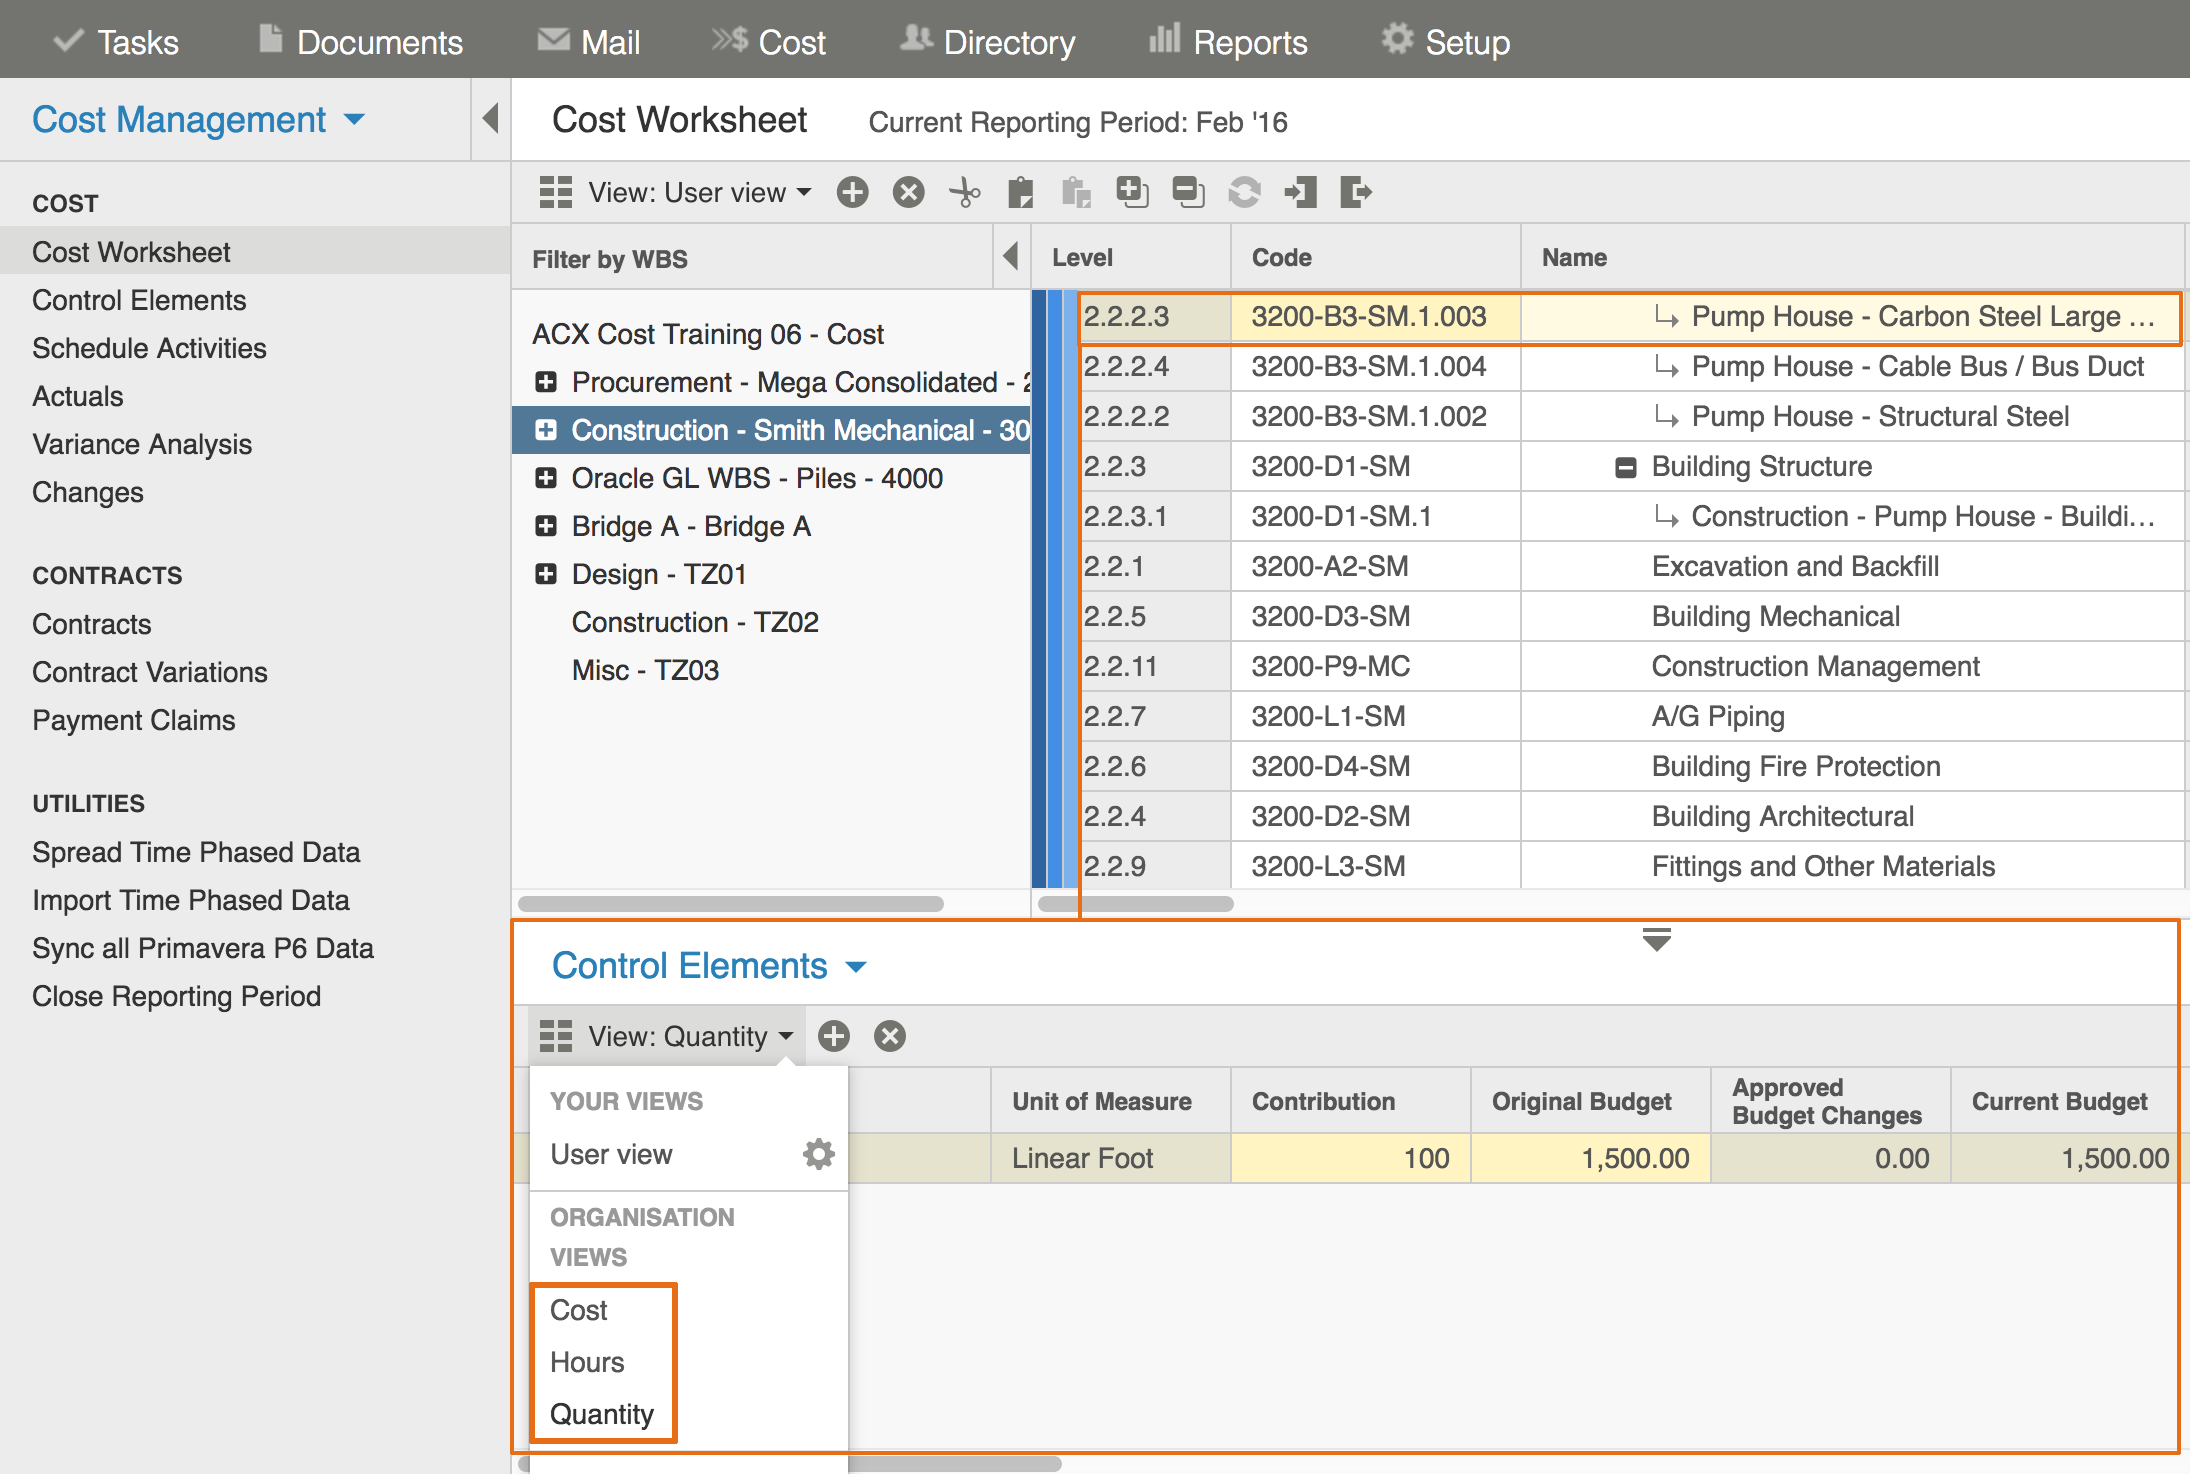
Control Elements are assigned to control accounts on the cost worksheet using the control elements detailed view.
Note: Control Elements are created in the Cost Administration module for either the Organization or Project.
Control Elements can be added to the Control Elements page directly instead of using the Detailed Worksheet view on the Cost Worksheet.