Using Tags in Cost

After creating tags you can use them to search, filter and group worksheets.

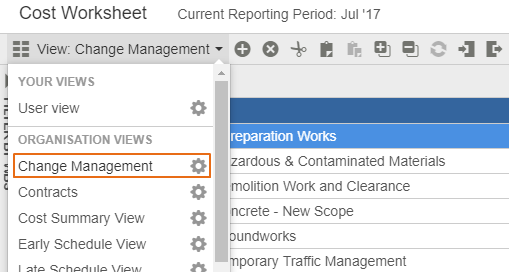
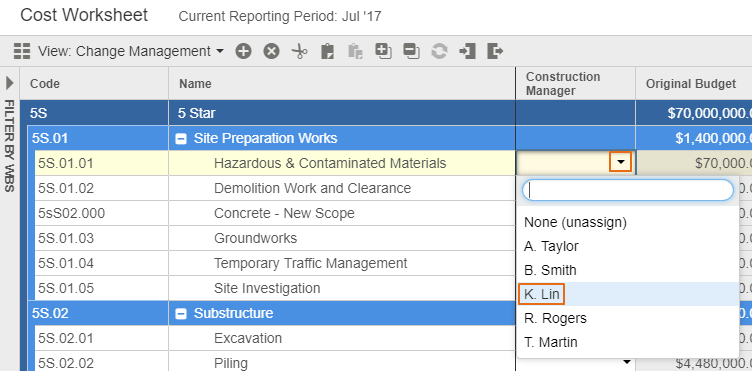
Tags are used to add an additional set of information in Cost and are visible in the grids. They can be used as reference information and for searching grids, as well as in reports to add an additional level of filtering or grouping.

Tags relate to one or more areas in Cost such as the Projects, Control Accounts, Contracts, Changes etc, and are visible as columns in the grids. There are three main steps to setting up tags:

  1. Create tags in Cost Administration at the organizational or project level.
  2. Add them to a view in, for example, a worksheet or a contract. 
  3. Add the specific tag to a row in the grid.

Assigning Tags

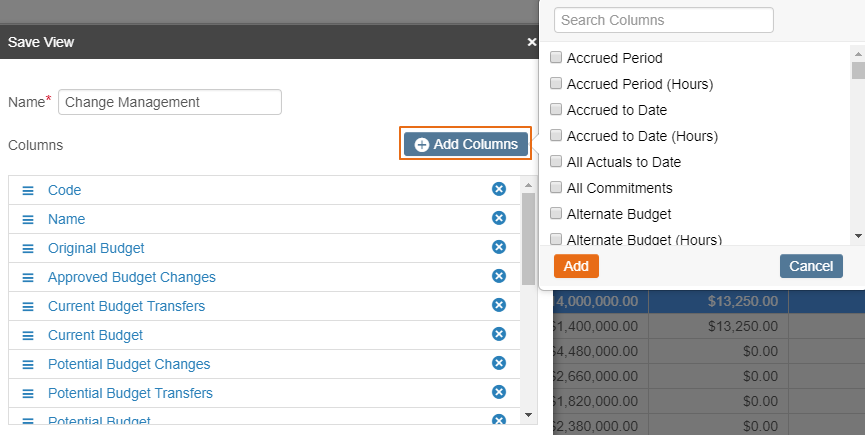
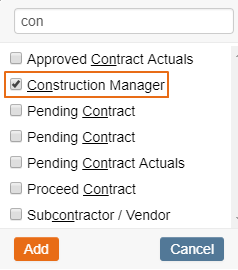
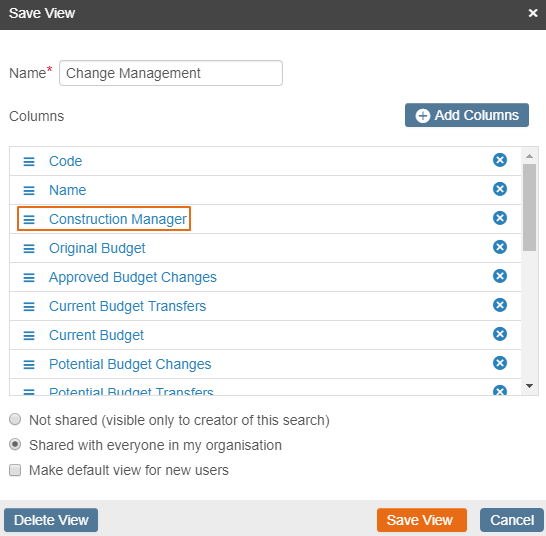
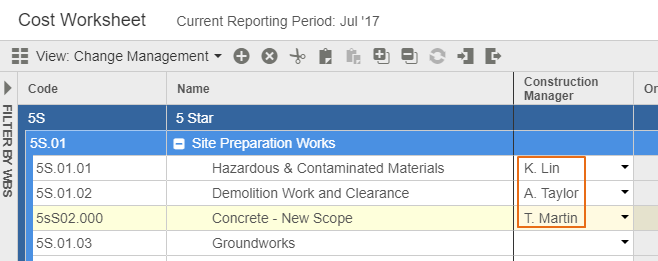
This example shows the process for adding tags. If your grid already has the tag column added, then you only need to use the final step.

  1. Start by opening the grid you want to add the tag to. In our example this is a Cost Worksheet.
  2. Select the Settings icon next to the view name.
  1. Select Add Columns.
  1. If you can’t see the column you want to add, start entering it’s name in the search field, see below.
  2. When you find it select the checkbox next to its name.
  1. When you do this, the column is added to the list in the Save View window.
  2. You can re-position the column in the grid by dragging it up and down. In this example the new column will be the third one in the grid. 
  3. When you’ve done this, save the view.
  1. The grid will now contain the new column, which you can see has an arrow on each row.
  2. Double click the arrow to open a list of tags.
  1. Select a tag to add it to the row, then repeat this for all the tags you want to add.
  2. The example below shows several rows that have been tagged.