Support Central
Use Project Roles to manage each organization's ability to create information on your project.
Project roles ensure each organization only has access to use the types and statuses that are specific to their job. This means they cannot accidentally use the wrong mail, document, or packge type.
With project roles you manage each organization’s ability to use different:
Your project will be provisioned with project roles so we recommend you review them before making any changes. Make sure you set a default project role for new organizations that join the project. You can make changes at any time. If you create a new project role, don’t forget to assign it to the organizations that need it.
If you’re a Project Administrator you can do the following:
To prevent organizations from overriding the mail and document types they have access to, you should lock them.
If you like, you can copy the roles across from an existing project that your organization owns. Important: You should copy roles before you create any new roles, as copying from another project will delete any existing roles in the new project.

We recommend setting up default project roles so that every new organization on your project can start working, prior to assigning them a specific role on a project.
You can switch the organization to a different role whenever you need to.
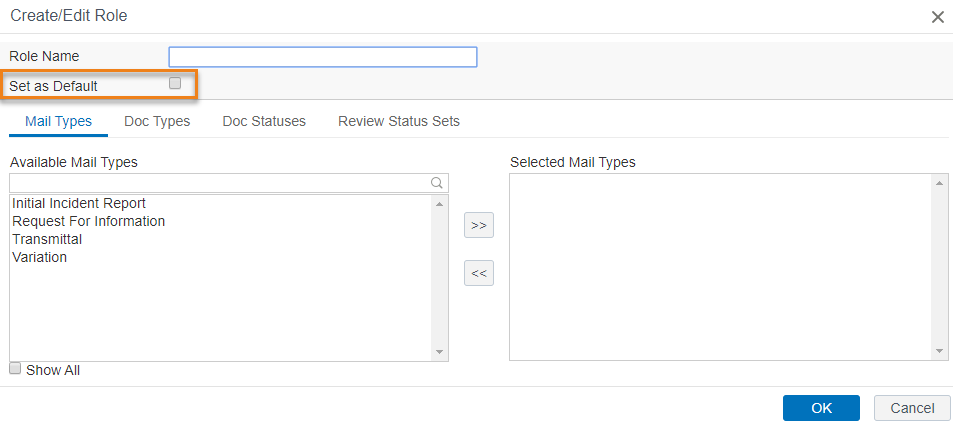
Setting a default role is useful because it's automatically assigned to any new Orgs that are added or invited to to the project. So whatever mail and doc types, and statuses, are added to it are available to a newly added org without you needing to do anything.
So if you're managing roles, it's a useful safety net to make sure new orgs don't get access to more doc and mail types, for example, than they need. If you’re going to use a default role, it’s a good idea to create a role with only one mail and doc type, and use that as a default. You can then assign the org the correct role when you're ready.
This ensures that every new organization on your project will be assigned a project role.
You can switch the organization to a different role whenever you need to. Find out how to assign an organization a project role that's not the default.