Support Central
Design and create your area hierarchy for a new Field project.
On a new project, Field comes configured with just one initial area (the project name). Your Field project administrators can create the initial area hierarchy following the steps below. After the initial setup they can add/edit subsequent areas manually throughout the project lifecycle.
Say you have one building with two levels, and five apartments on each floor. Here’s how you could design the project hierarchy.
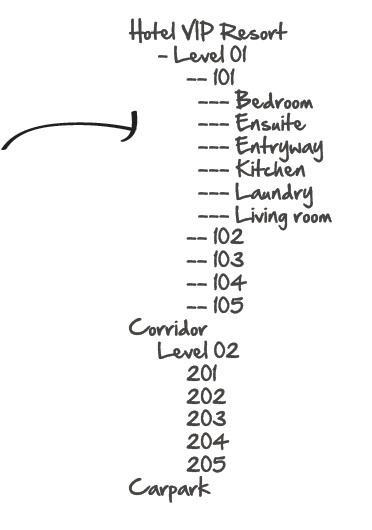
Once you’ve agreed on the design of the project hierarchy, you can create the structure in Excel.
Need to make a change to the structure you've already set up? See Adding, Editing or Deleting sub-areas of your project.
1. Save the file as a .xlsx file. You can give it any name you like.
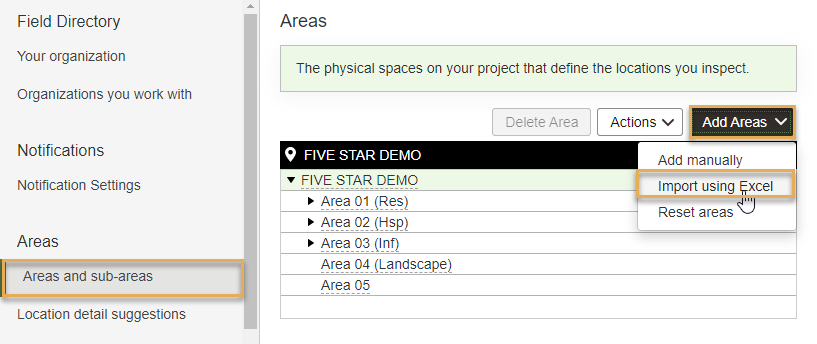
2. From Aconex click Field, then Settings. Click Add Areas and select Import Areas.
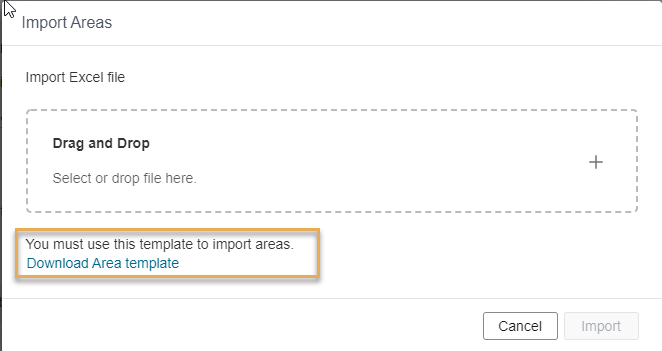
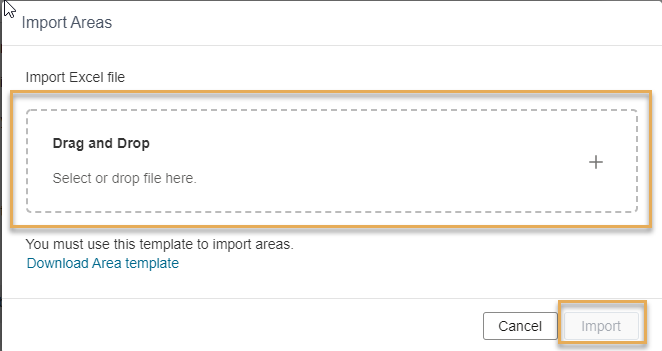
3. Drag and drop the file in the space provided, or click to choose the file.
Important points:
How do the column headers work?
Excel Template Example
If Building A has four floors, and each floor has two rooms, then the hierarchy will be defined in the template as follows:
| Level 01 | Level 02 | Level 03 |
|---|---|---|
| Building A | floor 1 | Room 1 |
| Building A | floor 1 | Room 2 |
| Building A | floor 2 | Room 1 |
| Building A | floor 2 | Room 2 |
| Building A | floor 3 | Room 1 |
| Building A | floor 3 | Room 2 |
| Building A | floor 4 | Room 1 |
| Building A | floor 4 | Room 2 |


