Support Central
Organize your templates into meaningful categories to help inspectors locate templates faster.
When you create a checklist template, you can save it as a draft, or, if you’re ready to add it to your live Field project, you can publish it.
Log into Field.
Click the Settings tab.
If you can’t see Settings, it means you don’t have Field administrator rights. Speak to your Organization Administrator for more information.
Under Inspections in the left-hand panel, click on Templates to see all the templates that are currently available in your project.
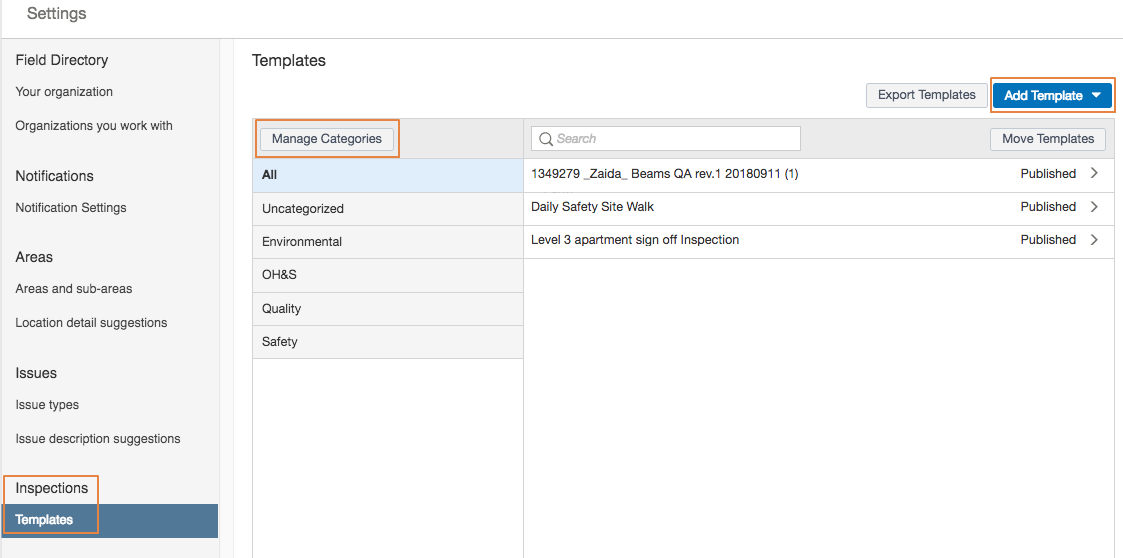
New template categories are available immediately to the admin users creating new templates.

All and Uncategorized are default categories and can’t be edited or deleted. Templates that are created but not assigned to a specific category will appear in the Uncategorized category.


