Configure a proxy server for your Scheduled Archive
If proxy settings are required to access the internet from your local network, you may see the following message during the installation process: Unable to verify internet access, please use proxy configuration if required. Click the Ok button.
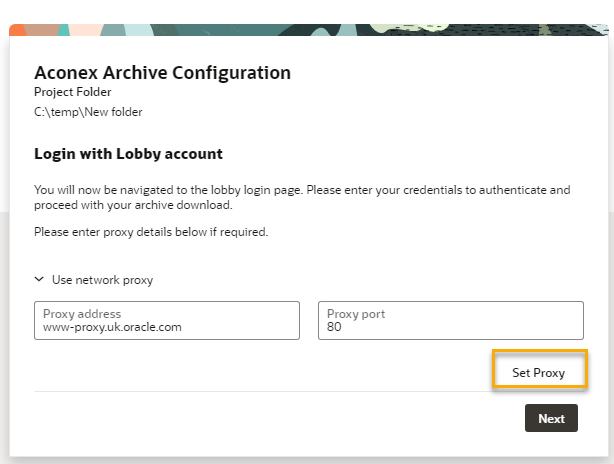
Click Use network proxy and enter your proxy details in the form provided.
Click Set Proxy. Note: The Proxy server address can be a Proxy name or IP address.
If the proxy details are invalid, you will receive an error message. If this occurs, click OK to close the error message, and enter valid proxy details. Then click Set Proxy and Next to continue.
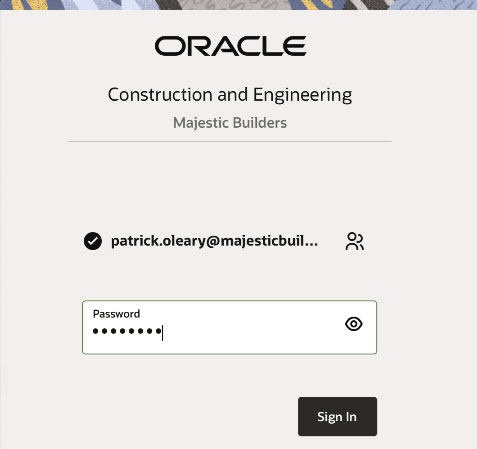
Enter your Lobby login details and click Sign in to continue. Note: Your Instance will automatically be selected after entering your Lobby account credentials.