Apply project fields to issue types

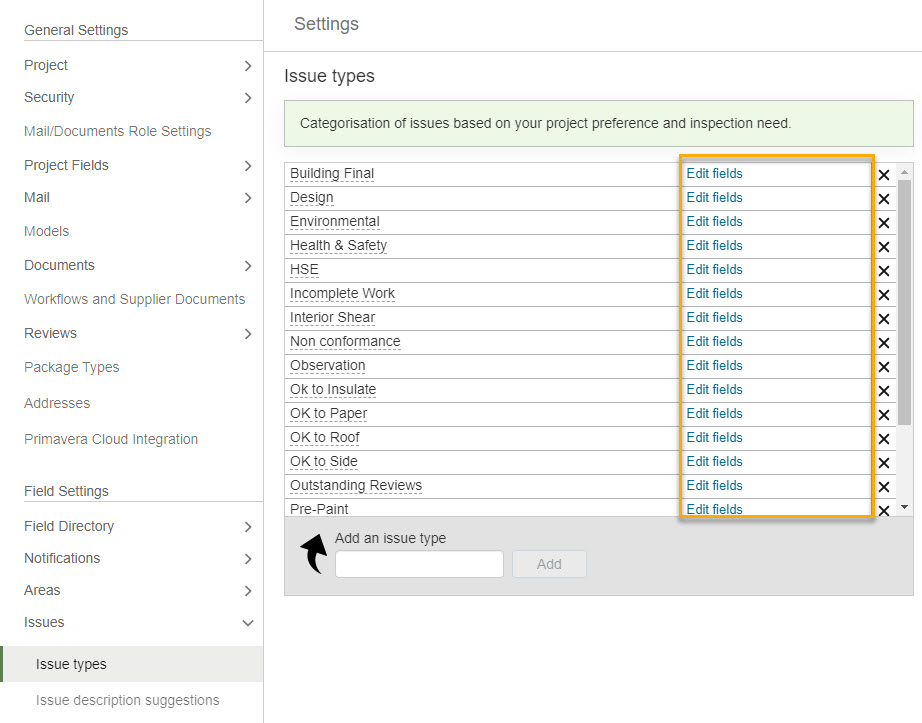
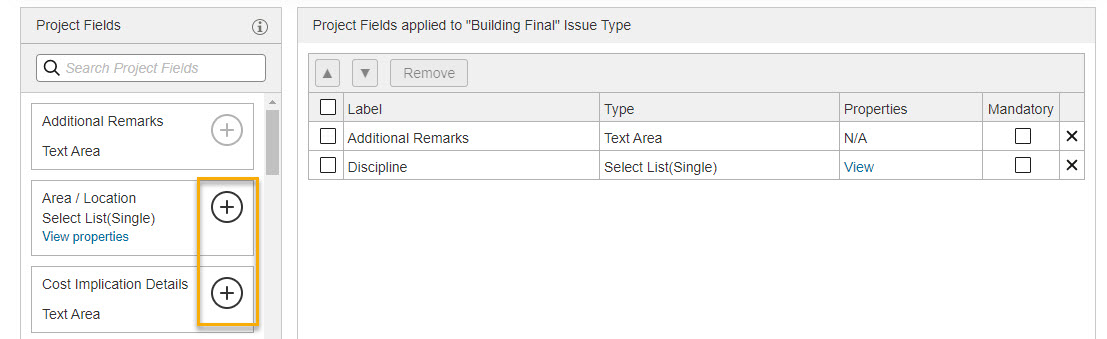
If you’ve created project fields for your project you can apply them to issue types and specify if they are mandatory.

Adding project fields to your issue types is straightforward - but you do need to create them first.

Tip!

If you need to edit a Project field associated with one or more issue types, we recommend creating a new Project field instead of editing the existing one.

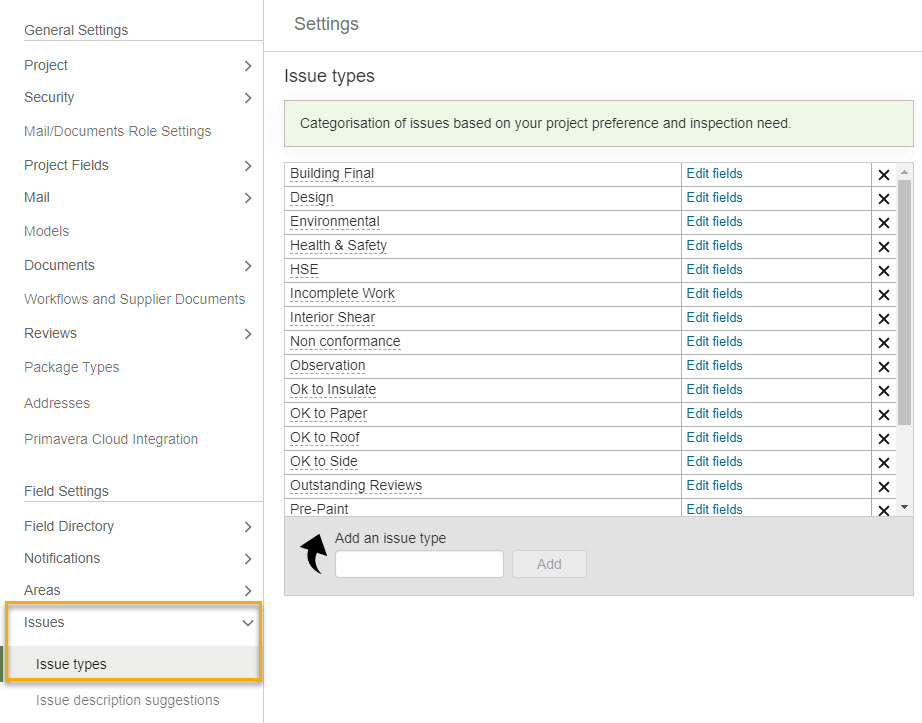
  1. Select Project Settings from the Setup menu.

  2. Under Field Settings select Issues, then Issue Types.
  1. Any issue types you’ve added to the project will be visible. By default, Defect is always in this list, but you can edit and delete it as described in Adding and editing issue types in Field.
  2. Beside each issue type you’ll see a link: Edit fields.

Tip!

Project fields can only be added from the Aconex web application, not from the mobile app.

  1. To add a project field to an issue type, click the Edit fields link. This opens a list of available project fields.

Tip!

Field supports all Project Field types: single-select, multiple-select, text, text area, number, date and yes/no.

  1. Click the plus icon to the right of the project field you want to add to the issue type. Note that the order that you add fields will be the order that they appear in the issue.
  1. You can make a field mandatory by selecting the tick box in the Mandatory column.
  1. To remove a field from the issue type, click the X on the far right of its row.
  2. Click Save at the bottom right of the screen to save your edits.

Tip!

Newly created or edited project fields may take up to 3 minutes to be available in Field.