Add and edit areas in Field

Adding, editing and deleting areas for issues and inspections.

The areas were preloaded when your project was initially set up in Field, but you can make changes at any time. Follow the steps below to add areas and sub areas to an existing project.

Tip!

If you're starting a new project you can import your area hierarchy, but you must import BEFORE you start logging any issues or inspections. If issues or inspections have already been captured, you will not be able to import from Excel, and you must add your areas manually following the below steps.

Opening the Areas section

  1. Log into Aconex.
  2. Select Field > Settings.
  1. Select Areas and sub-areas. This will display the areas that are currently available in your project.
  1. Find the area that you want to add sub-areas to. Click on the arrow icon to expand or contract the areas of your project. This example shows that after clicking on Area 01 (Res), we can see the Basement and its sub-areas.

Adding an area to your project

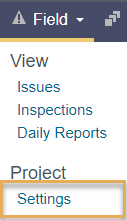
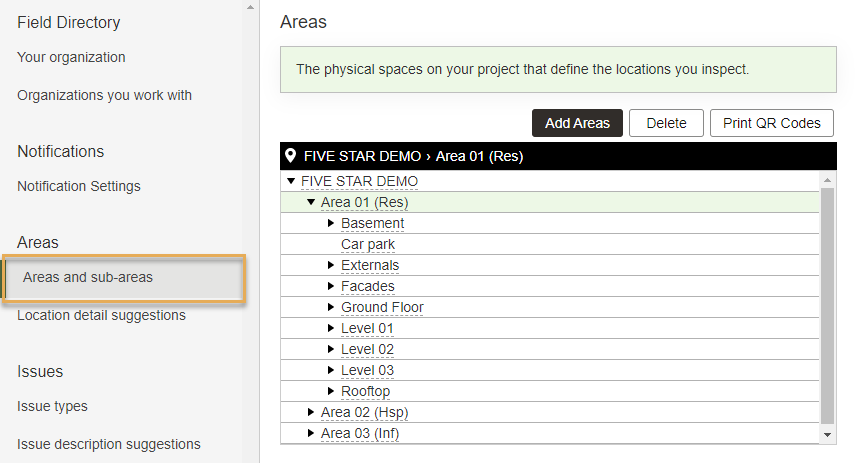
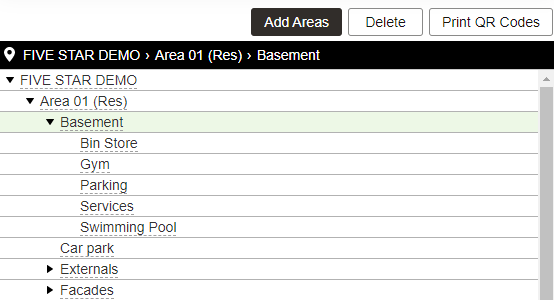
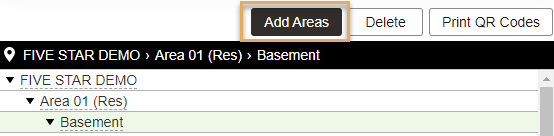
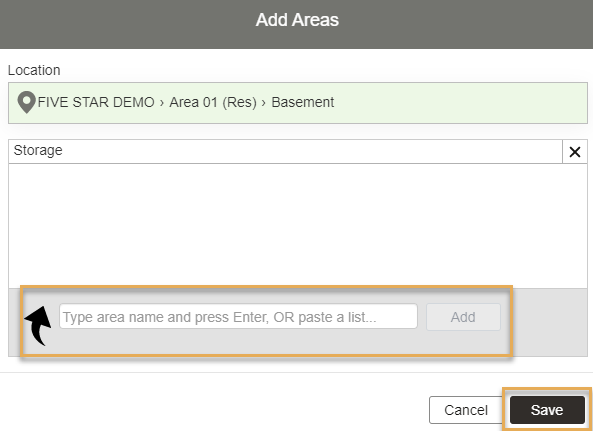
To add areas to your project:

  1. Select the relevant area.
  2. Click on Add Areas.
  3. Under Add Areas, type the name of the new sub-area.

Tip!

You wont be able to add any areas if the initial project hierarchy has not yet been created during project setup.

  1. Press Enter or click the Add button.

Tip!

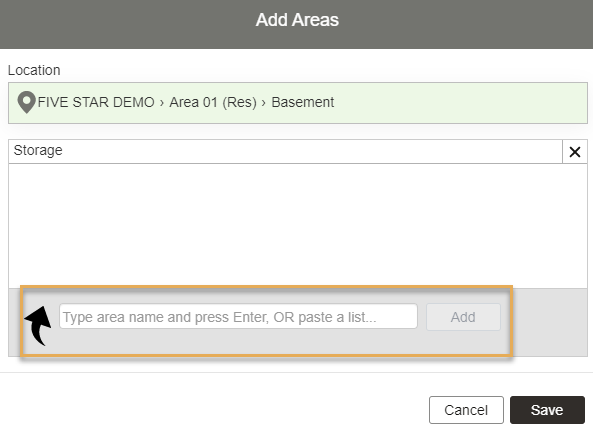
An alternative way to add new areas to your project is to paste in a prepared list of the new areas.

  1. Continue to add other areas to the selected location. To remove an area from the list, click on the cross icon next to it.
  2. Once you're finished adding and deleting areas, click the Save button.  
  3. Made an error you don't want to save? Click the Cancel button, and start again.

Editing areas in your project

  1. Click on the name of the area you want to edit. (you'll need to click the actual underlined text)
  1. Make your changes to the area.
  2. Select OK or press Enter to save your changes, or click Cancel to abandon the changes if you've made an error.

Export areas

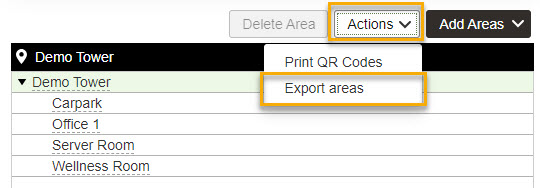
Areas can be exported to an Excel file. This can be used to setup the initial area hierarchy of a newly copied project.

From the Area settings, click Actions and select Export areas.

Deleting areas from your project

An area can only be removed from a project if there are no issues raised against it or its sub-areas. 

  1. Find the area that you want to delete. 
  2. Select the relevant area and click the Delete button.

Tip!

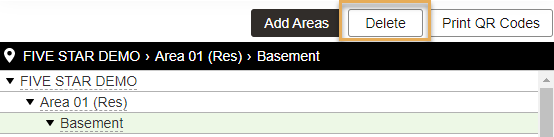
If you delete an area, you'll automatically delete its sub-areas, too.