Start an inspection

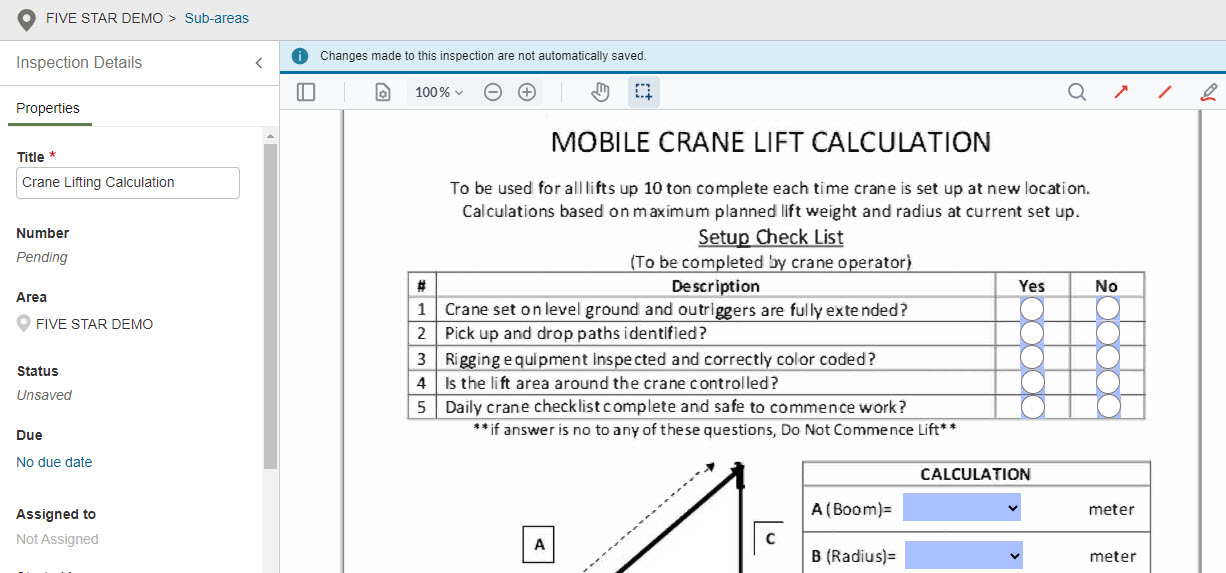
Create inspections in either Checklist or PDF format on your desktop.

Required permissions
Inspector (or above)

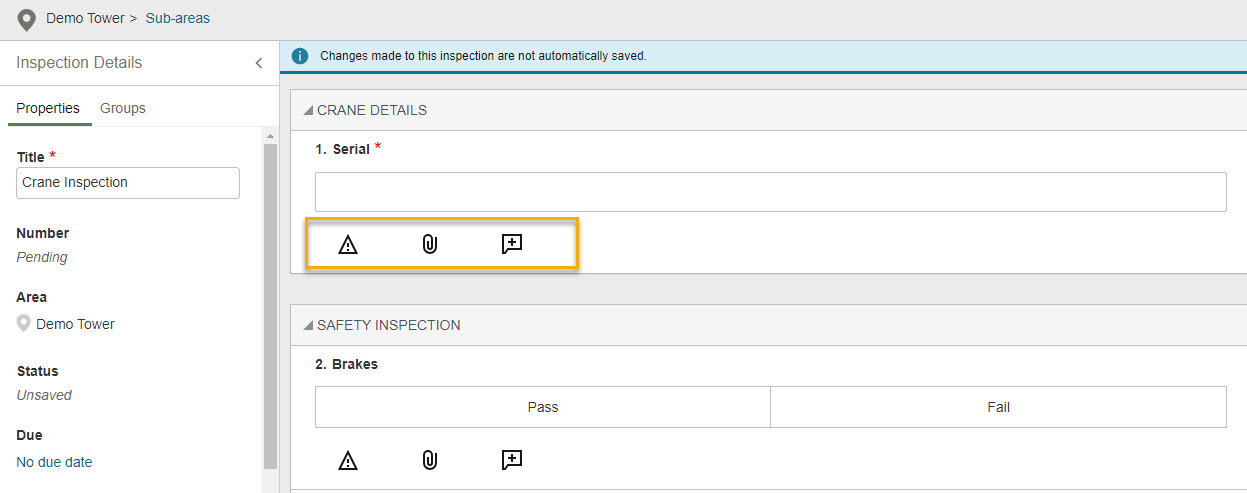
Inspections provide structure for site inspectors to complete their work. These can be set as checklists or fillable PDF forms. For example, you may use a checklist to complete a safety inspection on the job site.

Extra details such as issues, attachments, and comments can be added to each line item in an inspection checklist.

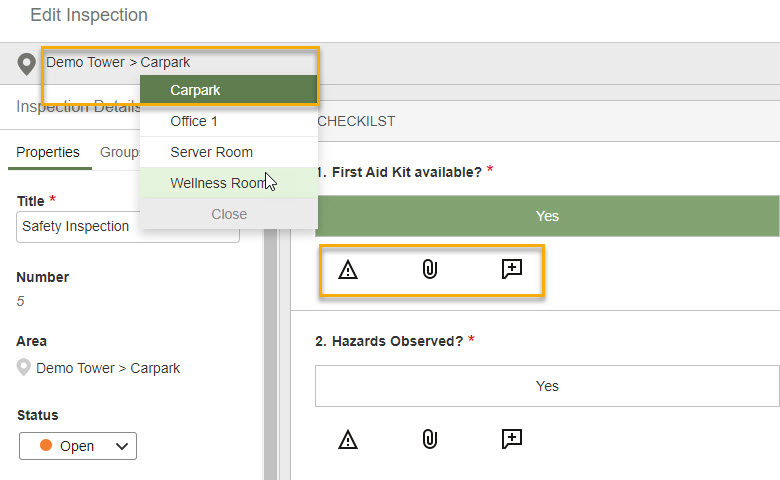
To start, you need to select an inspection template. Each template may have different fields to complete depending on how the Project Admin has configured them.

Select an inspection template

  1. From the main navigation menu, click Field and select Inspections.
  2. Select the location (or area) where you'll complete the inspection.
  3. Click New Inspection.
  1. Find the template you want to use by selecting a category or searching for it.
  2. Hover over the template you want to use and select:
  • Preview to view the layout of the inspection template. Click the left and right arrows to cycle through each template.
  • Assign to create and assign a blank inspection using this template.
  • Start to begin a new inspection using this template.

Tip!

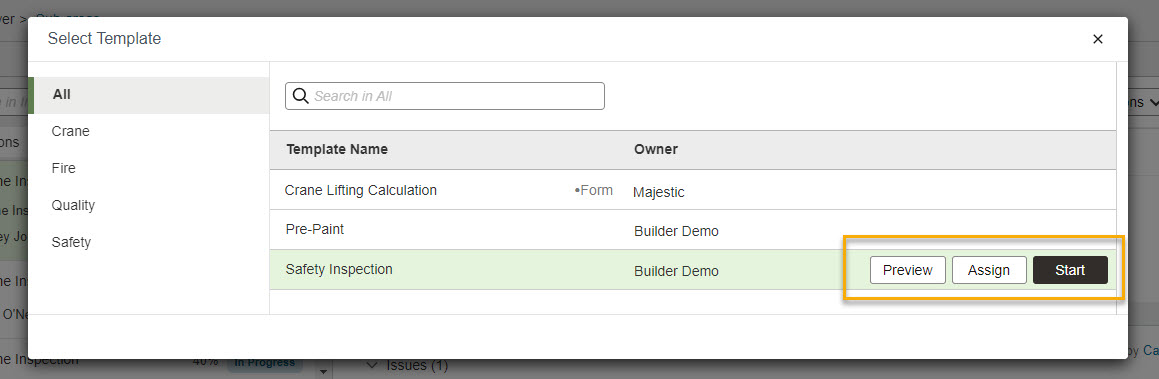
Templates are set up and grouped by the Project Administrator. Fillable PDF templates are marked with the word 'Form'.

Complete a checklist

  1. Fill out the inspection checklist. 
  2. Some fields under Inspection Details can be edited, such as the Title, Location, and Due date.
  3. For each line item you can:
  • Add an issue
  • Attach photos, documents, or other relevant files from your computer or Document Register.
    • You can add multiple photos and files at the same time.
    • After adding a photo, click its thumbnail to preview it in full screen.
    • Photos and files cannot be deleted after being added to an issue.
    • Attach files up to 100MB in size.
    • For security, you can't attach .jar and .exe files.
  • Add notes.

Complete a PDF form

  1. Fill out the PDF form. 
  2. Some fields under Inspection Details can be edited, such as the Title, Location, and Due date.
  3. (Optional) Add line, arrow, pencil, and photo annotations using the markup tools at the top of the PDF.

Finalise your inspection

  1. Once you've completed your inspection click Save.
  2. After saving the inspection you can assign it to other users or organizations.
  3. If you need to, you can set the status as Closed.

Edit an inspection

  1. To edit an open inspection select Edit.
  2. From here you can:
  • Edit the title, status, due date, and assignee.
  • Change the location.
  • Add and edit responses.
  • Add issues, attachments, or notes for each response.

What's next?