We’re in the process of migrating to a new platform and are aware that some links may not be working as expected. We’re actively working to resolve the issue.

Create and send mail

Writing a memo, an RFI, or some general correspondence? You need Aconex Mail.

Required permissions
Create mail

Mail is used for everyday communications and processes.

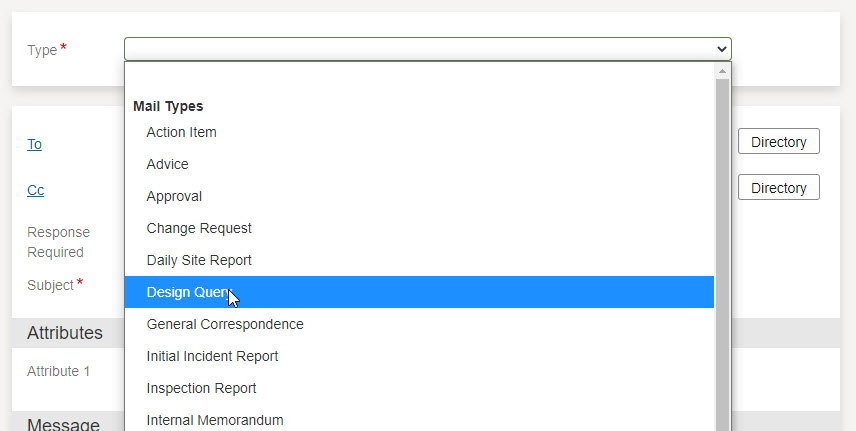
Every mail must have a mail type, which does a few things:

  • It identifies the different processes on the project, such as Request for Information. 
  • It sets up a form, helping you to enter the right details. 
  • It helps you find mail again later.

The Project Admin decides which mail types are available for each organization, so you may not see the same types on every project you work on. 

Creating mail

  1. From the main navigation menu, click Mail and select Blank Mail.
  1. Now select an option in the Type field. When you do this, all mandatory fields that have to be completed are shown with an asterisk.

Tip!

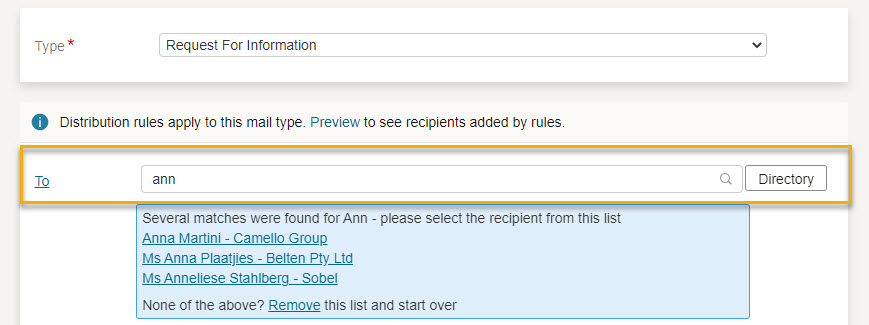
Some mail types are set up to be automatically sent to certain people. If this is the case, you'll see a message about distribution rules. To see who's included in the automatic distribution, select Preview.

  1. Enter the names of recipients into the To and Cc fields.You can find their names by either:
  • Typing all or part of their name or group in the Search field, then pressing Enter. A matched result will be added, or you'll need to choose from a list of possible recipients.
     
  • Clicking the To or CC links and searching the directory. See Adding recipients to mail
  1. (Optional) Attach documents, other mail, or local files to the mail.
  1.  If required, select one or more values for each attribute field listed. Some projects do not use mail attributes.
  1. Choose the response type from the Response Required list, and select the respond by date. This sets the mail status.

    The status can be different for each recipient. 
    • With a date selected, the mail is set with an Outstanding status for each To recipient until they, or someone else in their organization, responds. If they miss the due date, it'll be automatically set with the Overdue status. 
    • CC recipients are not expected to reply, so the mail will show an N/A status for them. 
    • If you don't set a due date the mail status is N/A for all recipients.
  2. Complete the Subject field with a meaningful description of the content to make it easier to find this mail later.
  1. Complete the mail details, if they’re available. Mandatory details are identified with a red asterisk, but the more information you include in this section, the easier it will be to find and report on this mail.

Tip!

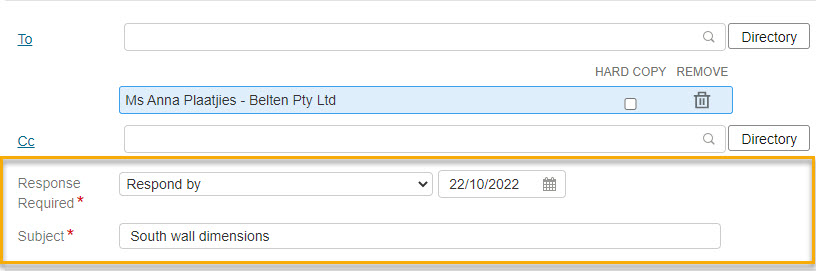
These fields are configured by your Project Administrator. Each project and mail type can have a different configuration so you may see different fields here.

  1. (Optional) If configured, add auto text to prefill the body of this mail:
  • Position the cursor where you want the text to be added.
  • Select the auto text name from the list. You can add as many auto text items as required.

Tip!

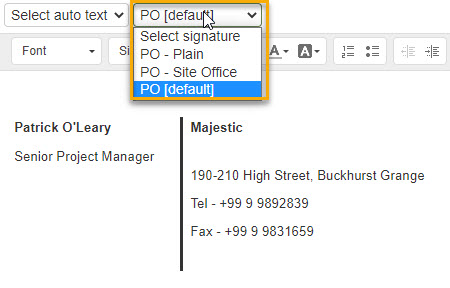
If your auto text is not appearing, make sure you have enabled 'Compose mail using rich text editor (HTML)' in your user preferences.

  1. (Optional) If you've set a default mail signature it will appear in the mail body. You can select another signature if you have created several.
  1. Complete the mail body. You can type your message or paste text or images. Use the Format menu to apply formatting to your text.

Tip!

All Aconex mail is automatically scanned for potentially malicious links, encoding, and other obfuscated content when it's sent. If any of these elements are found, they are removed to protect the sender and the recipients. In some instances, this can affect the formatting of some mail.

  1. (Optional) Click Save To Draft to send this mail later.
    If you save your mail to draft, it will be available to anyone in your organization to view, edit or delete.
  2. Click Send and the mail will be available to all recipient organizations (unless you marked it confidential).

Tip!

If you receive an error 'Max Size of 4 MB exceeded', you'll need to remove any large images that have been embedded/pasted into the mail body. Large images can be attached to the mail instead. For any other errors, follow these troubleshooting steps.

What's next?