Configure review labels for Workflows and Supplier Documents

Project participants choose a review status when they review documents in a Workflows or Supplier Documents process.

Required permissions
Edit project settings

Before you start, click Setup from the main navigation and select Project Settings. Then choose Workflows and Supplier Documents.

If you see a message saying you do not have permission to access this page, contact your Organization Administrator to assign you a user role with the required permissions.

Create Workflows Status Sets

A Project Owner has the option of using the standard set of review labels or they can create custom sets for use on different types of workflows.

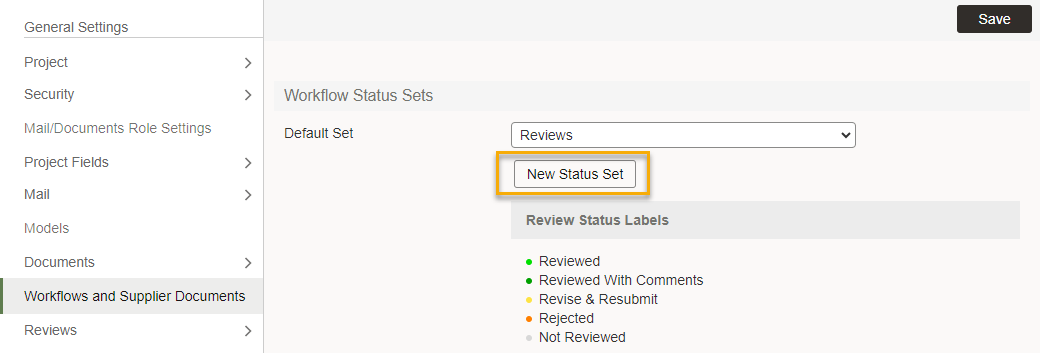
  1. View the Workflow Status Sets.
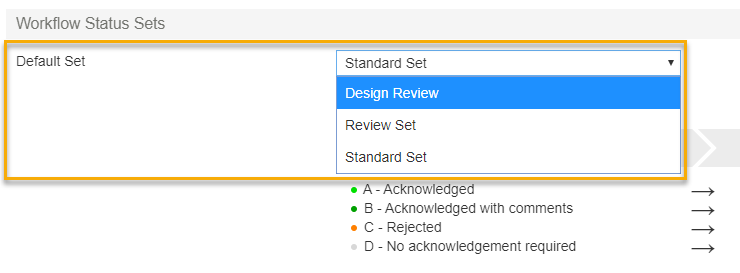
    This is where you see the Default Set of review statuses, and control the review status labels that are available within your project’s workflows. You can also decide if you want to map review statuses to a document status on entry and completion of the workflow.  You can change the default set and also create new status sets from here.

  2. Click New Status Set.

  1. Give the status set a name.
  2. If you want to update documents’ statuses automatically at the start and end of the workflow, click on the checkbox to Automatically update the document status.
  3. If you chose to automatically update the document status, you need to choose a document status given to a document when it starts going through a workflow. To do this, select an option from the Document Status on Entry selector.
  4. Enter up to six review status labels. You can select a predefined label from the dropdown list, or click into a field and start typing your own label. The labels must be ordered so that the status that has the least influence on the review appears at the top of the list, and the one that has the greatest influence is at the bottom. The colors beside these labels are used to color-code your Aconex Workflow reports.
  5. If earlier you chose to automatically update the document status, you’ll need to select a document status to correspond to each review status label you’ve created. Choose these from the dropdown menus beside each review status label.

Tip!

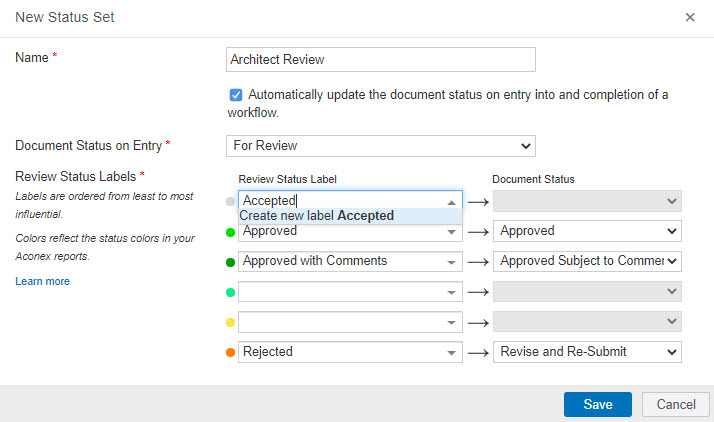
Only the last Workflow status label (colored with orange) will trigger an 'If Rejected' condition, which can be used to stop a workflow process and return back to the initiator. All other status labels will continue a workflow onto the next step.

  1. Click Save to save your new status set.
  2. (Optional) To make it the new default set, click on the dropdown next to the Default Set label and select your new set, then click Save at top-right of the page. All users who can create workflow templates will be able to use this project default.
  3. Make this status set available to specific organizations to choose when they create a workflow template. See Assign review sets to roles

Assign review sets to roles

Make sure the right people have access to the relevant review sets.

  1. Click Mail/Documents Role Settings.
  2. Click on the name of the role you want to assign a review set to.
  3. Click the Review Status Sets tab.
  4. Either double-click on items in the Available Review Status Sets list to move them into the Selected Review Status Sets list, or click to select an Available status and click the right-pointing arrows to move it into the Selected list.
  5. Click OK to save the review sets to this role.
  6. Repeat this process for other roles as you need to.

Once you’ve completed this process, anyone on the project who needs to set up Workflows templates, and has the roles for which you’ve assigned certain review sets, will be able to choose from those sets when they set up a new template.

You can now configure whether review status is retained on supersede.

Configure the Supplier Document Status Set

If your project uses the Supplier Documents module, you’ll need to complete the Supplier Document Status Set section.

This section lists all of the default Review Status labels. As with Workflow Status Sets, you can select labels from the dropdown lists or click in a field to enter your own label.  Then simply check the box next to each status that should complete a Supplier Documents submission.

The latest set of labels will automatically be locked to any Supplier Documents packages that are activated.

Click Save at top-right of the page after you make changes.