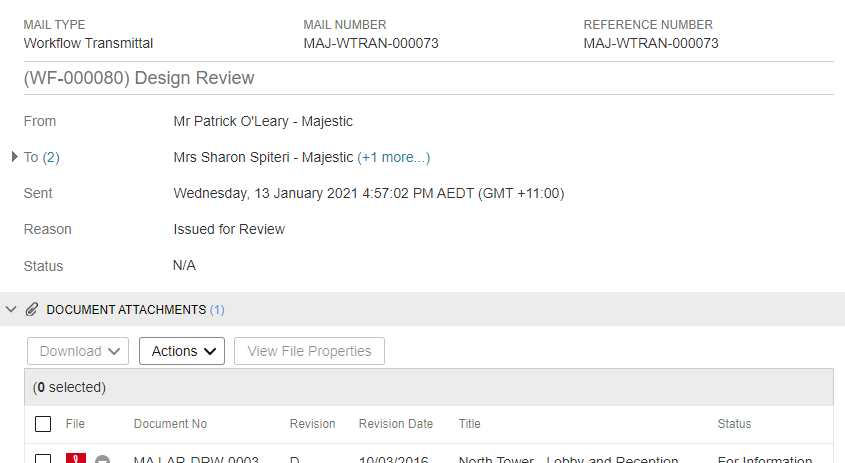
Start a workflow

Add documents to a workflow, then transmit them to a set of reviewers.

Required permissions
Initiate a workflow

You must have permission and at least one workflow template before you can start a workflow.

You can start a workflow :

Tip!

You may see a message 'A revision of the document is already in a workflow'.
A document can only exist in one active workflow across the entire project. For example, if another organization has added the document to an internal workflow, other organizations cannot place that document into a new workflow until the first workflow has completed.
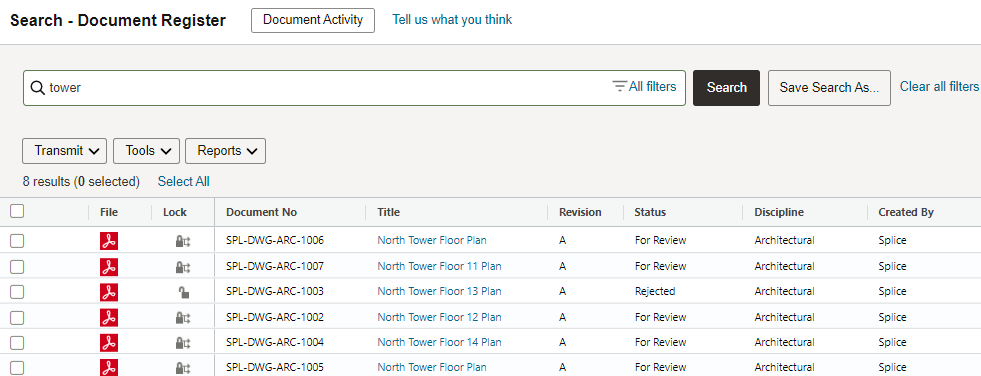
Step 1a. Use documents from your Document Register

  1. Check that you have the correct project selected.
  2. Click Documents.
  3. Select Document Register.
  4. Complete the search criteria.
  5. Click Search.
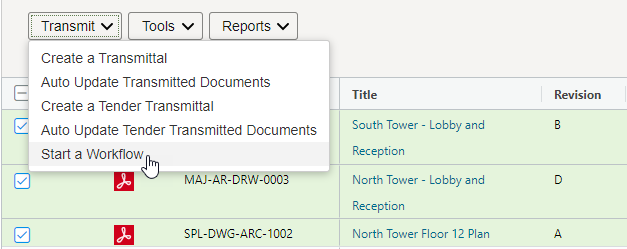
  1. Select each document that you want to add to your workflow.
  2. Click Transmit.
  3. Select Start a Workflow.

Skip to Step 2. Check your documents.
Step 1b. Use documents from a transmittal

If you've received a transmittal containing documents that you want to submit into a workflow, follow these steps.
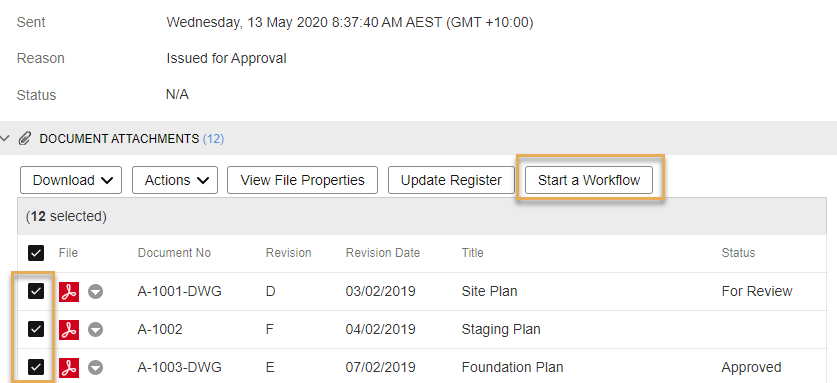
  1. Open the transmittal.
  2. Scroll to the Document Attachments.
  3. Select the documents you want to submit into the workflow.
  4. Click Start a Workflow.


Tip!

If you receive an error you need to either update the document into your register or search for the latest version in your register and start the workflow from there. Make sure the document is unlocked so you can start the workflow.
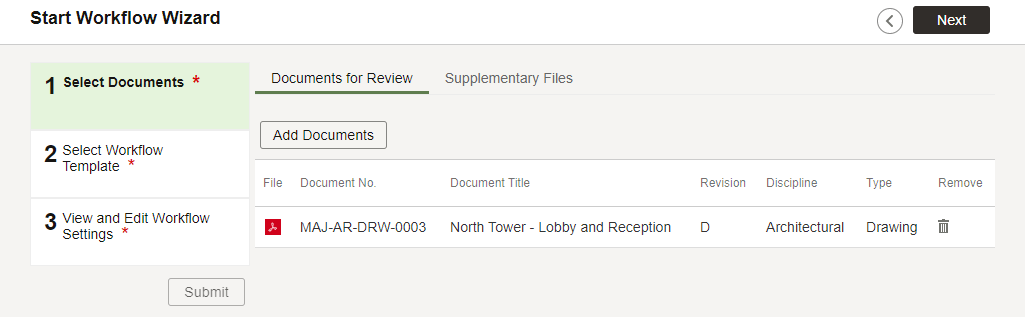
Step 2. Check your documents

  1. Check that the documents you've added are correct.
  2. You can add more by clicking the Add Documents button.

(Optional) Include secondary files

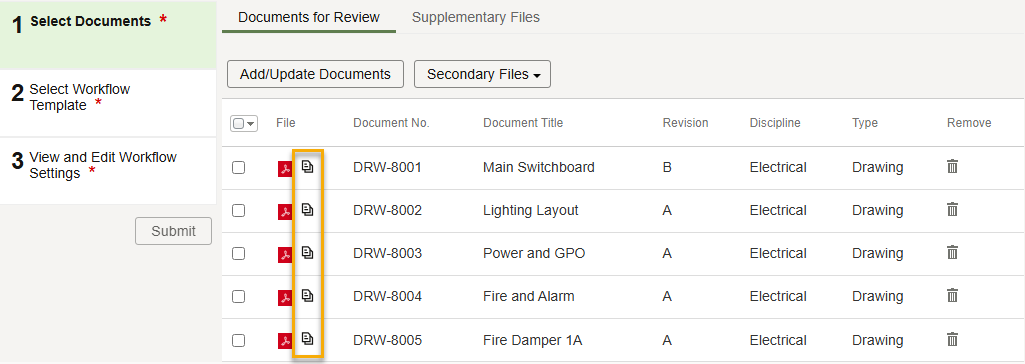
If your documents have secondary files, decide if you want to send them to the reviewers. An icon next to each primary file indicates if secondary files will be sent. If the icon is greyed out, the secondary files will not be included for that document. The default behavior is determined by your organization's project preference.

You can choose to include or exclude secondary files for specific documents. To do this, select them, click Secondary Files, and select the appropriate option.

Tip!

Only the primary file can be reviewed, marked up, or replaced. Any included secondary files are sent on the workflow transmittal and made available to recipient organizations to download and view. If a primary file is updated during a workflow, the existing secondary files are carried through to the next version of the document.

(Optional) Include supplementary files

You can add detailed instructions and other relevant documents that aren't intended for review as supplementary files. This could be a .txt file, a Word document, or any other file format.

Supplementary files are attached to your workflow. They are seen by all document reviewers, but won't be formally reviewed.
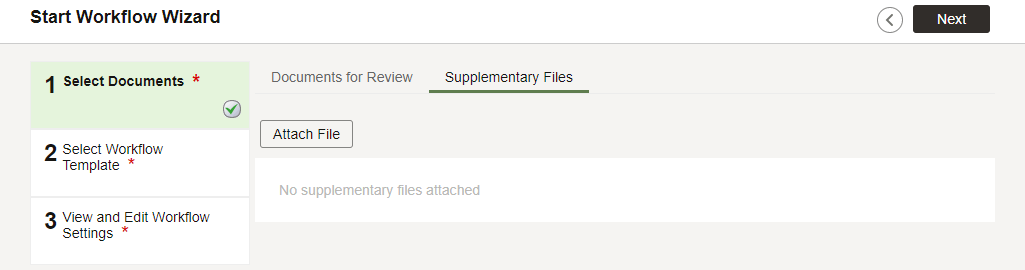
  1. Click on the Supplementary Files tab.
  2. Click Attach File.
  3. Add the file from either your computer or your Document Register.

Tip!

Confidential documents added as supplementary files are added as local files. This means they are not added as confidential. All supplementary files can be downloaded by any user who can view the workflow.
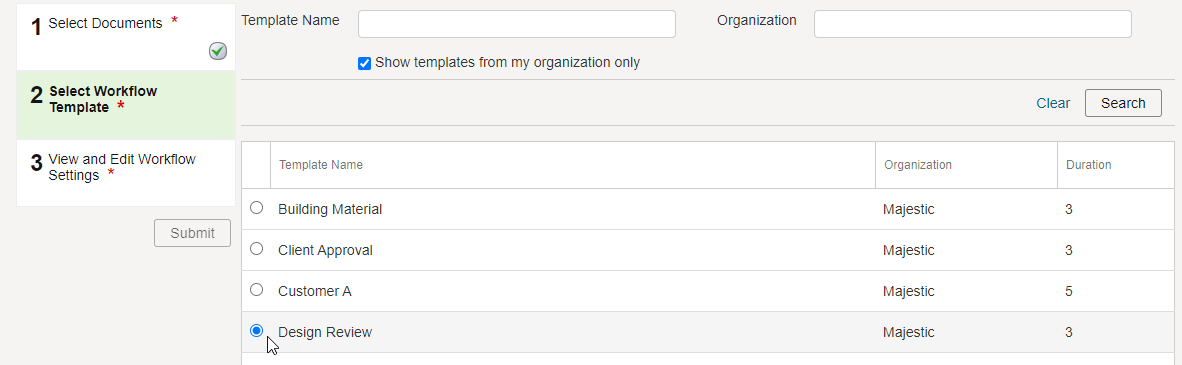
Step 3: Select a workflow template

  1. Now, click Next.
  2. Select a workflow template from the list that displays.
  3. Click Next.

Tip!

Can't see the workflow template you need?
  • By default, you'll only see templates created by your organization. Uncheck Show templates from my organization only to see templates created outside your organization.
  • Only active templates will be shown in this list. Ask the template creator or Workflow Administrator to activate the template you need if it doesn't appear here.

Step 4. Finalize and transmit your workflow

  1. In the Workflow Name field, give your workflow a descriptive name. This will make it easier to track and report on your workflow's progress.
  2. In the Workflow Note field, you can enter instructions for the document reviewers. All reviewers will see your instructions.
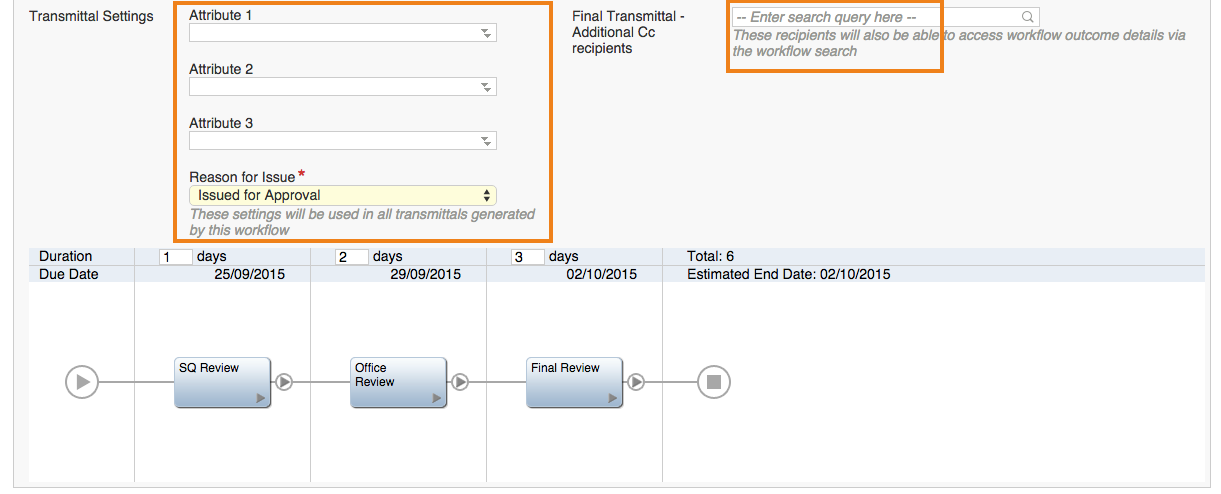
  1. Complete the Transmittal Settings section as you would complete any other transmittal by selecting attributes, a reason for issue, and any other available fields.
  2. If you'd like certain project participants to receive a copy of the final transmittal, add their name into the Final Transmittal – Additional CC Recipients field.
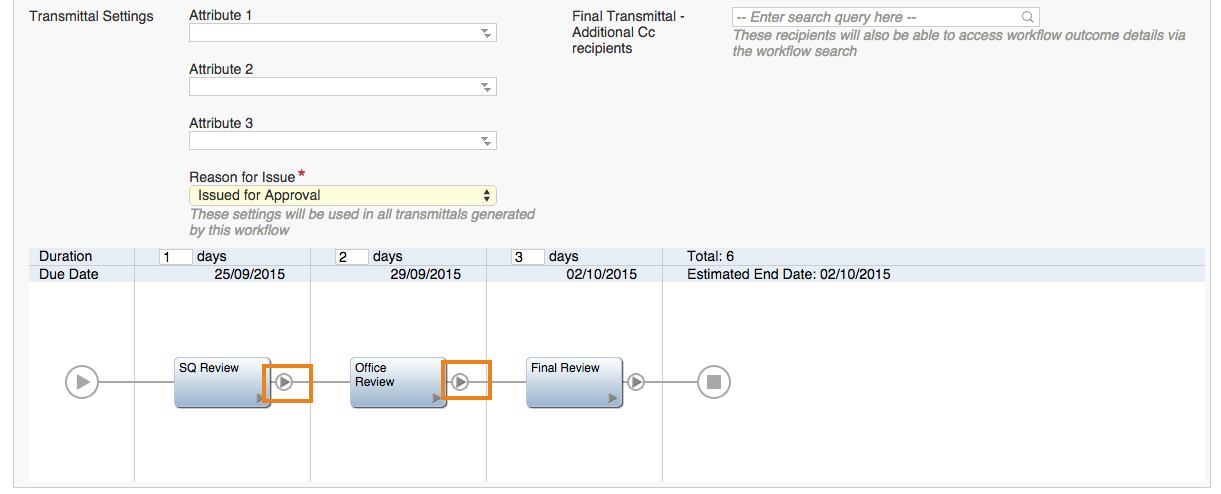
  1. Depending on the workflow template you're using, you may also be able to edit the workflow steps, if you need to.
  1. Click Submit to start the workflow. You'll see a copy of your transmittal.