Create a mail signature

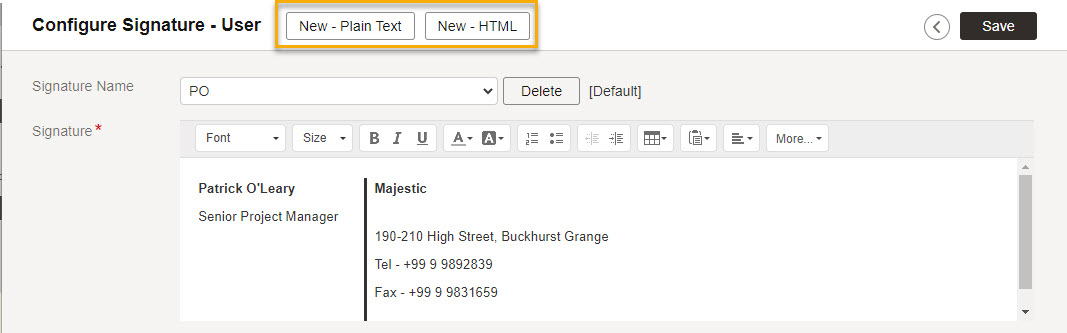
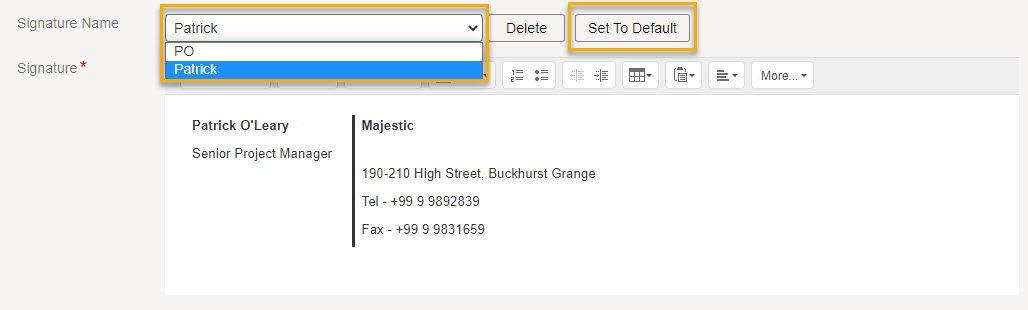
Create a signature, edit an existing one, or copy your existing signature from another application to attach when you create project mail.

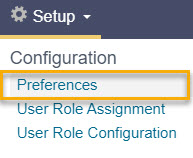
Creating a new signature and editing an existing are carried out in the same place – in Configure mail signatures in Personal Settings/Mail.

Tip!

You need to be invited to at least one project before setting up your signature.

  1. Click on Setup
  2. Under Configuration, select Preferences.
  1. On the User tab, scroll down to Personal Settings, Mail, Configure mail signatures.
  2. Click the Edit button.
  1. Click the:
    • New - HTML button – to create a formatted signature, selecting font, color and so on.
    • New – Plain Text button – to create a signature with no formatting.
  1. Enter a name in the Signature Name field to identify this signature. A meaningful name is useful if you have more than one signature.
  2. Complete the Signature field. You can type directly into the field, or paste a signature from your email.
  1. Click the Save button.
    This signature is now available to select when you create mail.

Set this signature as a default

  1. Select the signature in the Signature Name list.
  1. Click the Set To Default button.
    This signature will now appear in the mail body for you when you create mail.

What's next?