Support Central
Found an problem in a model? Create an issue and assign it to another project stakeholder to action.
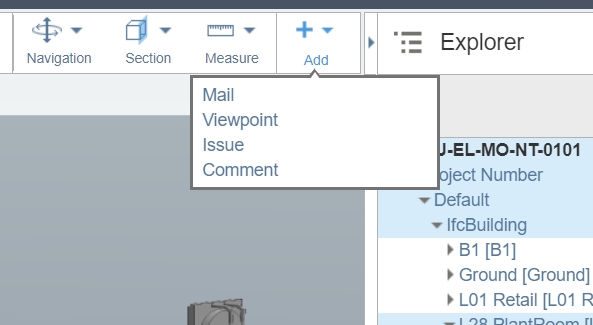
Building a multi-storey building, a bridge or any other complex structure relies on, amongst other things, accurate coordinated models. Because of this complexity, it's no surprise that you will find clashes between objects. For example, pipes going through other objects, or faulty or damaged equipment. You can report this problems to other project stakeholders by creating an issue for it. You can create five types of issue: clashes, errors, information, warnings and other.
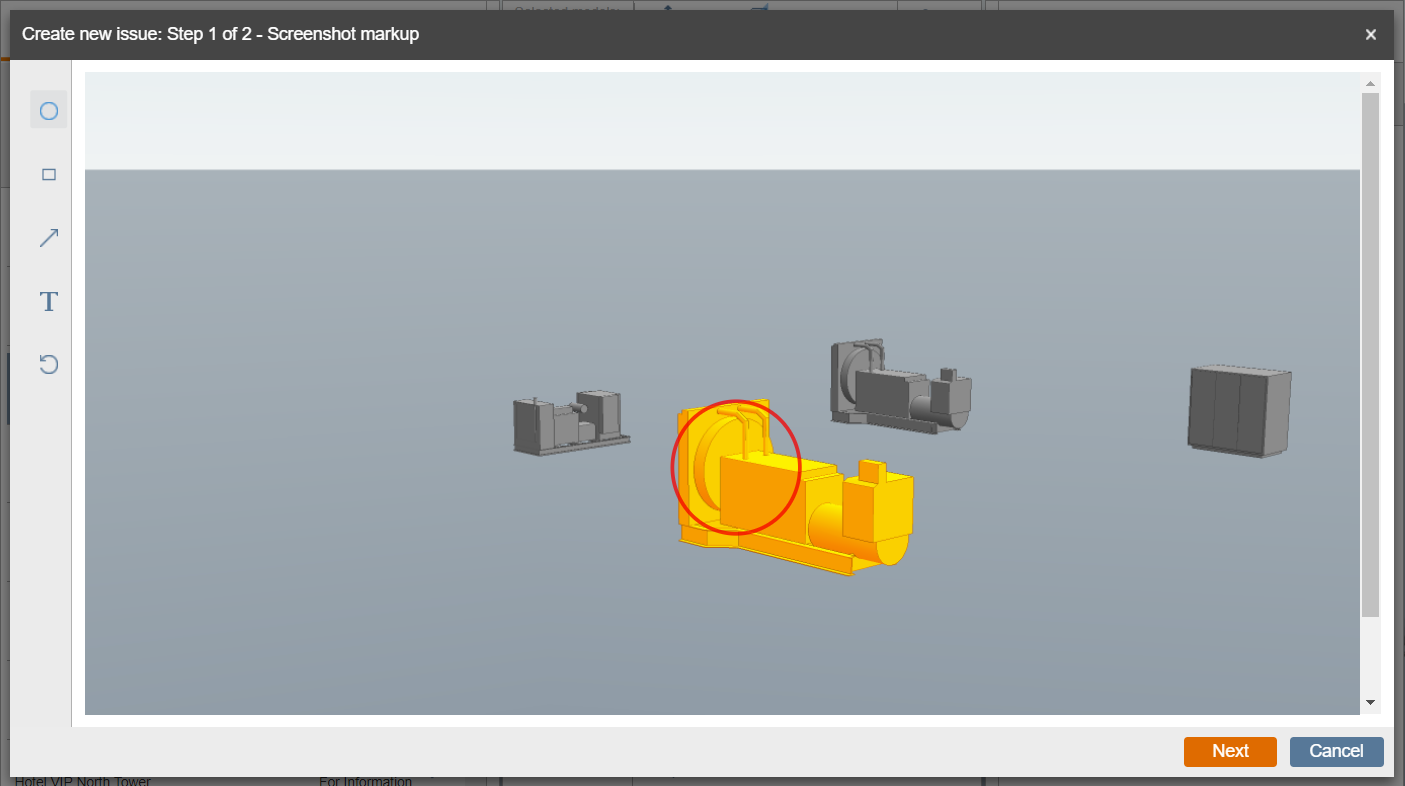
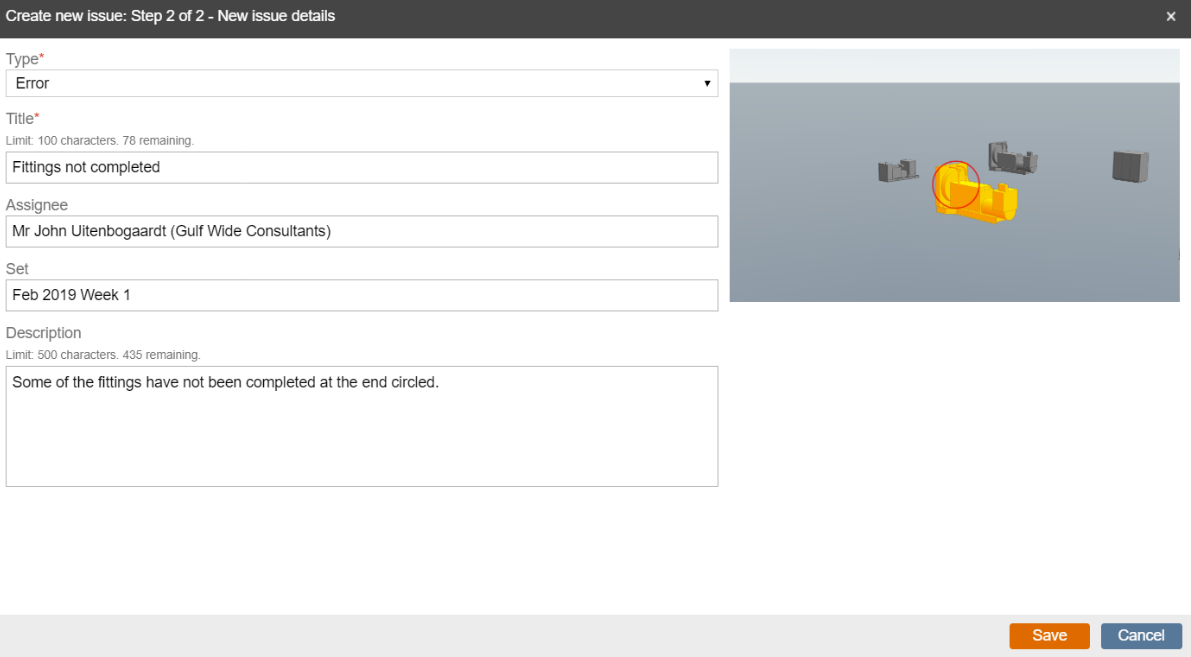
When creating an issue, a view of the object you're referring to is included, which you can mark-up by adding notes to and highlighting specific areas, to specify what you’re referring to. You can also group issues into related sets, assign them to specific users and see how actions on them are processing.
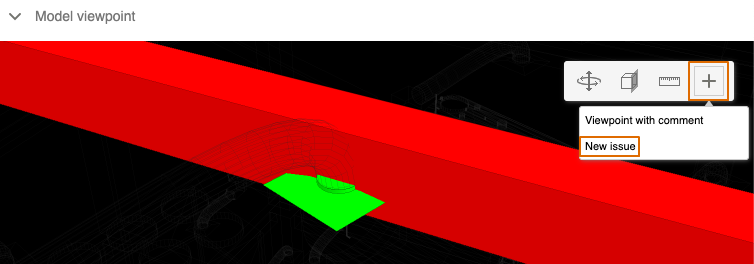
You can also add new issues from existing ones by selecting the plus sign on the Model Viewpoint panel, then selecting New Issue in Issues/Viewpoints.