Align your models

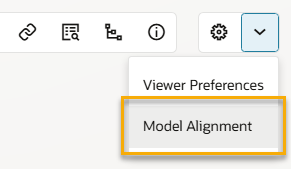
Quickly align a model's alignment and rotation into the right place in the viewer.

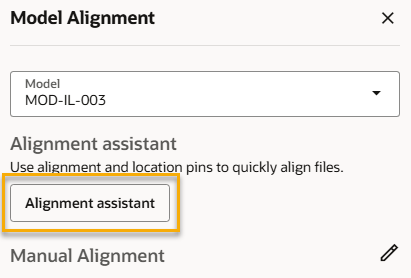
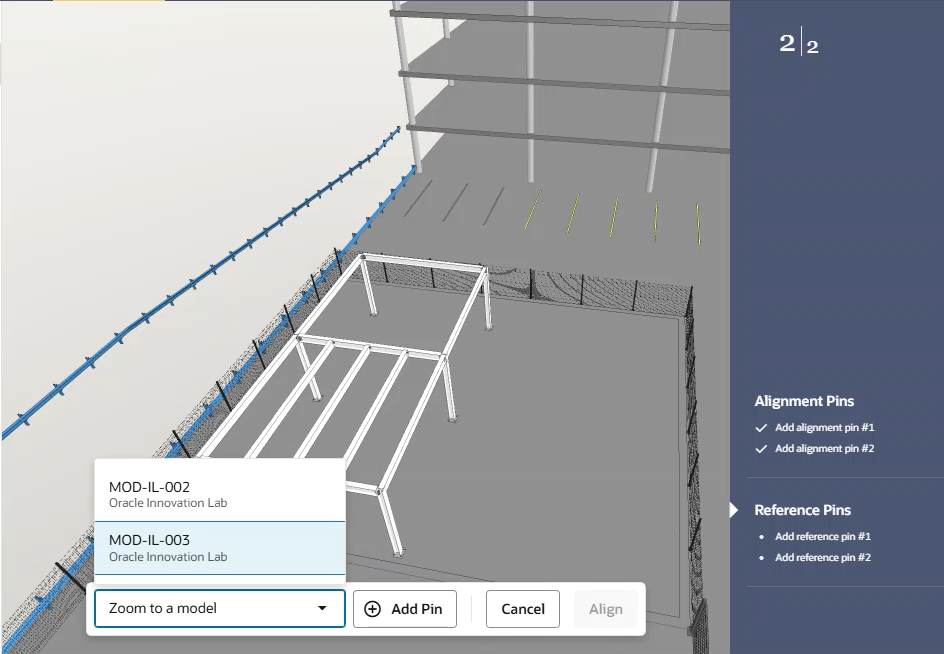
If you work with lots of models, sometimes you need to adjust their location in the viewer so they appear in the correct position. The alignment assistant helps you align each model in just a few clicks. Simply select two anchor points for each model and watch as the models shift into place. You can also make manual adjustments if required.

A good BIM coordination strategy should prevent the need to alter model placement values within Aconex.  If model alignment problems occur, it is best to go back to the creation source and update the correct coordinate system, rather than changing the values in model alignment. This will prevent confusion if the model files are used in other viewers.

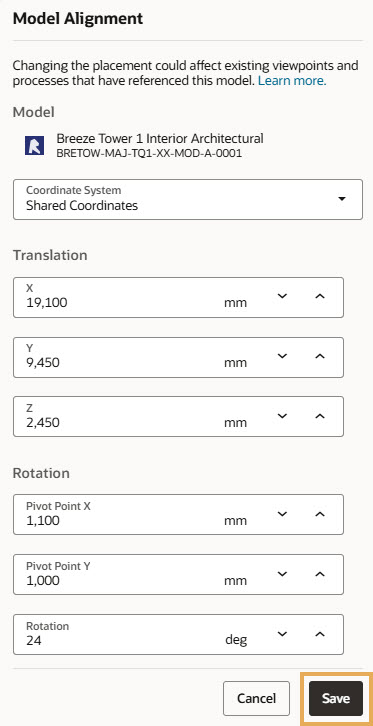
By default, Revit files added into the Aconex model viewer will use the Shared Coordinate System. Internal Origin is selectable for backward compatibility of some models. IFC models will use the coordinate values supplied when they were exported from the authoring tool.  When exporting IFC files from Revit make sure you choose to export using the Shared coordinate system. This setting is usually the default setting for an IFC export. When creating design issues in Navisworks or Revit, the method used to align the models must be the same one used in Aconex models.

Model alignment and viewing problems can occur if:

  • Multiple/federated models don’t share the same coordinate system
  • Design issues created in external tools use a different coordinate system to the one used in Aconex.

To prevent these issues, ensure the same coordinate system is used for all models.

Align a model

You'll need at least two models loaded in the viewer to use the alignment assistant. 

The alignment assistant works by asking you to add two pins to the model you want to align. You then add two pins in the same relative position to a reference model. The first model will align to the reference model, based on the location of the pins.

In this example, we'll align the point cloud to the 3D model to compare reality with the design.
 
  1. From the viewer tools, click the dropdown and select Model Alignment.
  1. Select the model you want to align. This is the model that will move position in the viewer.
  1. Click Alignment assistant.
  1. Click Add Pin to add the first pin to the model you want to align.  Click your mouse to place the pin.
  2. Click Add Pin again to add and place the second pin.
  3. Click Next.
  1. Click Zoom to a model and select the reference model that you want to align to.
  1. Place two pins on the reference model in the appropriate positions.
  2. Click Align.
  3. The first model will shift position and align to the reference model based on your pins.
  4. You can fine tune the position of the model using manual adjustments.

Manually adjust a model's position

  1. Select the model you want to update.
  2. Click the pencil icon to make changes. Note: You'll only see the pencil icon if you have permission to modify the model. 
  3. You'll see your changes live in the viewer. They are temporarily visible until they are saved.  You can change the fields back to zero or unload the model and reload it again to clear the values.
  4. Click Save to keep the changes.

What's next?