Manage your models

View details about your models and make changes if you have permission.

Your models list contains all models that have been added by, or made visible to your organization. This article helps you manage models that were added as registered documents. You can also manage models added as local files

  1. Switch your models list to table view.
  1. Click the three dots menu for a model.
  2. From the menu you can choose: 
  • Allow Model Visibilty to send the model view (and the model) to another user on the project using Mail. Learn more
  • View Event Log to see which users in your organization have interacted with the model.
  • Go to Document Register to view the model in the Document Register
  • View Details to see the Administrator for the model.
  • Remove from list to remove the model from the project if you are the Administrator.

Bulk Model Removal

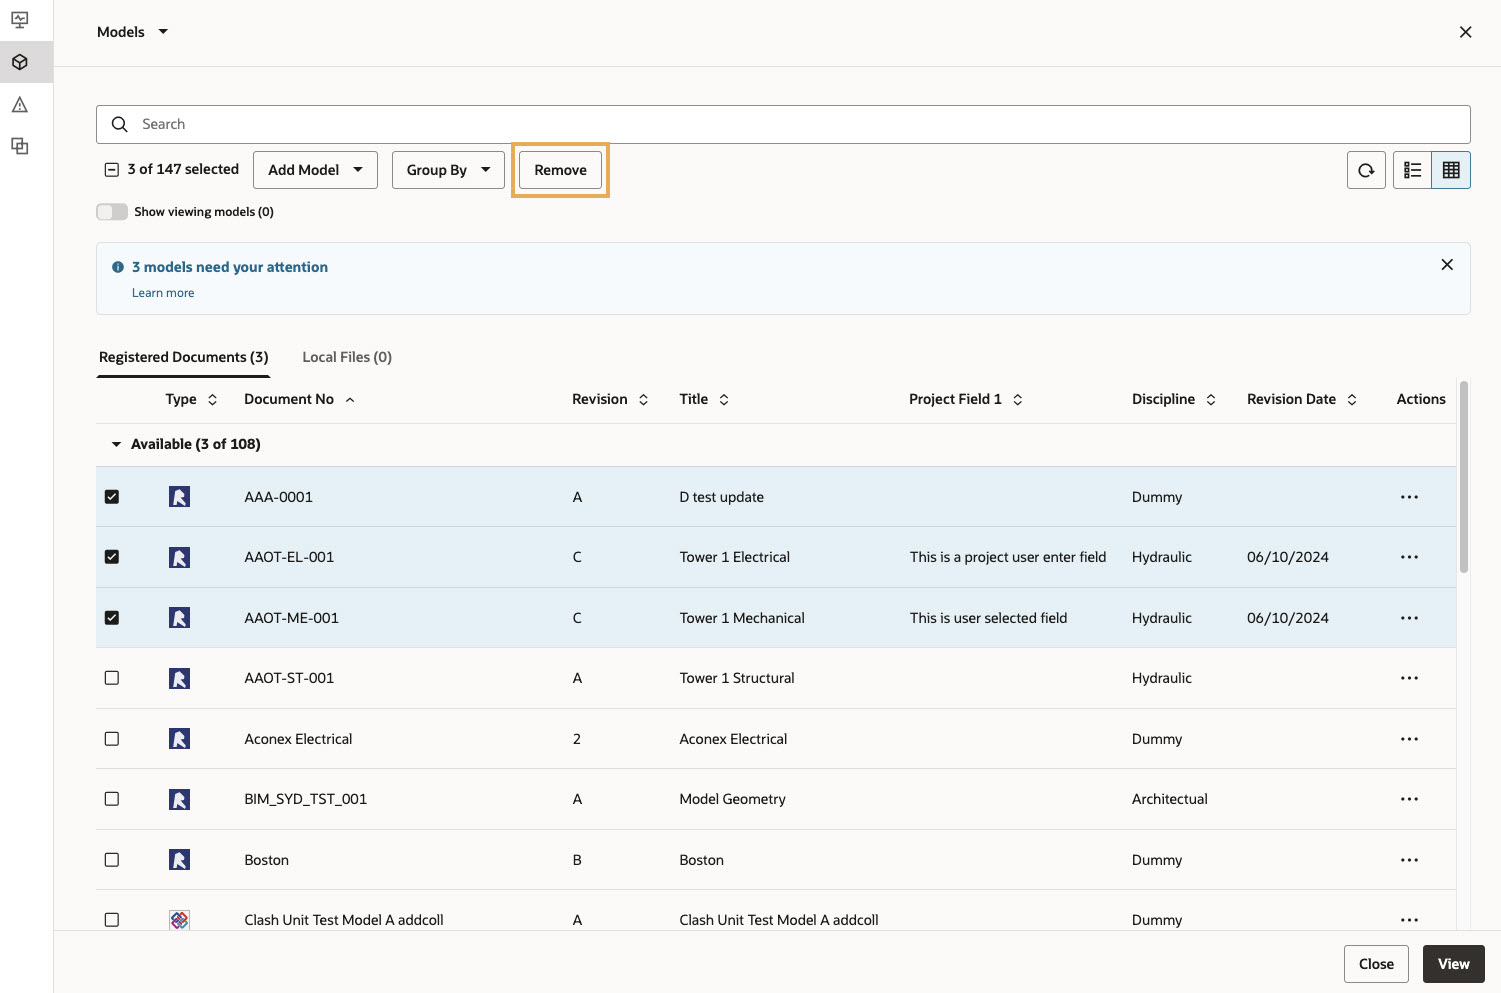
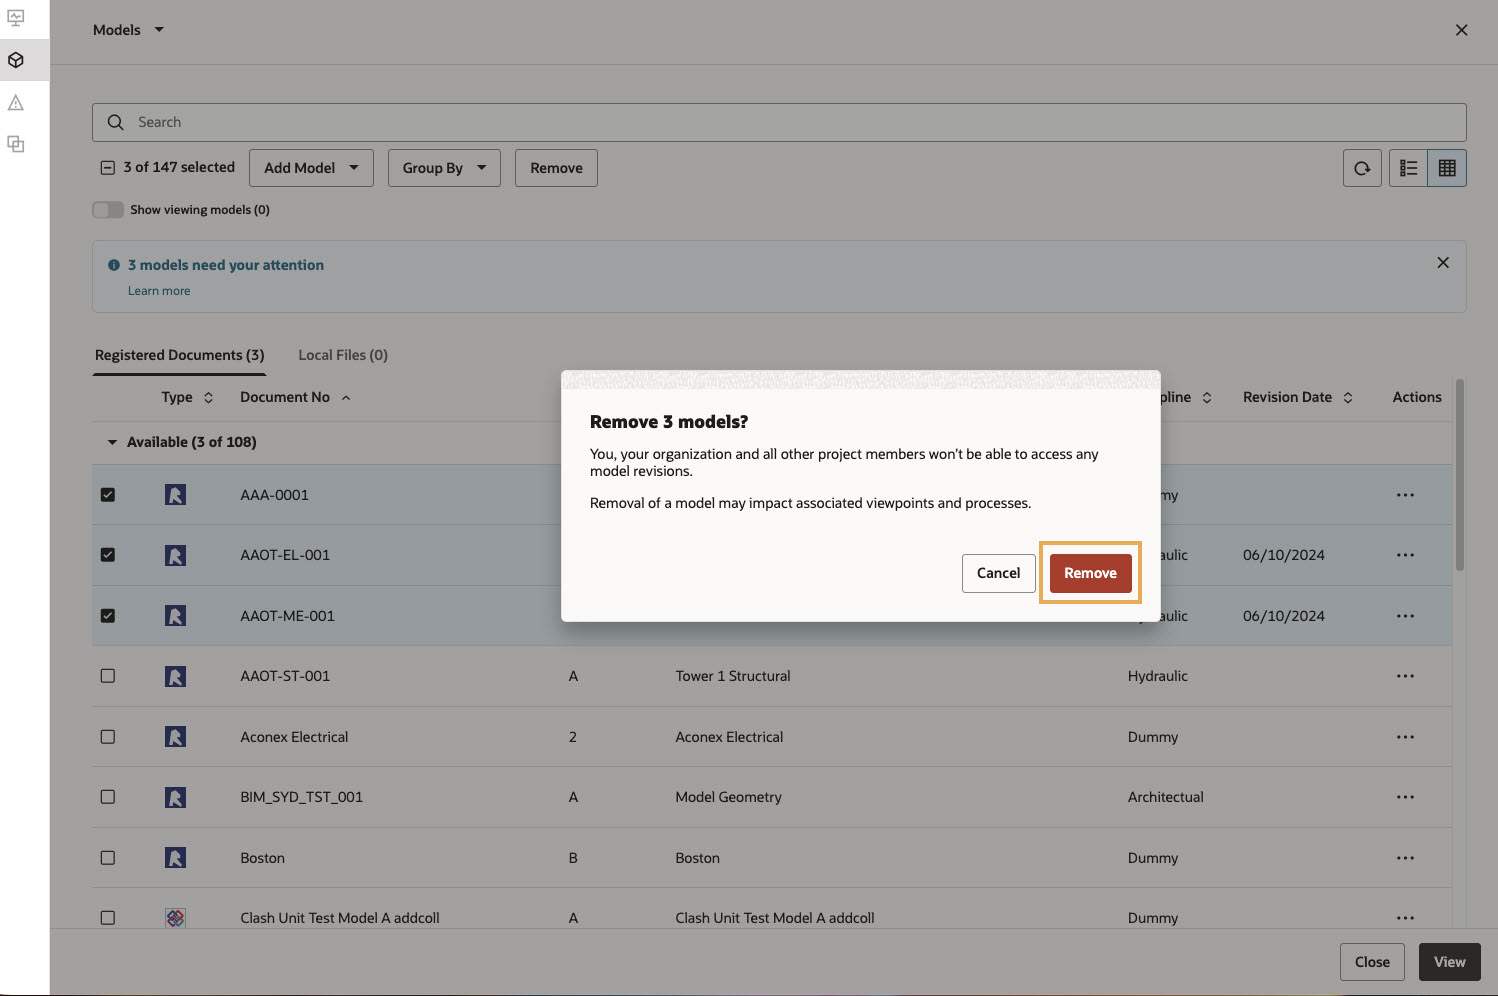
You can remove multiple models at the same time from the Table List view, making it easier to clean up outdated, duplicate, or unnecessary models.

Note:

  • Bulk removal is only available in the Table List view.
  • The remove button is not available in the Model List view.
  • Removed models cannot be restored.
     
  1. Navigate to the Table List view of your models.
  2. Select one or more models. The remove button becomes active after at least one model is selected.
  3. Click Remove. A confirmation dialog appears asking you to confirm the removal of the selected models.

Tip!

Hold Shift while selecting models to quickly select a range of models in the list.
  1. Click Remove to confirm. The selected models are removed and a success message appears.