Support Central
Use Navisworks to test for clashes and to create and assign issues. Data created here is automatically shared with Aconex.
Use the Model coordination plugin from Navisworks Manage and Navisworks Simulate to create and manage design issues.
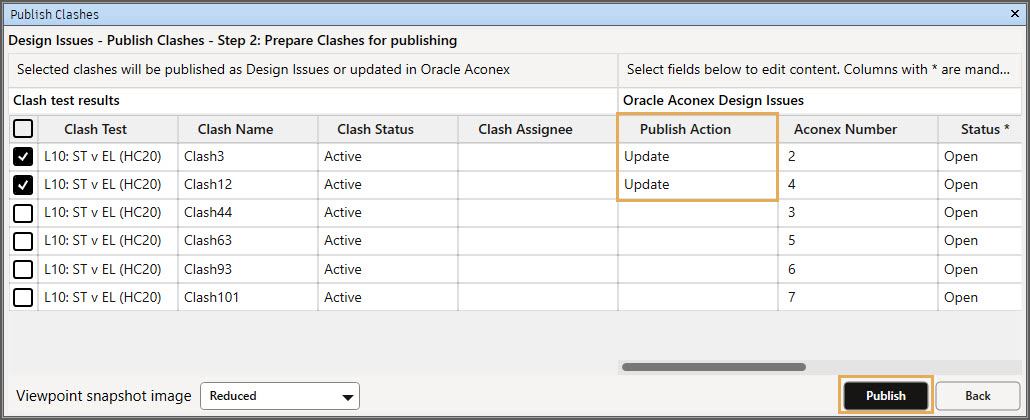
From Navisworks Manage you can publish clashes from Clash detective to Aconex directly.
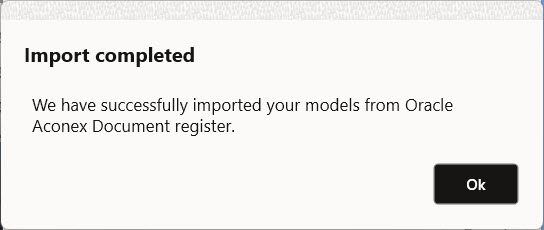
Data created and managed in the plugin is automatically synced with Aconex.
Your Organization Administrator may need to grant these permissions to your user role.

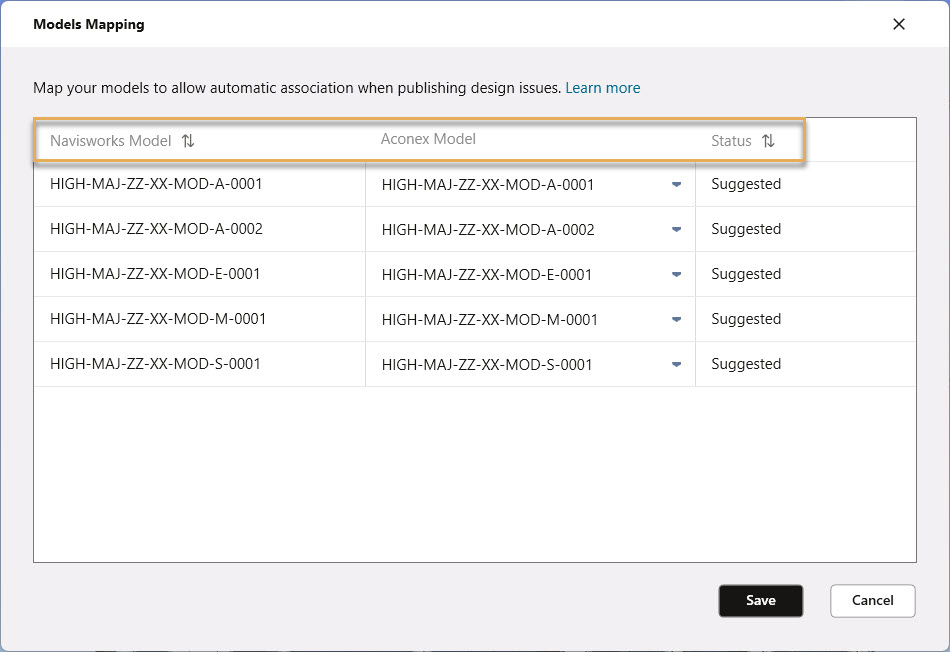
Speed up issue creation by mapping models in Navisworks to models that have been added to Model Explore. This option is enabled when at least one model is added to Navisworks.
Models with confirmed mapping save you time and increase accuracy for:


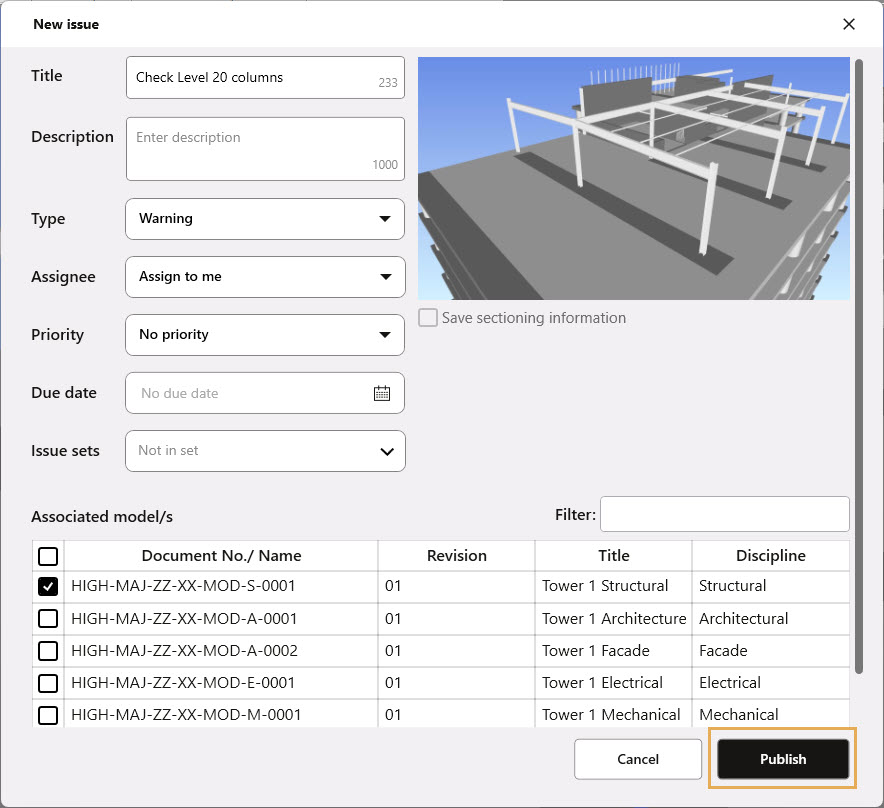
Perspective and Orthographic view of the model can be used. The same view will be used in Aconex.

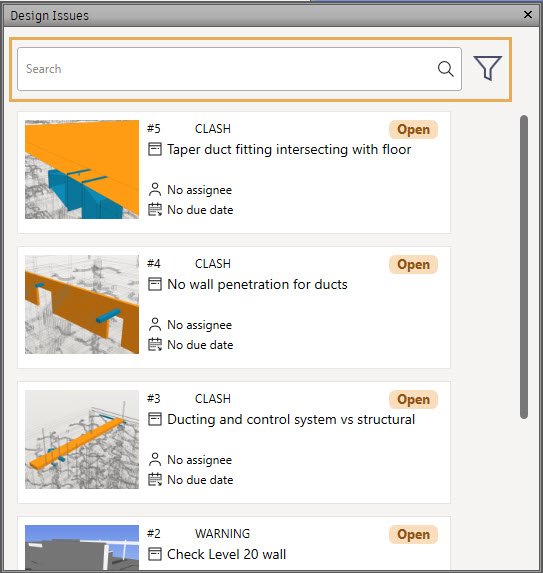
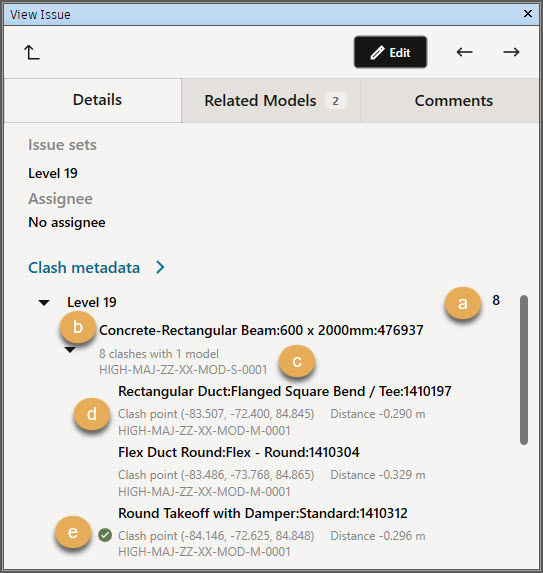
Use the up arrow in the top left corner of the panel to return to the issues list. Use the left and right arrows in the top right corner to quickly move between issues.
In Navisworks, you can view all of the sections that have been created for the model in Aconex.

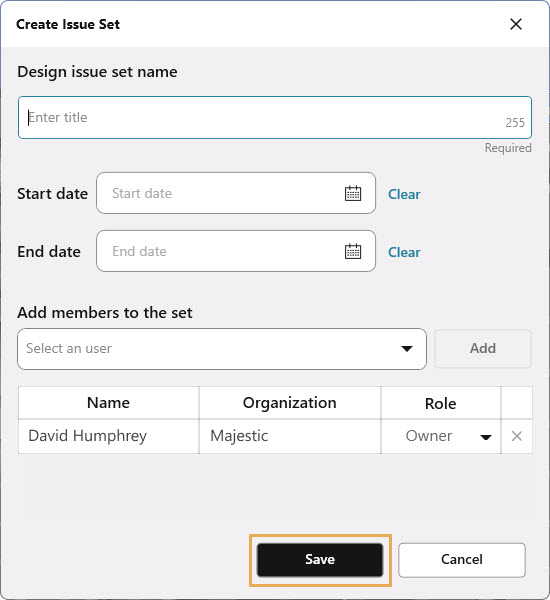
By default,the issue set creator is the Owner of the set, allowing you to edit all issues in it. Added users are Viewers in the set - they can only view the issues. Users can be set to Contributors to create issues in the set. Users with the Aconex permission Model Coordination Administrator can edit all issues relating to their organization on the project.

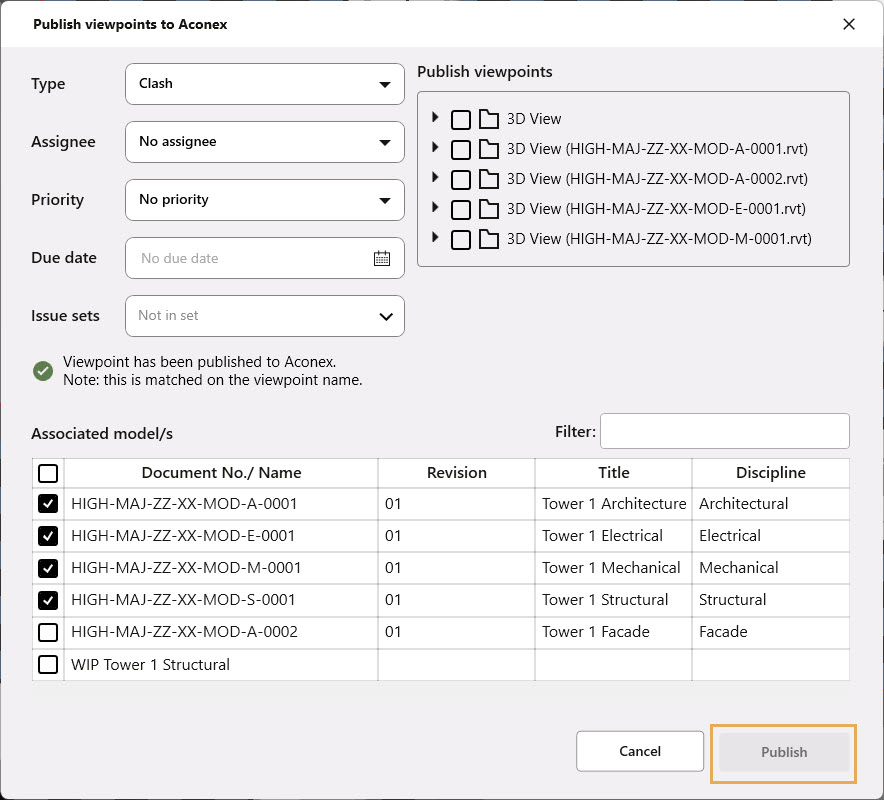
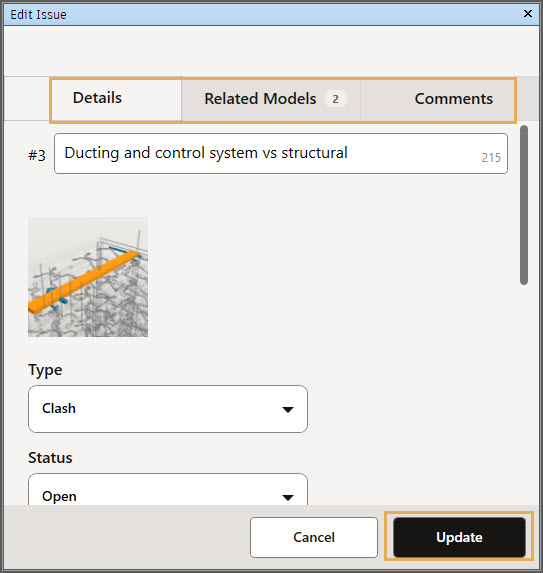
The viewpoint name will be used as the Design Issue title. Multiple viewpoints can be published resulting in the same number of design issues in Aconex.
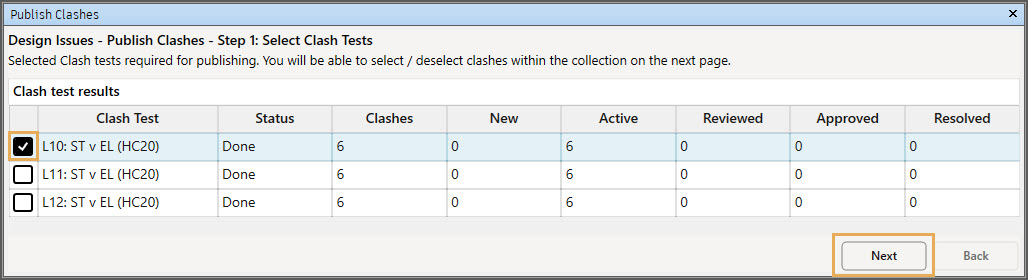
Publish clashes from Clash detective directly to Aconex using Navisworks Manage.
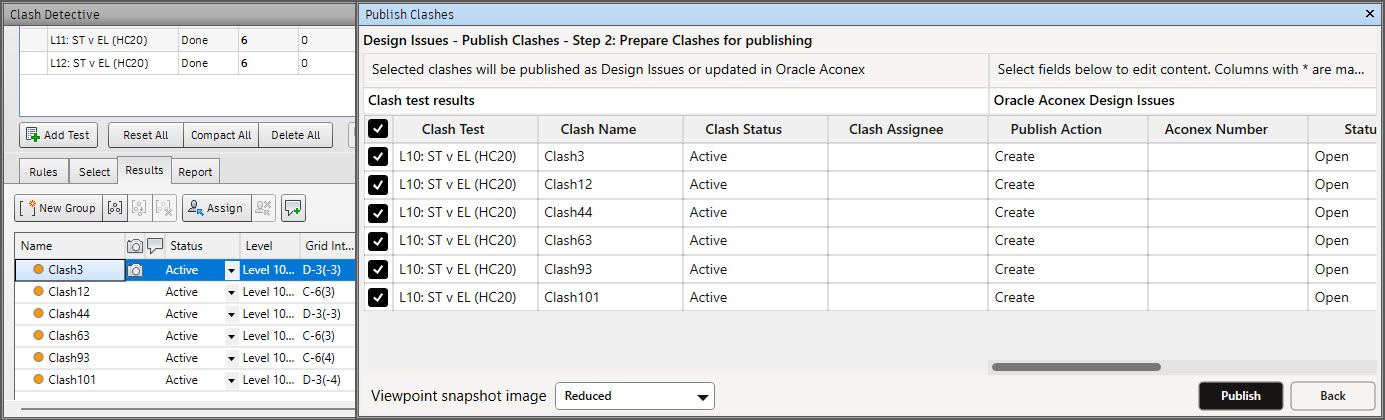

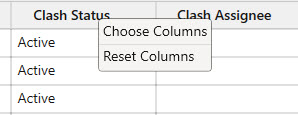
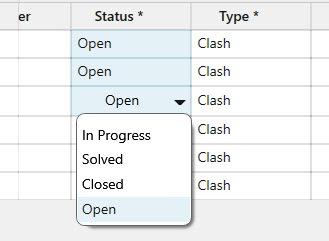
There are specific columns that are default and can’t be hidden from the table – Publish Action; Aconex Number; Status; Type.