- The ribbon menu buttons will become available once you are successfully connected to a project.
Tip!
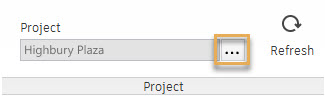
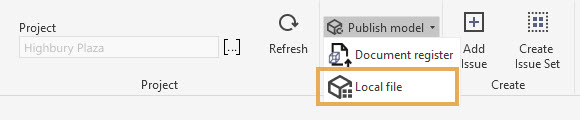
Click the Refresh button to get the latest data from Aconex.
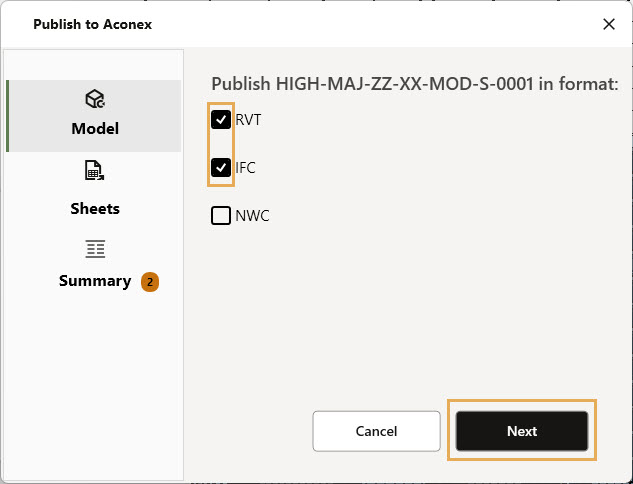
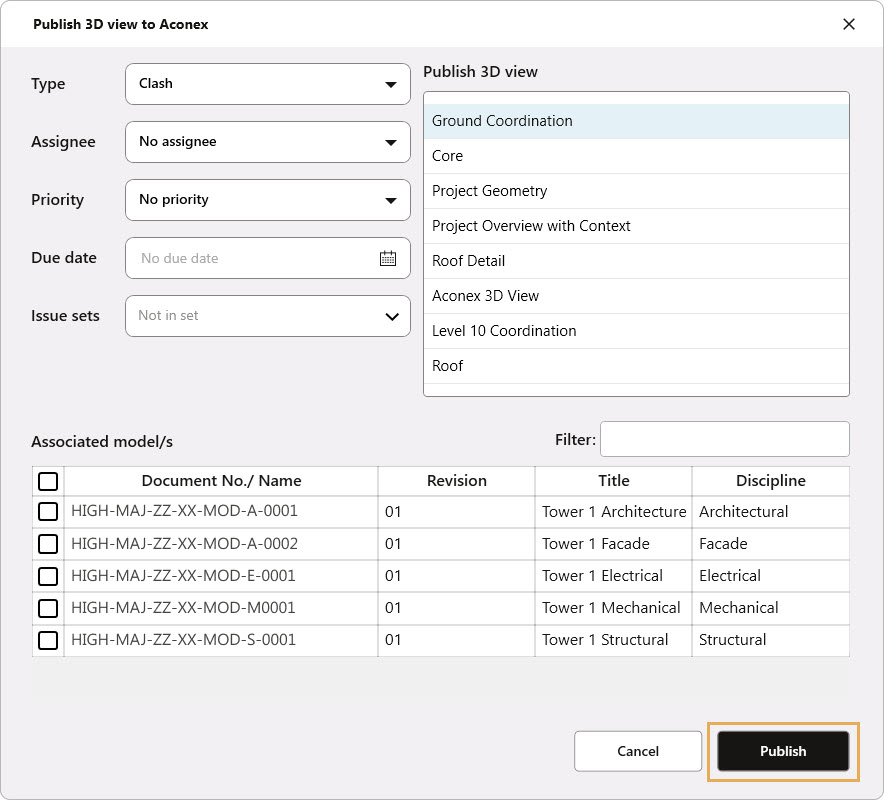
- Select the Model format to publish to Aconex and click Next.
Tip!
To publish to NWC you will need to install the Navisworks Export plugin for Revit.
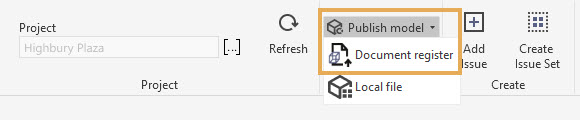
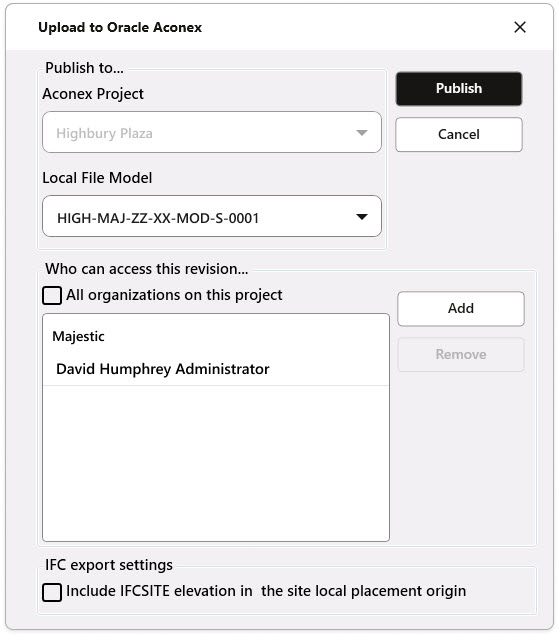
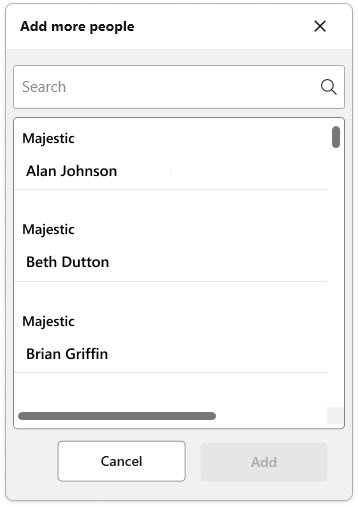
- Select the desired local file. When selecting a model, a list of people with access to the revision is displayed by default.
Tip!
By default, the new version is available for selected users only.
Create Design Issues
- Prepare the model to display your design issue in the most effective way and click Add Issue.
Tip!
Perspective and Orthographic view of the model can be used. The same view will be used in Aconex.
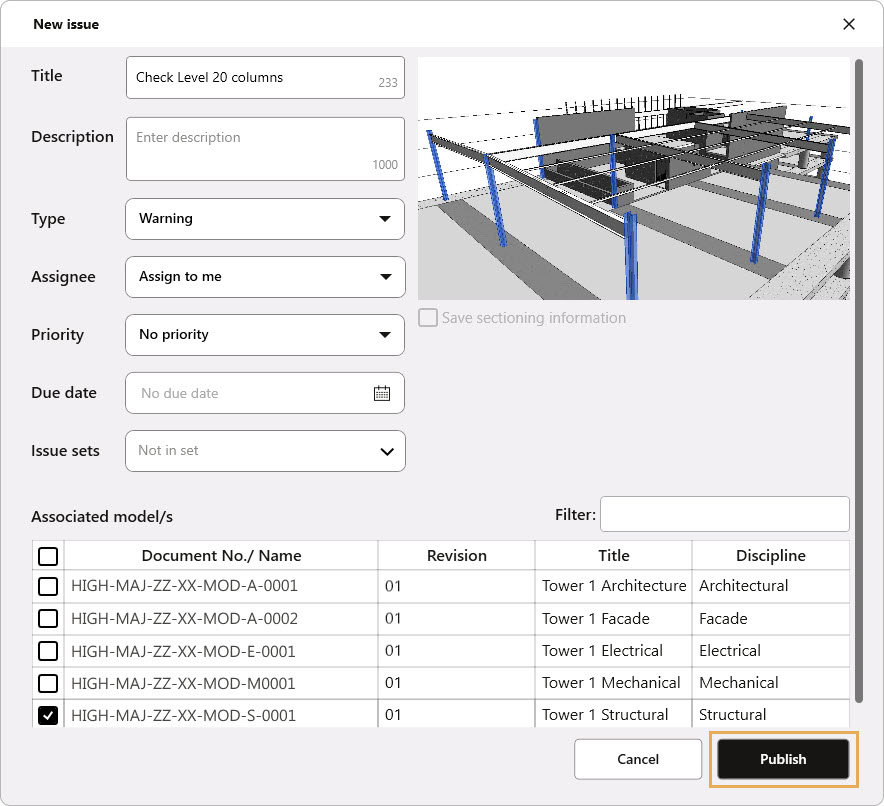
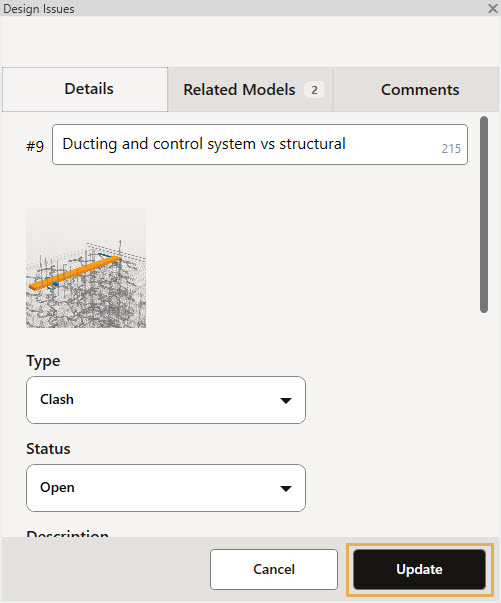
- In the pop-up, enter information about your design issue, including mandatory fields such as Title.
- Select the associated model/s to display the model viewpoint in Aconex. Otherwise, the model viewpoint will not be loaded automatically in Aconex.
Tip!
When a viewpoint of an issue is created in Revit, information such as shared coordinates, object selections and object visibility will be captured for display in Aconex.
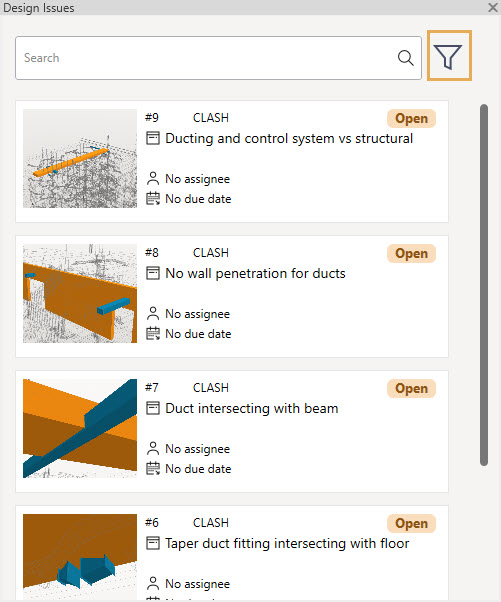
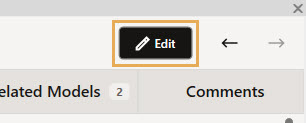
- Click an issue in the list to open a model viewpoint.
Tip!
Use the up arrow in the top-left of the panel to jump back to the issue list. To quickly move between issues, use the left/right arrows in the top-right.
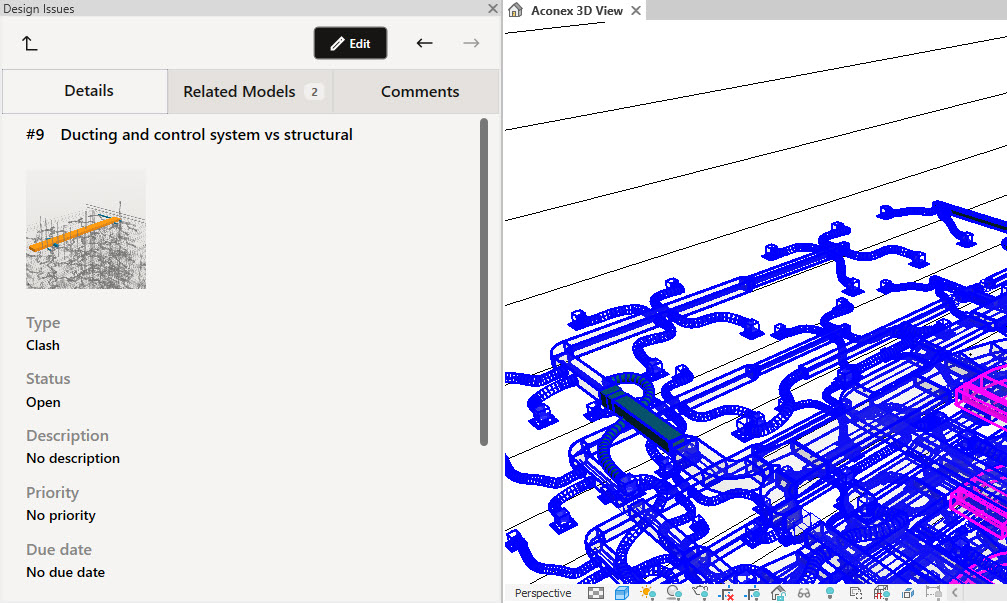
- Select a Viewpoint to load the model viewpoint to the scene.
Tip!
You can view sections made to the model in Aconex that are aligned with the section box in Revit.
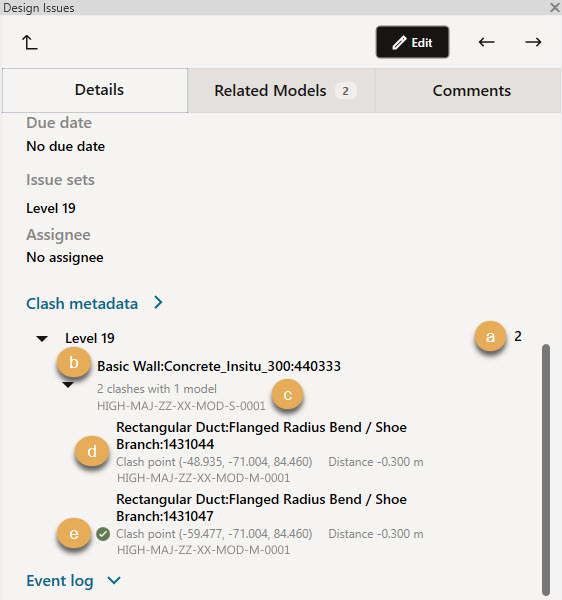
- Clash in the Cloud: Issues created from Clash in the Cloud will show detailed information under the Clash metadata heading. Use the image below to match detailed information in the Clash metadata section:
a) Clash count
b) Group of clash results
c) Primary model
d) Clash result showing clash point, clash distance and secondary model.
e) Resolved icon: A green tick will appear beside a clash when it has been resolved.
Tip!
Clashes cannot be resolved through the plugin. Model authors must correct the clash then upload a new revision of the model to Aconex.
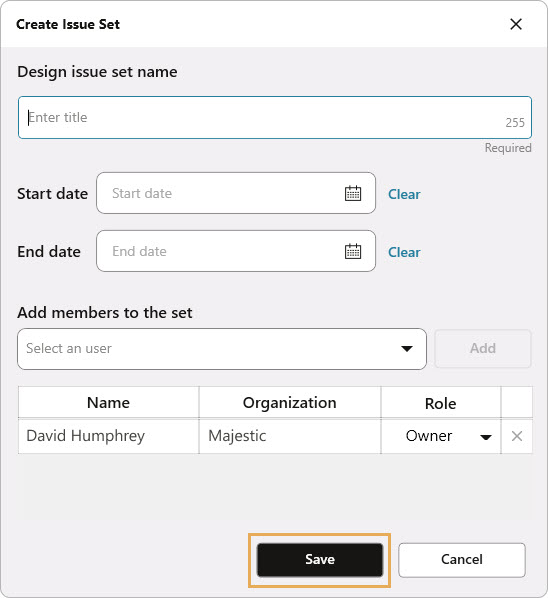
- Enter the set name (mandatory).
- Define start and end dates for your set.
- Add members to provide access to the issues within the set.
- Click Save when you are done.
Tip!
By default, the issue set creator is the Owner of the set, which allows them to edit all the issues in it. Added users are Viewers in the set - meaning they can only view the issues. Users can be set to Contributors to allow them to create issues in the set. Users with the Model Coordination Administrator Aconex permission can edit all issues relating to their organization on the project.