Configure mail approval rules for your organization

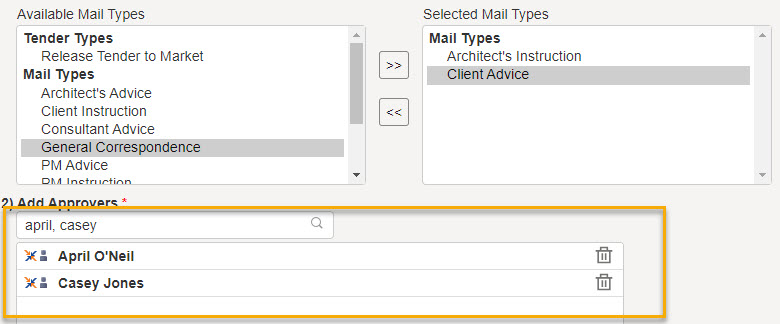
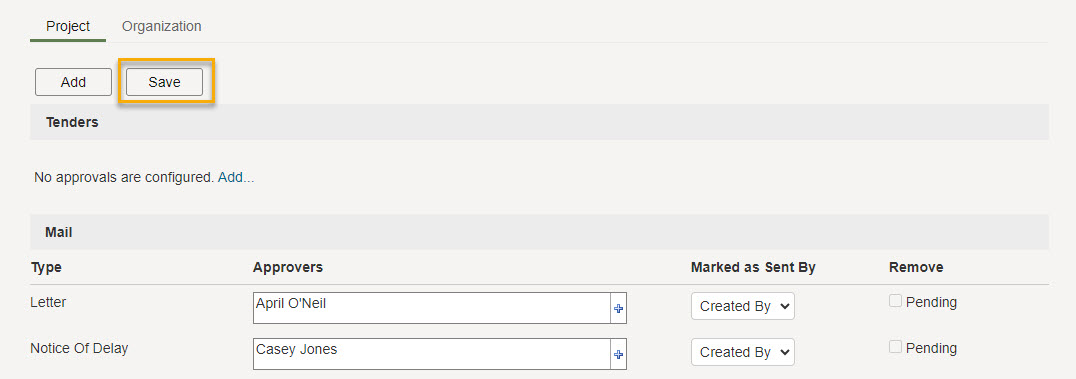
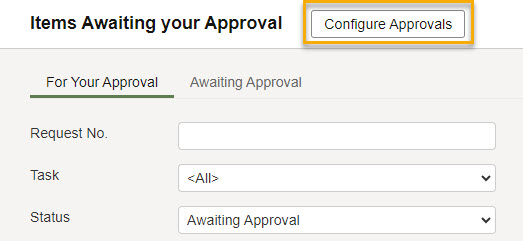
As the Org Admin you can choose to set mail approval rules for specific mail types. Doing this means all mails must be approved before they are sent.

Required permissions
Configure mail approvals for organization

Mail approvals can be set at an Organization or Project level, but only apply to your organization.  You cannot approve mail sent from other organizations.

Project level mail approval rules will override organization level rules.

If you send a mail and you have been set as an approver for that mail type, it will be automatically approved and sent.

  1. Choose your project in the Project Selector at the top of the page.
  2. Click Mail.
  3. Under Actions, click Mail Approvals
  4. Click Configure Approvals.

Add a mail approval

  1. Click the Organization tab to add an organization level approval rule.
  2. Click Add.

Tip!

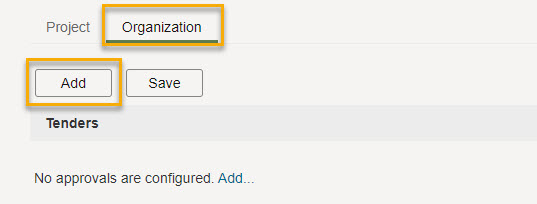
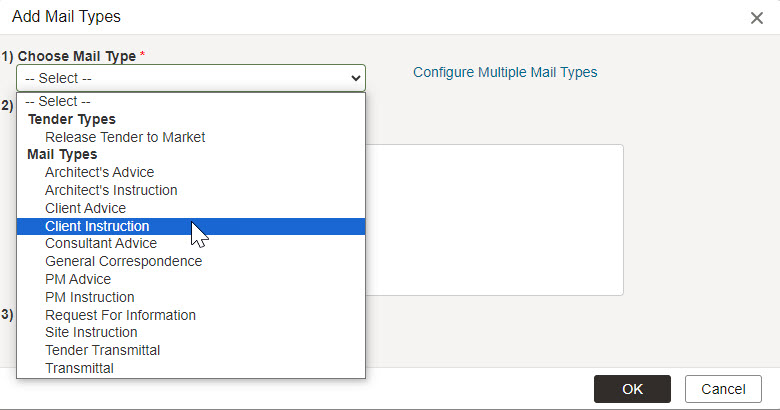
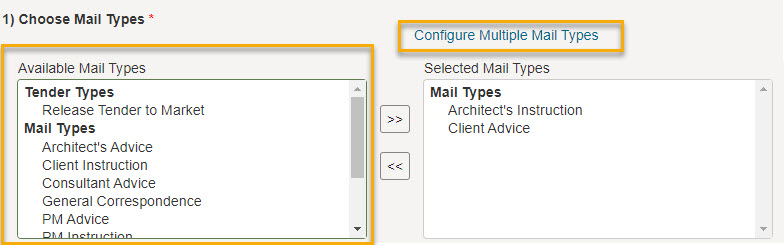
Click the Project tab to add an approval rule for this project only. It will override any organization level approval rules set for the chosen mail type. You must have permission to configure mail approvals for projects.

  1. Select the mail type to configure from the Choose Mail Type list.
  1. (Optional) To select multiple mail types click the Multiple Mail Types link and double click to select each mail type.
  1. Add an approver by typing their name in the Add Approvers field (multiple names can be entered; use a comma to separate them) and pressing Enter.
  2. To remove an approver, click the remove icon to the right of the approver name.
  1. Under Mark as Sent By choose either:
    • Original Author – the mail shows the original author as the sender (with a watermark detailing who approved the mail).
    • Approver – the mail shows the approver as the sender (with a watermark detailing who prepared the mail).
  2. Click OK.
  3. Click Save.