Setting up default response times for your mail

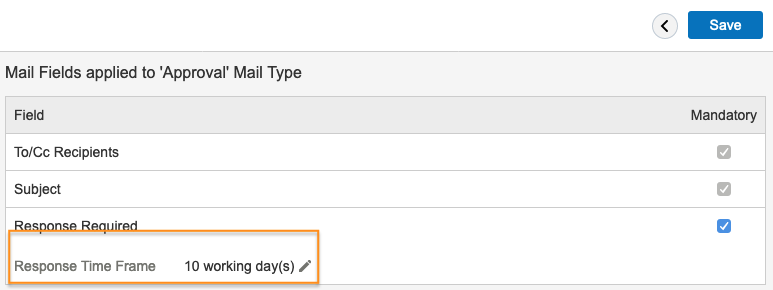
If you need to ensure specific mail types receive a response within a certain time-frame, you can do so using Response Required.

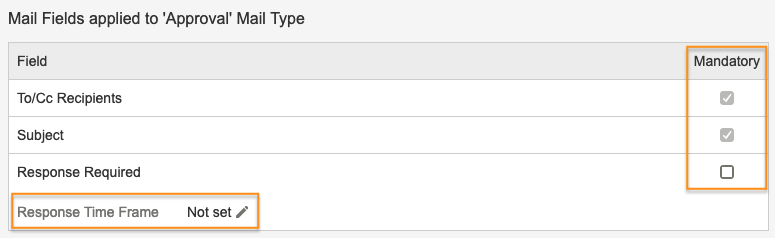
As a Project Admin, you can set the time frame for all mail types that need a response to suit the project's needs. This means the sender no longer has to work out or themselves which date to use.

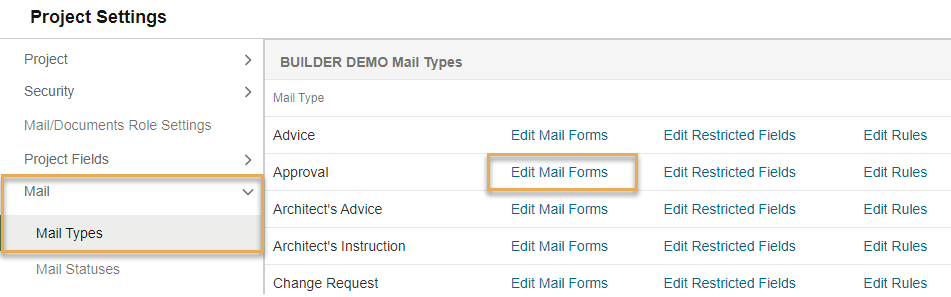
You do this using Response Time Frame in Setup > Project Settings. From here you have to:

  1. Select Mail Types. This opens a list of all the mail types you can use.
  2. Select Edit Mail Forms for the mail type you wish to update.
  1. Select the pencil icon next to Response Time Frame/Not set.
  1. In the Edit Response Time Frame window select Set response time frame for ‘Approval’. This opens the fields you use to set up a response.

Tip!

Response times can be calculated on working days (using the project working week) or calendar days (all days of the year). 

  1. From here you can set the number of days and, optionally, add a tool tip giving more information about the number of days set.
  2. Select Save when you’ve finished. If you re-open the Mail Fields applied to ‘Approval’ window, you can see that the Response Time Frame/Not set option now has the new setting. Here you can also set it to be a mandatory response.