Add another organization to a Tenders invitation

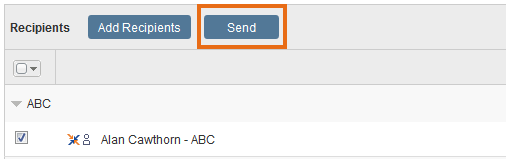
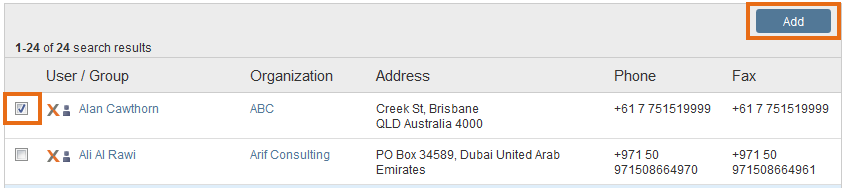
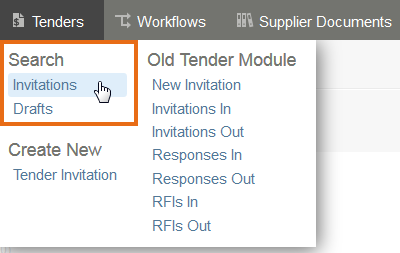
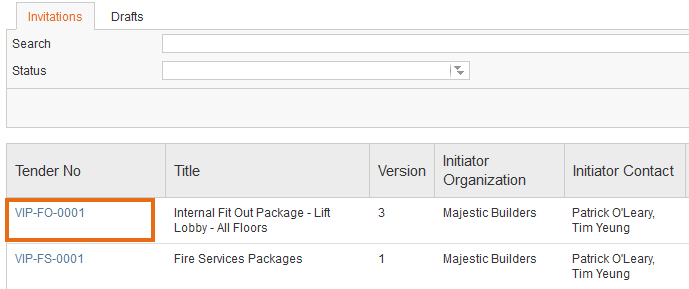
Choose other recipients for your tender at any time while the tender is open.

Things to remember: 

  • Users in North America will generally see Bid used in the Aconex interface instead of Tender to conform to local usage. The functionality is the same.
  • The tender invitation displays the date the tender was sent to each recipient.
  • You can remove a recipient that you haven’t sent the invitation to by clicking the Trash icon next to their name.
  • A recipient can only see the names of other recipients in their organization. Recipients from other organizations cannot be seen.

Tip!

If you accidentally removed an organization from a tender, you can't add them back. However, as a workaround, you can create a new guest user with the same contact details and send the invitation to them.

  1. Choose your project in the Project Selector at the top of the page.
  1. Click the Tenders button on the Module Menu, and under Search, click Invitations.
  1. Click the tender number under the Tender No column to open the tender invitation.
  1. Scroll down to Recipients.
  2. Click the Add Recipients button.
  1. Find and add new recipients.

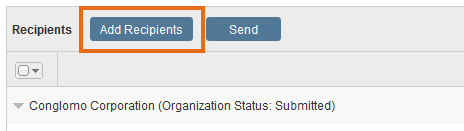
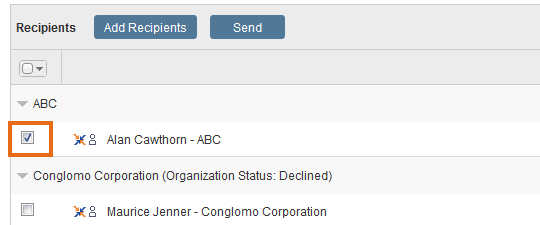
Please note: The checkbox for each added recipient is selected by default.

  1. Click the Send button. The tender invitation is sent only to the selected recipients.
  1. Click the OK button in the confirmation message.

Finding and adding tender recipients from a directory

  1. Click the Address Book button.
  1. Click the:
  • Project tab – to search for project team members and guests only.
  • Global tab – to search all Aconex users and guests.
  1. Type full or partial search terms in one or more search criteria fields
  2. Click the Search button.
  1. Select the checkbox for each recipient or recipient group you want to send this tender to. Click the Add button to add the selected users to the recipients list.
  1. Click the OK button.