Work on your assigned test plan activities

Find assigned activities, upload evidence, and mark it for review.

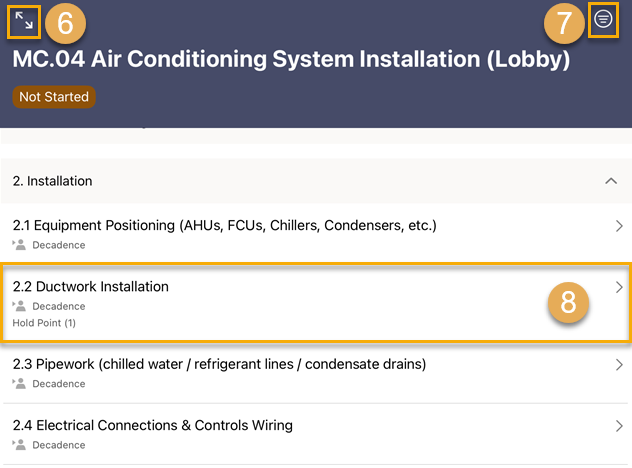
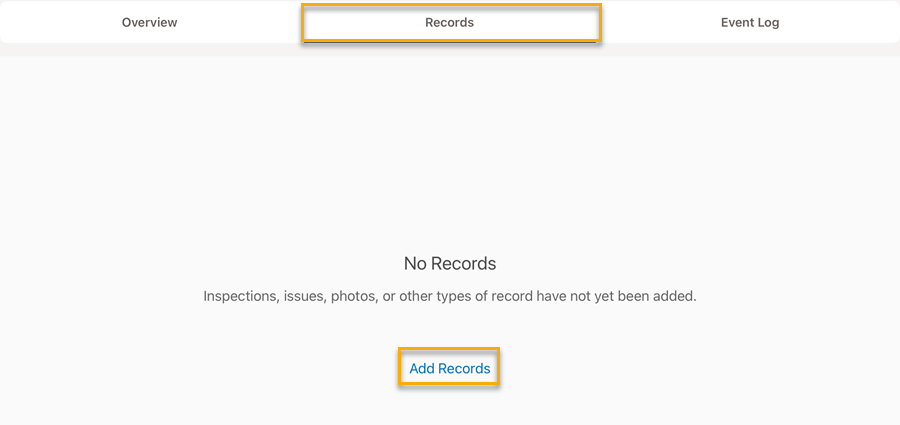
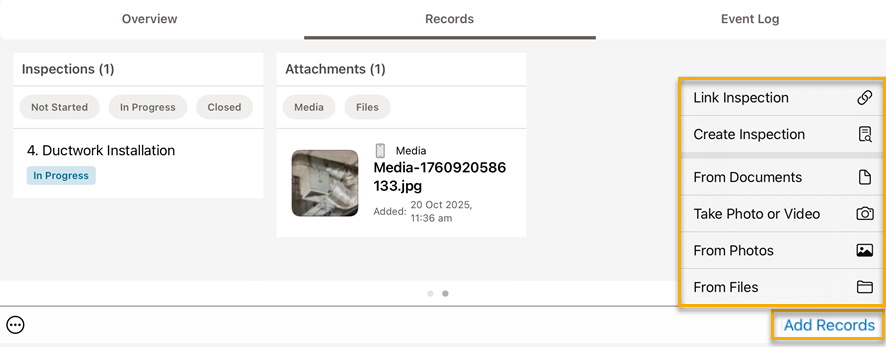
As the assignee of a test plan activity, there's a few things you need to know to ensure it's completed correctly.

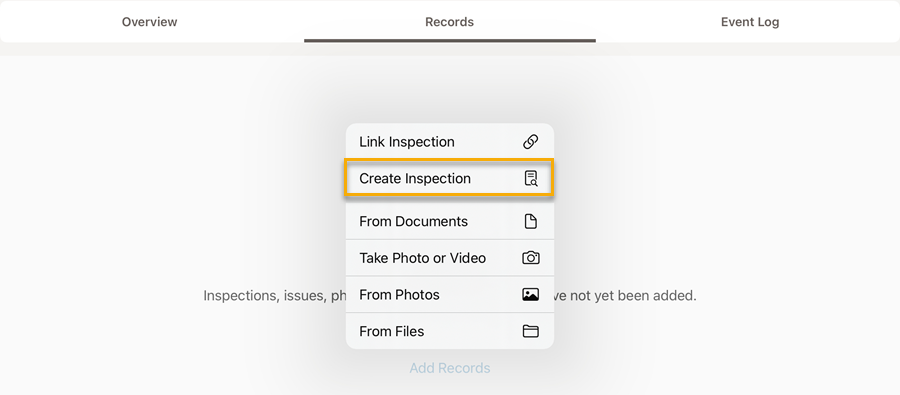
In this article, we'll show you how to:

  • Find your activities.
  • View the activity details
  • Find reference documents.
  • Upload completion evidence.
  • Mark an activity for review.

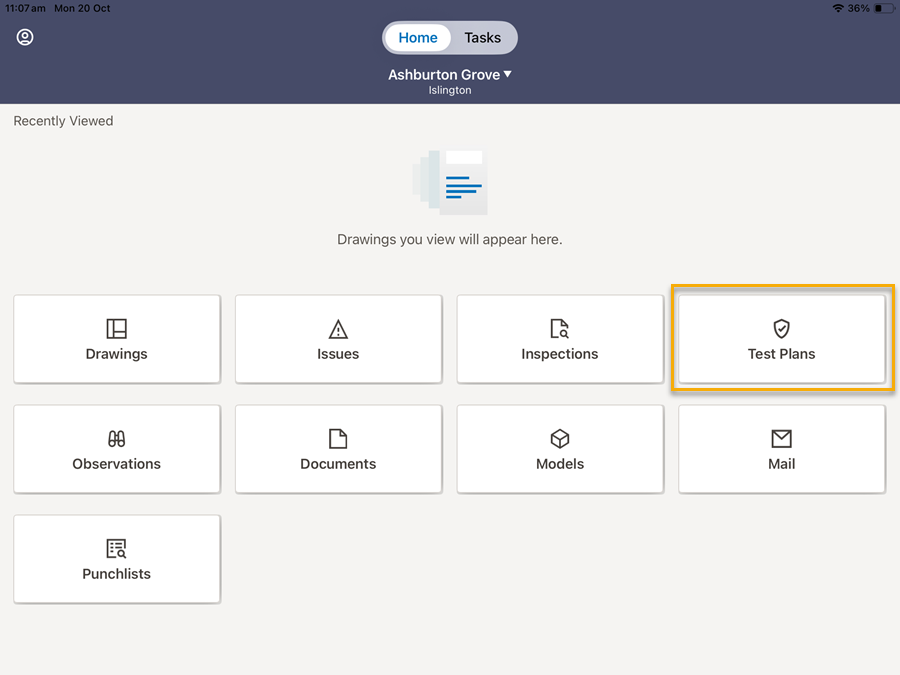
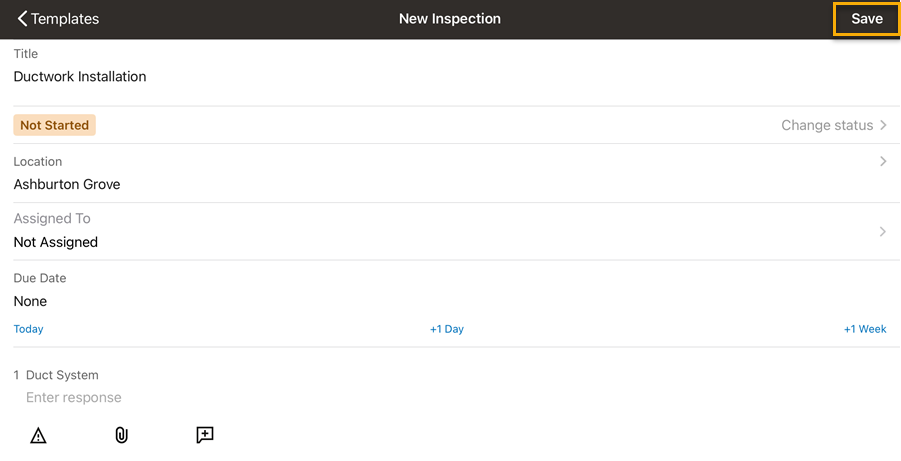
We'll use the mobile app but the process is similar on the web application.

Tip!

Test Plans is currently only available to projects on the KSA1 and MEA Aconex instances. We'll continue to develop features based on feedback and announce availability for other Aconex instances at a later date. Make sure you subscribe to Release Highlights to be notified.
  1. Log into the mobile app and tap Test Plans.
  1. Use the search and filters to find the test plan you're working on.
  2. Tap on the test plan to view its activities. 
  1. A test plan is divided into sections, each containing the relevant activities. The first section is expanded by default.
  2. Tap on the relevant section to expand and view activities for that section. 
  1. If you're on an iPad, tap the expand icon to view the activity list in full screen. This allows you to filter the activities. 
  2. Tap the filter icon to filter for the activities assigned to you, or your organization.
  3. Tap an activity to view its details.

Tip!

​The activity details help you understand what's required to complete the job.
  1. Scroll down to find any reference documents, and tap them to view.

Tip!

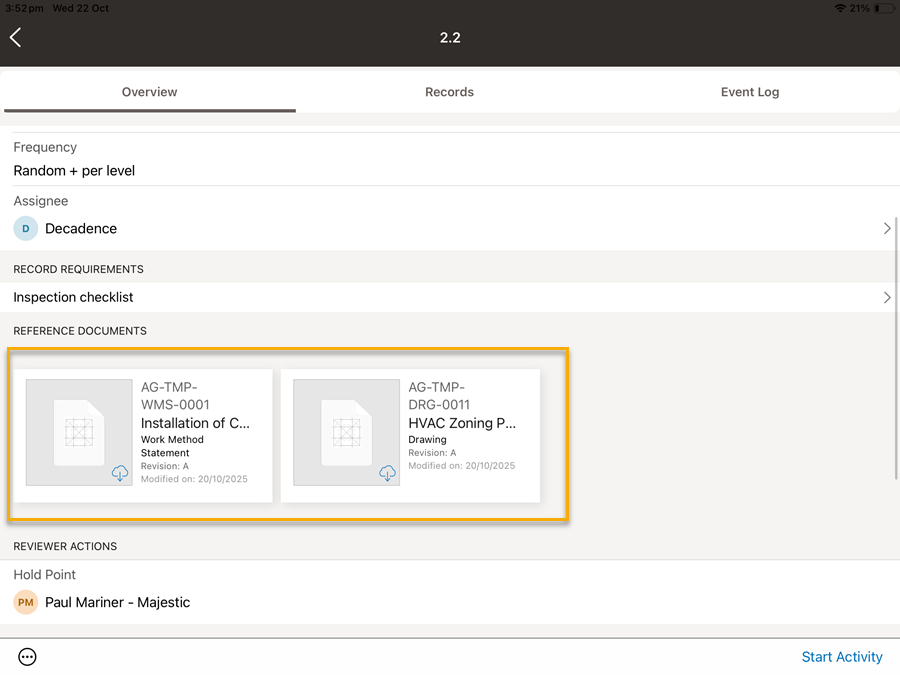
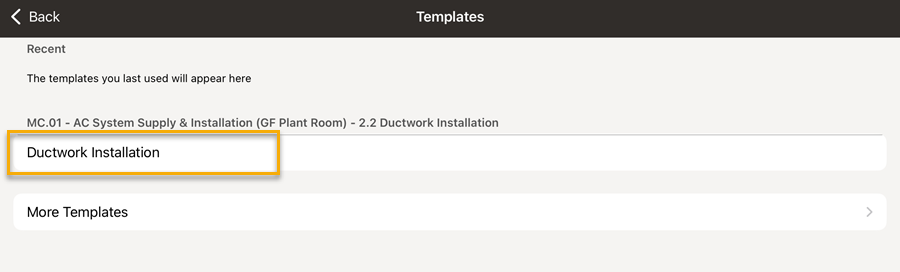
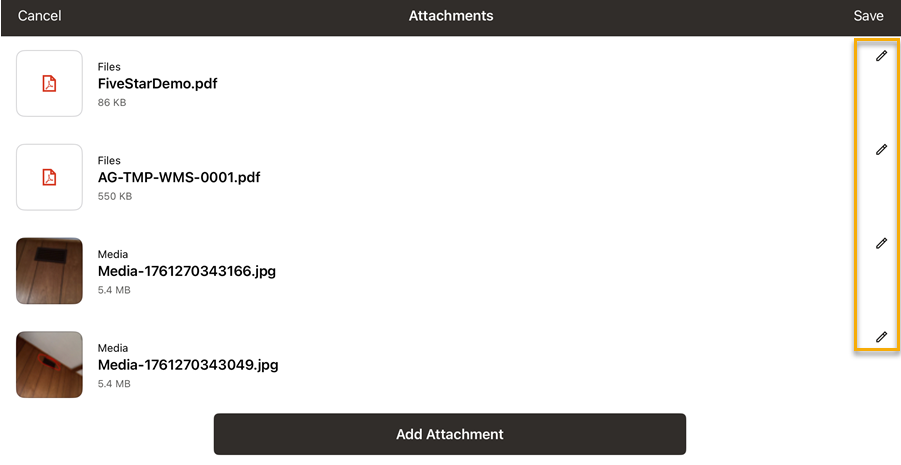
If you don't see the documents you're expecting, ask the owner of the Test Plan to transmit them to you.
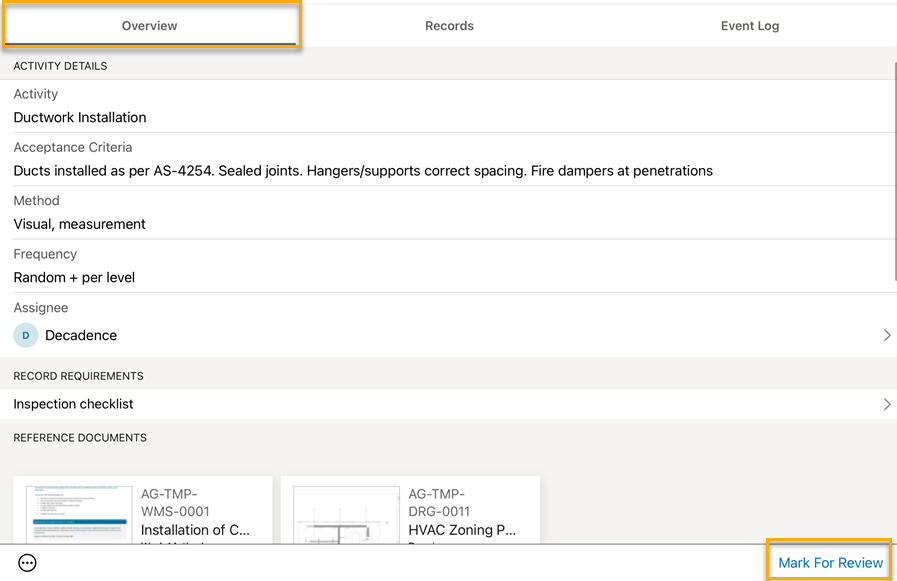
  1. If the activity hasn't been started yet, tap Start Activity to begin working on it.
  1. After completing the work, you can add the required evidence. In this example, under record requirements an inspection checklist is required. 
  1. Tap the Records tab, then tap Add Records.
  1. Tap Create Inspection.

Tip!

If you've already created the checklist, tap Link Inspection to link it to your activity.
  1. Tap the template you need to complete the checklist.

Tip!

If you don't see a template, you can tap More Templates and choose one. If it's not listed, contact the owner of the Test Plan and make sure they've shared the template with your organization.
  1. Complete the inspection and when you're done, tap Save.
  1. If required, tap Add Records to add more evidence such as inspections, photos, videos, files and up to 10 documents from your document register. 
  1. After adding records, tap the pencil icon to add an optional description explaining the purpose of each attachment. You can also add markups to images and PDFs.
  1. After adding all your evidence, you're ready to mark the activity for review. Tap the Overview tab, and tap Mark for Review. Tap to confirm.

You're all done! 

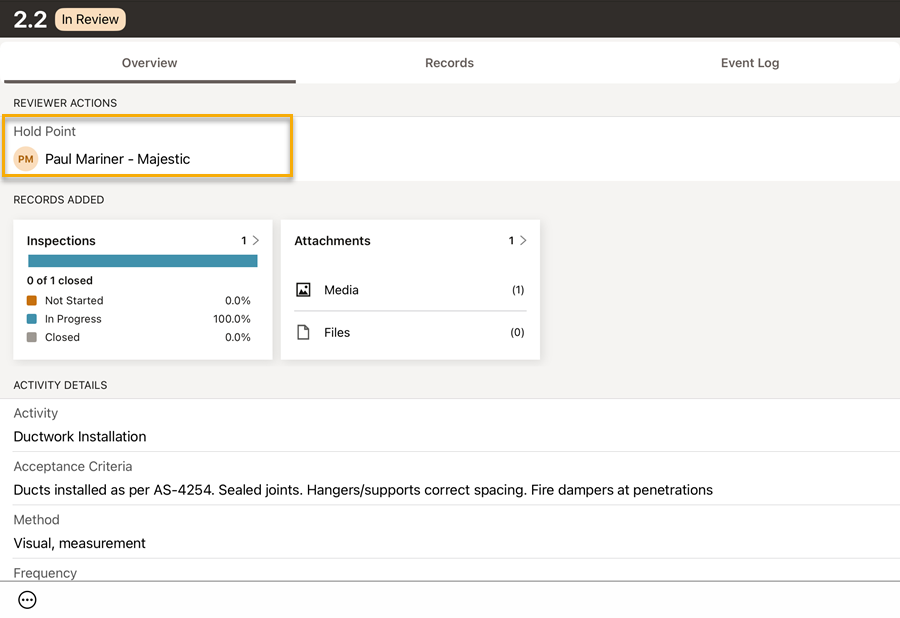
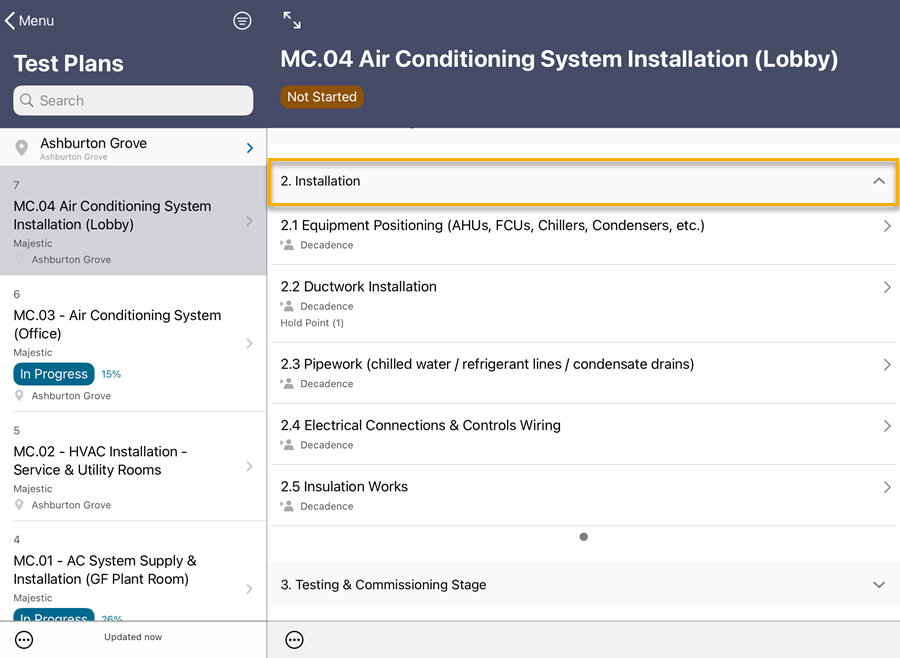
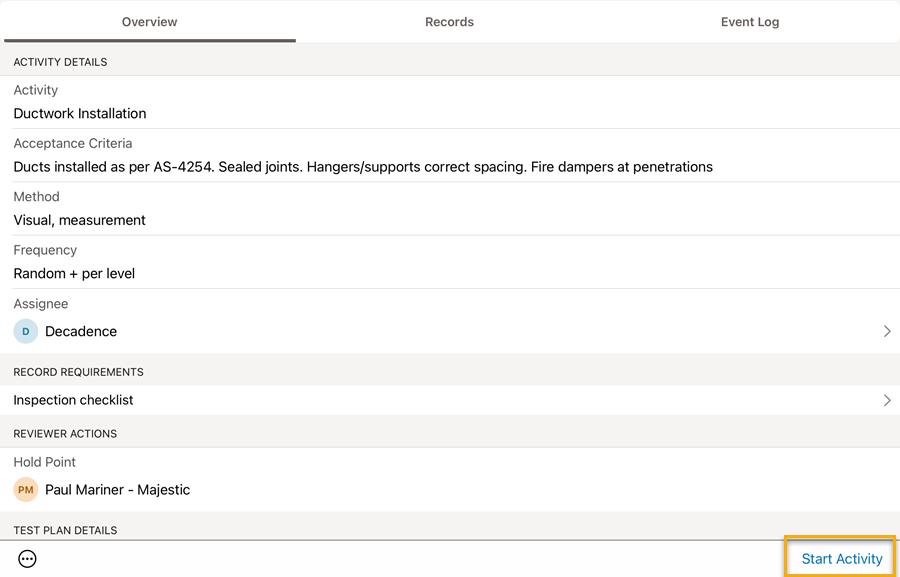
In this example, the reviewer now needs to release a Hold Point before the next activity can start.

They'll get an email notification to check the work done, and they'll let you know if more information is required.

Once the hold point is released, work can proceed, and a manager can mark this activity as completed.

What's next?