Support Central
Follow these guidelines when installing a Scheduled Archive
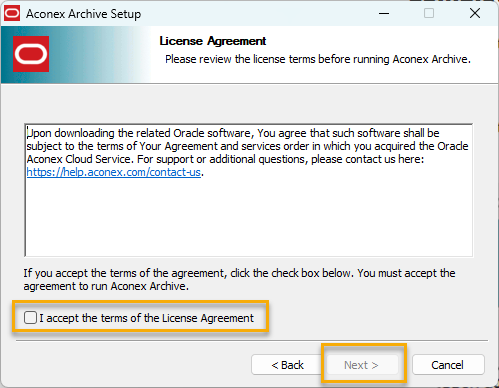
Follow the steps below for installing Scheduled Archive on Microsoft Windows.
Please ensure that you have sufficient memory available on your PC before you begin. You may need Administrator privileges to run the program.
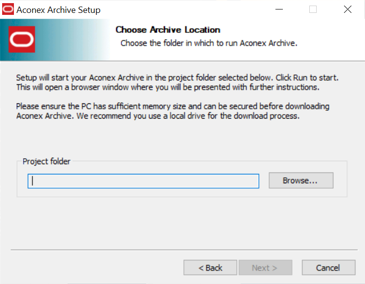
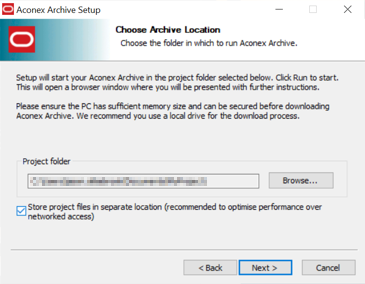
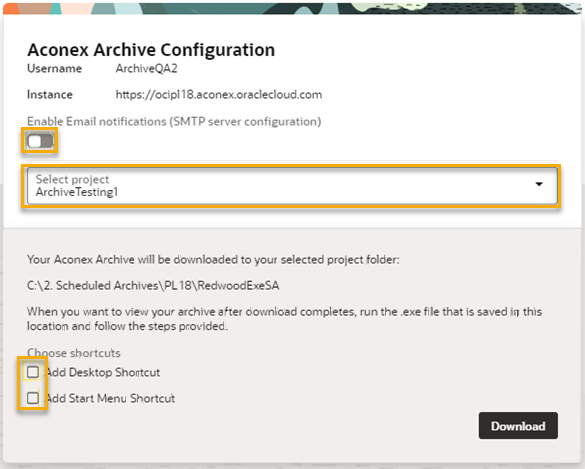
If you have selected network storage you will need to select the destination folder.

The Archive setup will begin. The progress will be shown as a green bar, you can click the Show details button for further information on the progress.
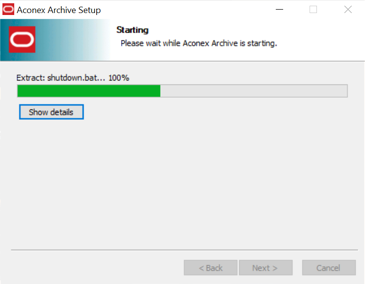
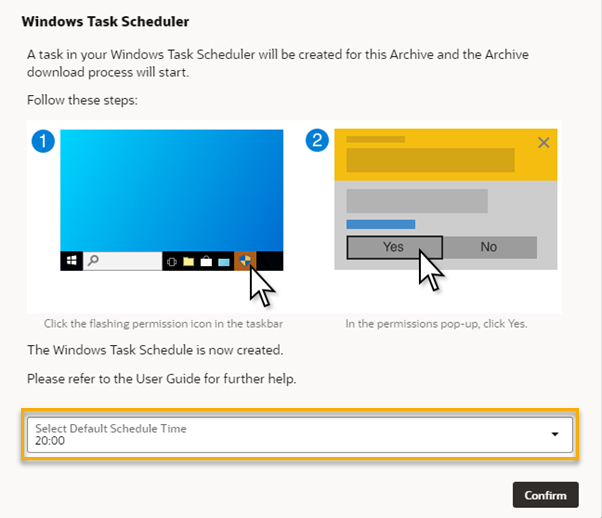
After a short while, the following popup will be displayed.

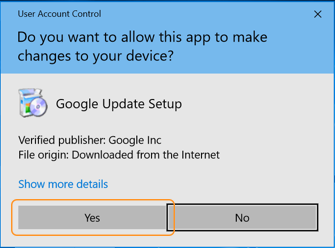
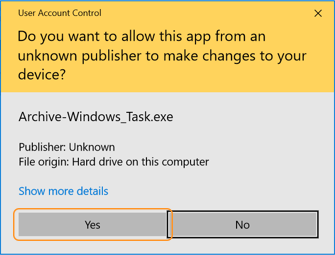
If you see the following Permissions Dialog, click the Yes button to continue.
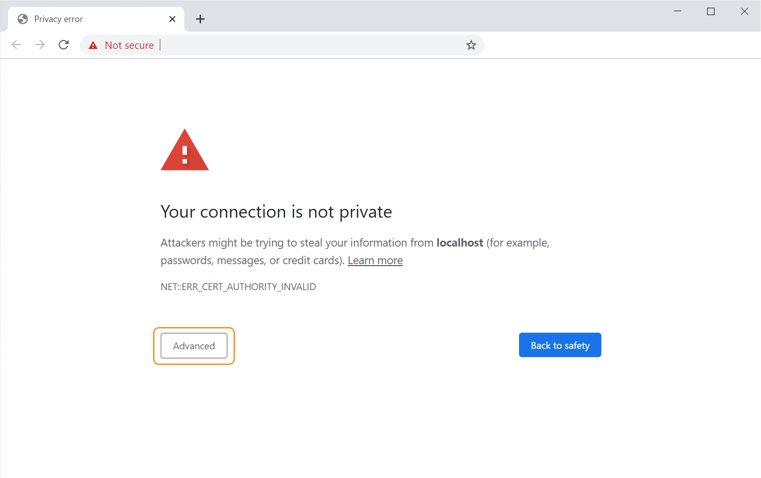
Your default browser will open. You may get the following error - Simply click the Advanced button.
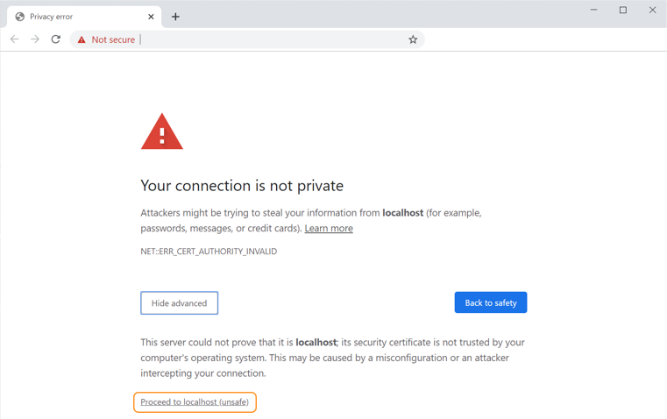
Next, click the Proceed to localhost (unsafe) link. It is perfectly safe to continue.
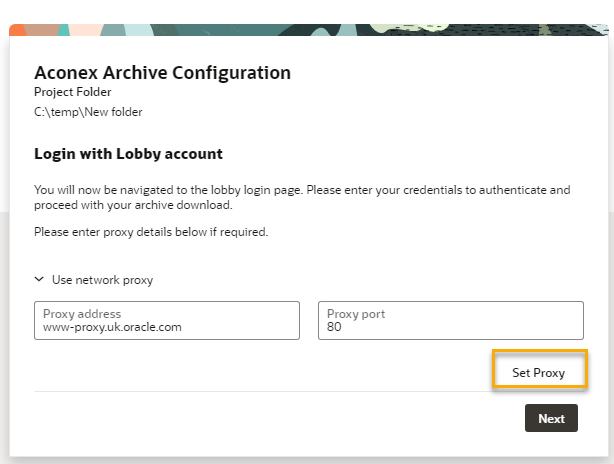
Note: You may see the following error if you are unable to connect to the internet: Unable to verify internet access, please use proxy configuration if required.
If so, click Use network proxy and enter your proxy details in the form provided. Then click Set Proxy.
Note: The Proxy server address can be a Proxy name or IP address.

A helpful popup will appear as a reminder for the next step. Update the Default Schedule Time if required. Click Confirm to dismiss.
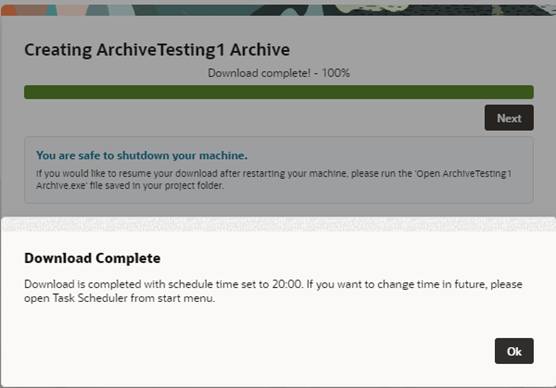
11. Your Archive will now begin the download process.

12. When your download reaches 100%, click OK to continue to the Scheduled Archive Dashboard page.
From the main dashboard area you can access Documents, Mails, and Settings from the main menu at the top left of the screen The Update button will allow you to download the remainder of your data.
Note – this is in 50,000 document segments.
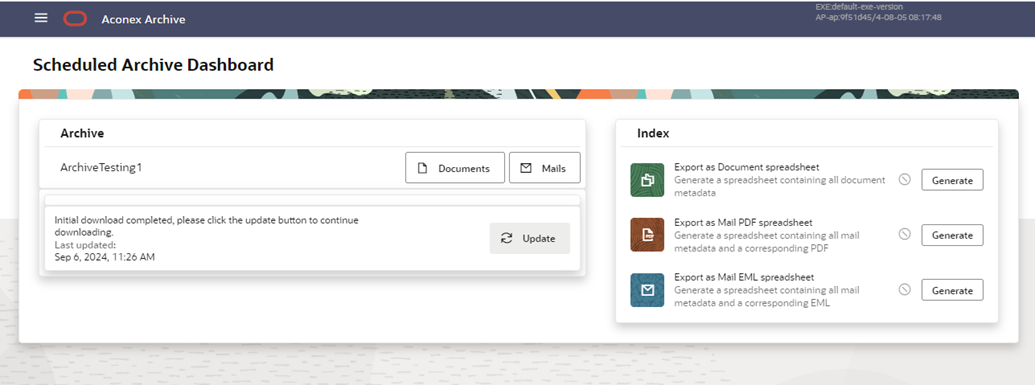
Congratulations you've successfully installed Scheduled Archive.
Next you can:


