Stamp a document in the Online Viewer

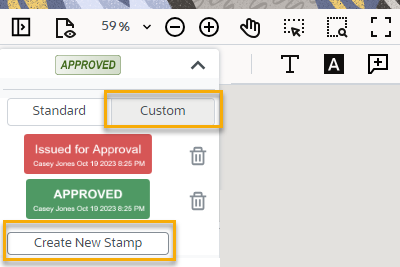
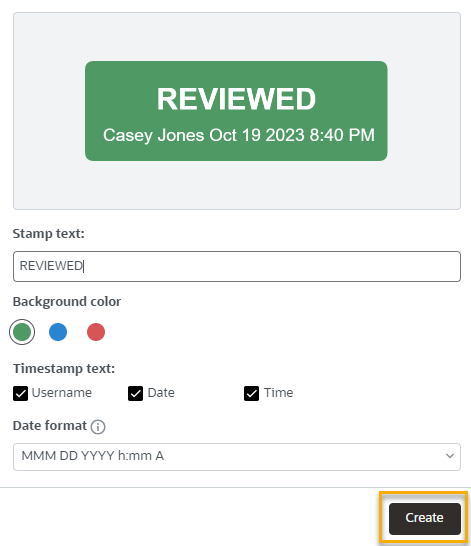
Stamps are a quick way to indicate if you approve or reject a document.

Required permissions
Mark up files in a Document Review process

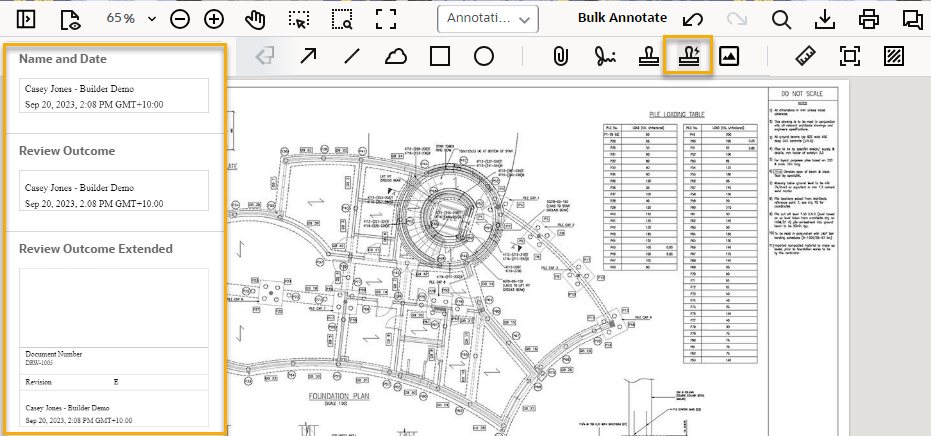
The Online Viewer has many markup options to help you review a document. There are three types of stamps available:

  • Rubber stamp - Add predefined or custom stamps, such as Approved, or Rejected.
  • Dynamic stamp - Add your review outcome directly onto the document, including your logo, name, and custom disclaimer text. There are three levels of dynamic stamp you can use:
    • Name and date - Adds the reviewer's name and organization.
    • Review outcome - Adds the above details plus the review outcome.
    • Review outcome extended - Adds the above details plus the organization’s logo, and disclaimer text as configured by the Org Admin in project preferences.
  • Image stamp - Add an image from your computer onto the document. This supports .png, .jpg, and .gif files.

Add a rubber stamp

  1. With the document open in the viewer, click the rubber stamp tool.
  2. Click the arrow to see all available stamps.
  3. Select the stamp you want to add to your document.
  4. Click on the document to add the stamp.
  5. (Optional) Click on the stamp to rotate, change its style, delete, or make a note attached to the stamp. You can also move the stamp around the document, and resize it if necessary.

Add a custom rubber stamp

  1. With the document open in the viewer, click the rubber stamp tool.
  2. Click the arrow to see all available stamps, then click Custom.
  3. You'll see your previously created stamps. Click Create New Stamp.
  1. Change the text and color and click Create.
  1. Click on the document to add the stamp.
  2. (Optional) Click on the stamp to rotate, change its style, delete, or make a note attached to the stamp. You can also move the stamp around the document, and resize it if necessary.

Add a dynamic stamp

  1. With the document open in the viewer, click the dynamic stamp tool.
  2. Choose the stamp you want to add to your document.
  3. Click on the document to add the stamp.
  4. (Optional) Click on the stamp to rotate, change its style, delete, or make a note attached to the stamp. You can also move the stamp around the document, and resize it if necessary.

Add an image stamp

  1. With the document open in the viewer, click the image stamp tool.
  2. Click on the document where you want the image to be added. 
  3. Choose the image from your computer. The image will be added in place.
  4. (Optional) Click on the stamp to rotate, delete or make a note attached to the stamp. You can also move the stamp around on the document, as well as resize it if necessary.

Tip!

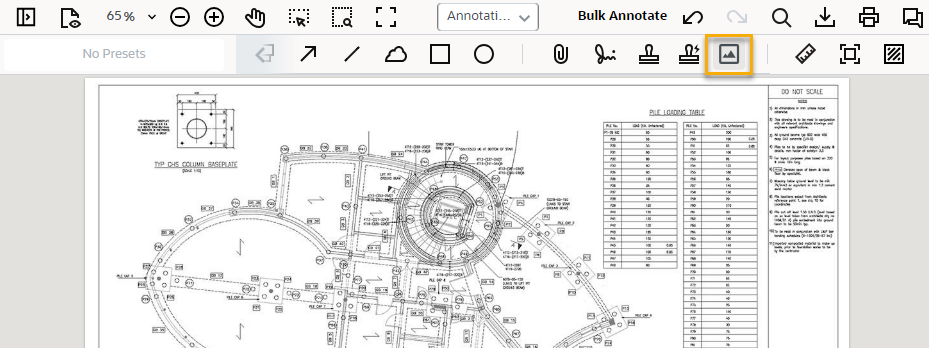
Alternatively, with the image stamp tool selected, you can drag and drop an image directly from your computer onto the document.