Support Central
Upload new documents or update files for existing documents in your document register.
Follow this guide to:
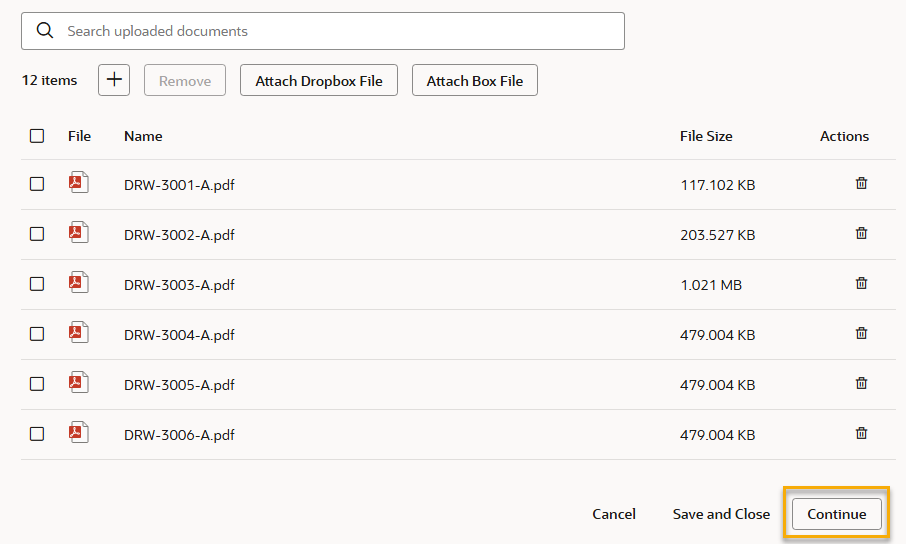
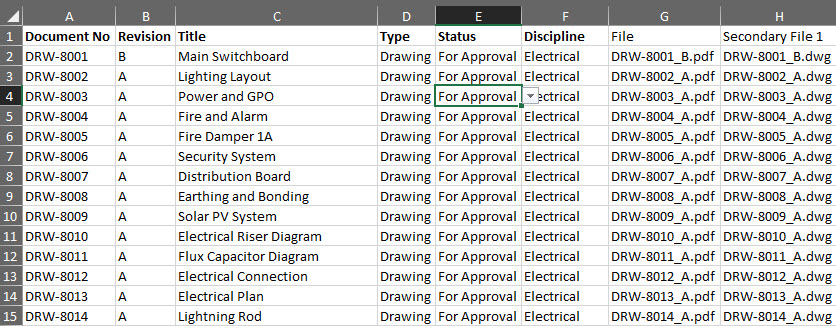
Before you start, it's a good idea to prepare your files with a consistent naming convention. We recommend including at least the Document number and Revision in the filename. This helps Aconex prefill information during the upload process; saving time.
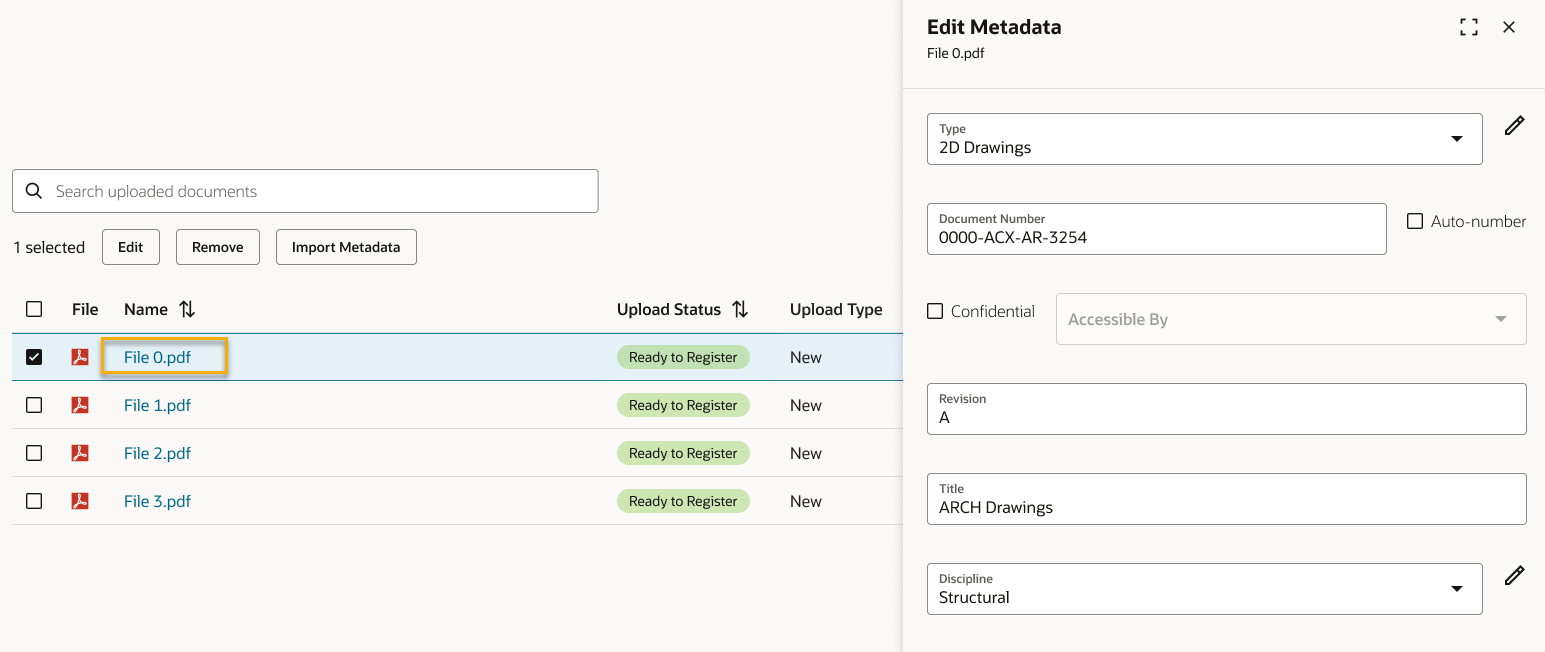
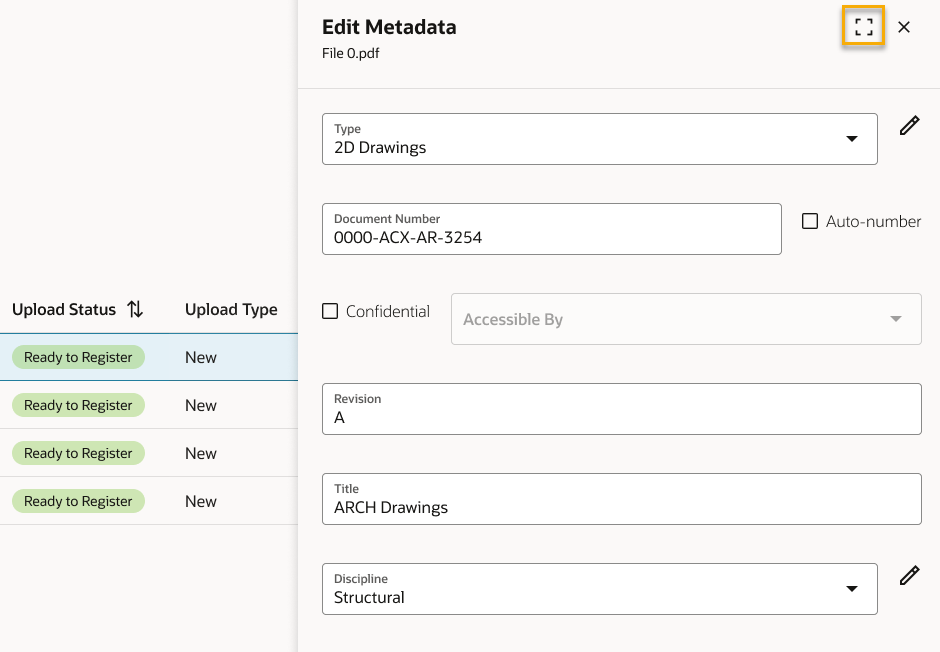
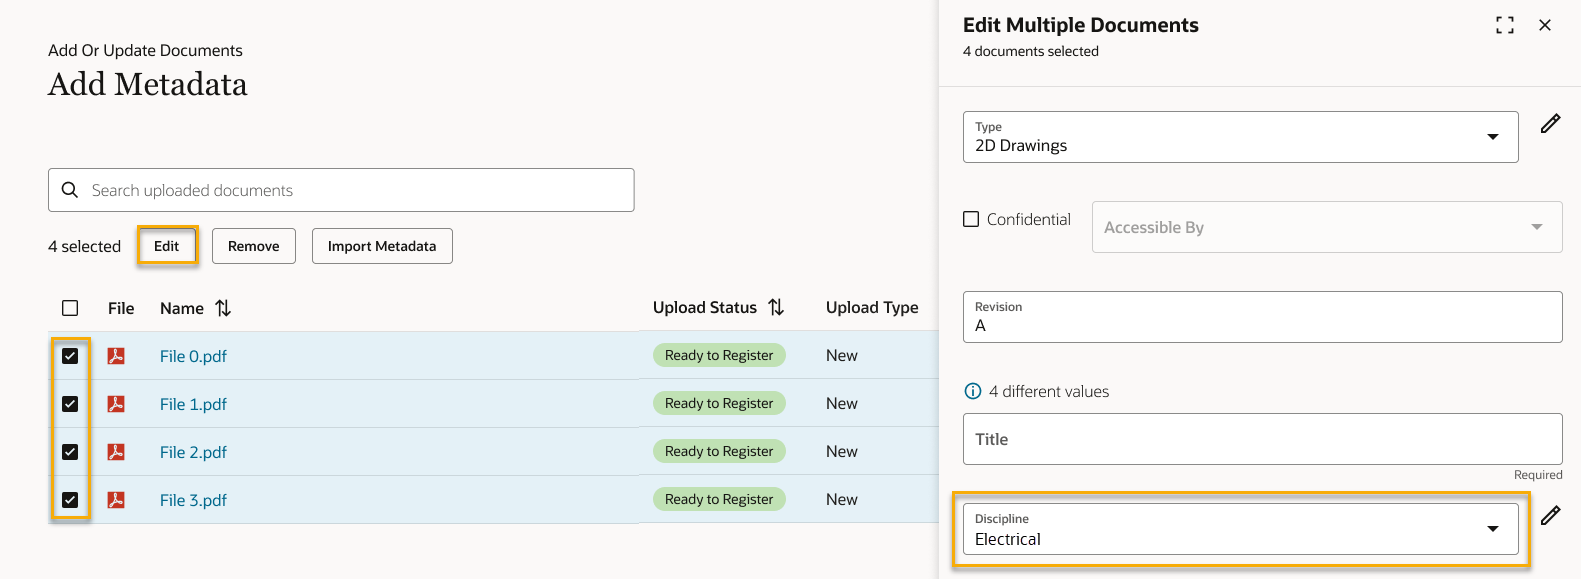
In Aconex, document information such as Title, Revision, or Status is called metadata. After uploading your files, you'll need to populate metadata for them, so they're easy to find when you need to review or send them.
If your project uses secondary files, known as renditions, make sure your file names match. This helps to group the native file with its PDF, as one document record. By default, the upload process recognizes a PDF as the primary file for a document. Secondary files are recognized based on their filename. Metadata applies to the document record as a whole (including both the primary and secondary files). There is no separate metadata or version history for secondary files.
Use Bulk Processing if:
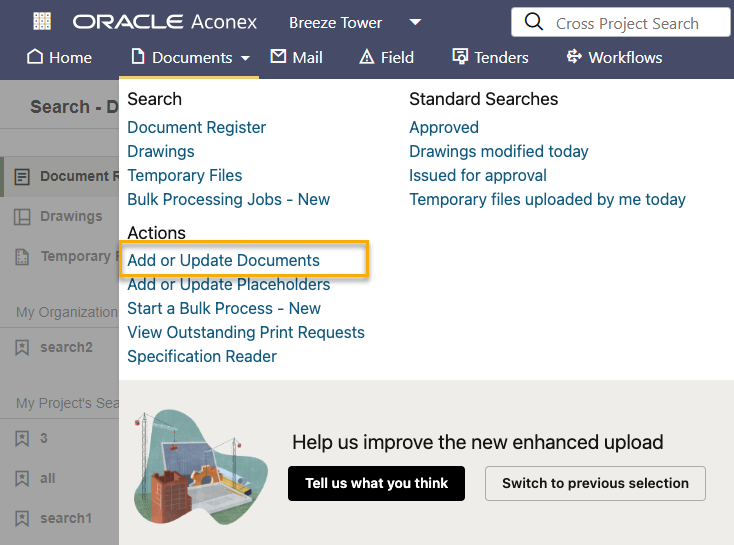
If you're using a High Compliance instance of Aconex, you can choose either the new upload or classic upload. The new enhanced upload is not currently available for High Compliance.
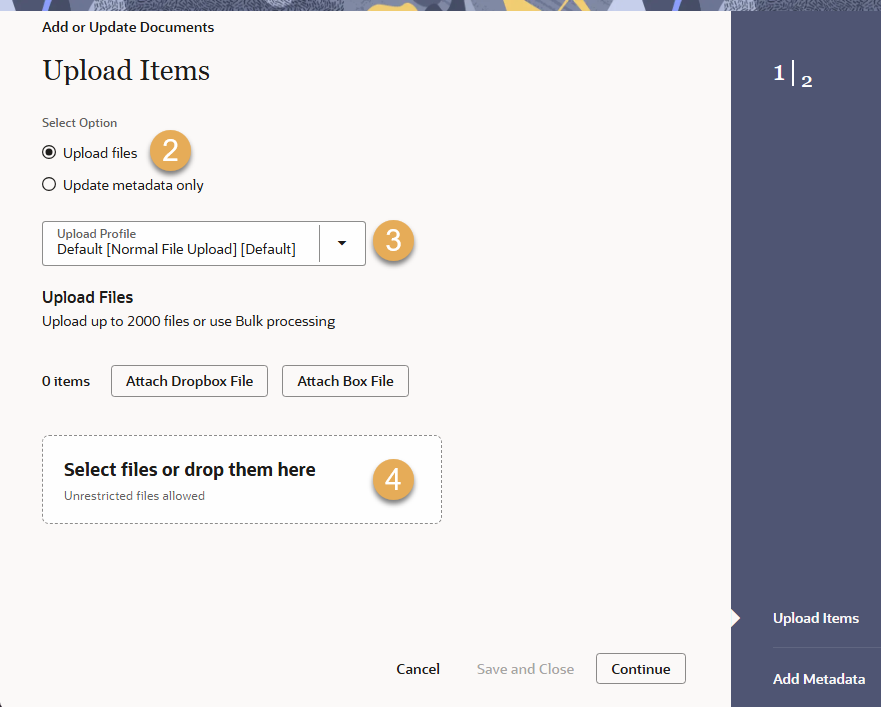
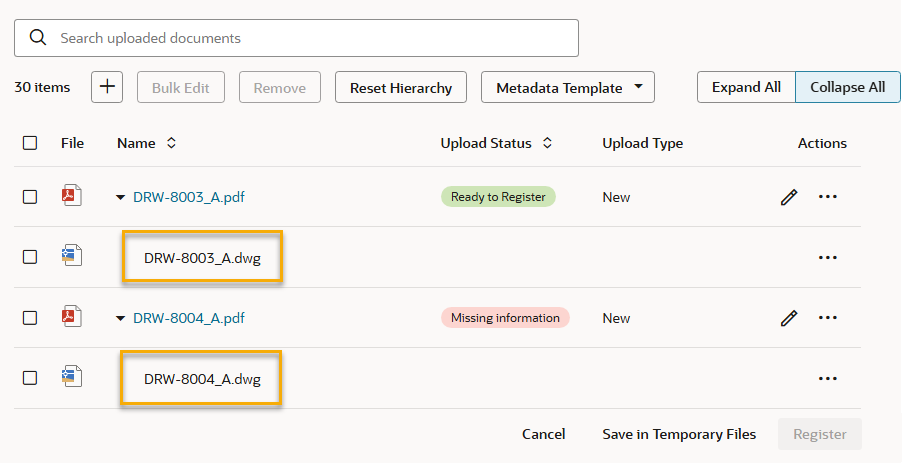
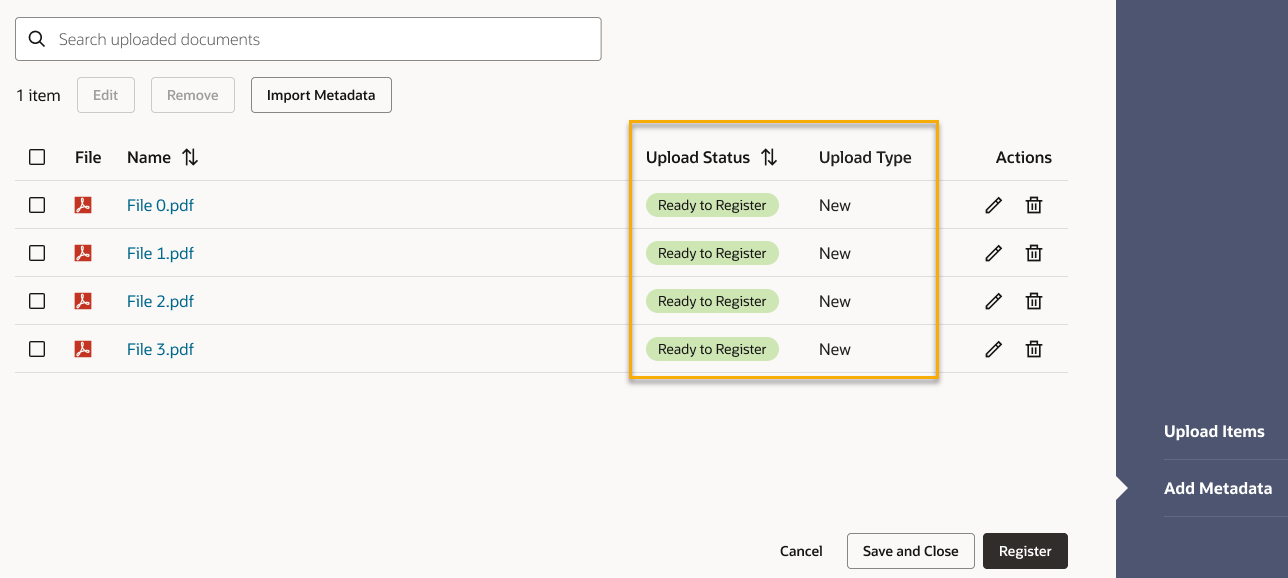
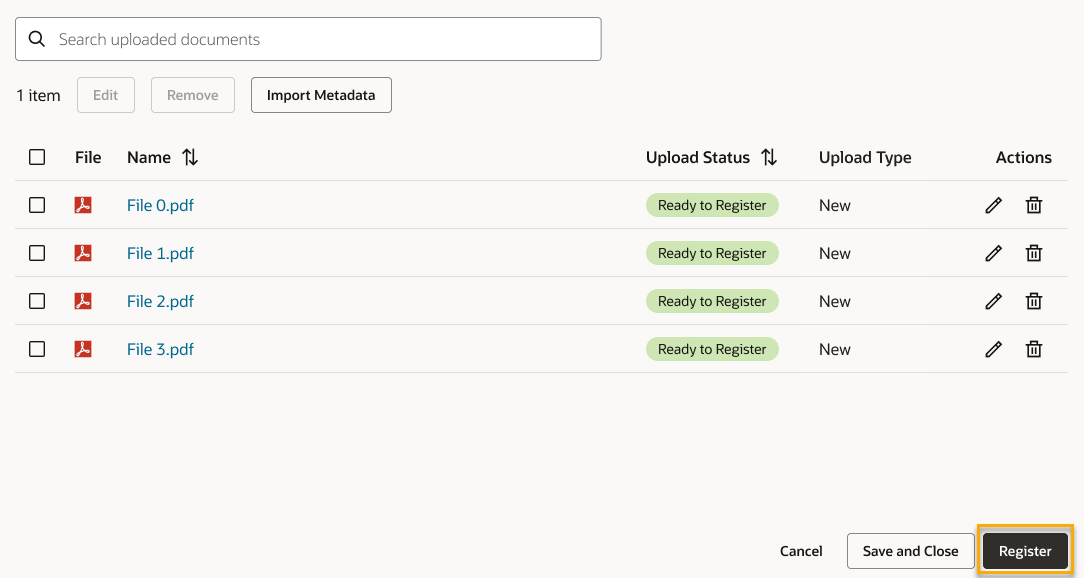
New: This is a new document that will be uploaded to your document register
Missing information: This document has missing mandatory metadata that must be completed
Ready to register: This document has all mandatory metadata completed and is ready to be upload to the document register
Placeholder: This document has no associated file and will be registered as a placeholder
Update: A version of this document already exists and will be updated with this new file.